
Creating a gluten-free sourdough starter can be both rewarding and challenging. If you’ve ever tried to bake your own gluten-free bread, you know how tricky it can be to get it just right. The process might seem daunting at first, but don’t worry! We’ve got you covered with this comprehensive guide. Let’s dive into the world of gluten-free sourdough starters and discover how you can master this delicious and healthy baking technique.
TL;DR
- Gluten-free sourdough starters require specific care and feeding ratios.
- Using the right type of flour is crucial for a successful starter.
- Maintaining proper hydration levels ensures a healthy starter.
- Regular feeding and proper storage are key to a thriving starter.
- Use discard in creative ways to avoid waste.
Gluten-Free Sourdough Starter Benefits: Why Choose Gluten-Free Sourdough?
Choosing a gluten-free sourdough starter offers numerous benefits, especially for those with gluten sensitivities or celiac disease. Gluten-free sourdough bread is easier to digest and can help alleviate common digestive issues associated with gluten consumption. The fermentation process breaks down complex carbohydrates and proteins, making the bread more digestible and nutrient-rich.
A gluten-free sourdough starter also promotes a healthy gut. The natural fermentation process introduces beneficial bacteria and yeasts, which can improve gut health and enhance nutrient absorption. This probiotic boost is an excellent way to support your digestive system and overall well-being.
Why choose a gluten-free sourdough starter? First and foremost, it allows those who are gluten intolerant to enjoy the pleasures of homemade sourdough bread without the adverse effects of gluten. Additionally, gluten-free sourdough has a unique, tangy flavor and chewy texture that sets it apart from other gluten-free breads. The extended fermentation process enhances the flavor profile, giving you a delicious and wholesome bread option.
Creating your own gluten-free sourdough starter is also a rewarding experience. It connects you to traditional baking methods and provides a sense of accomplishment. Plus, you have control over the ingredients, ensuring your bread is free from unwanted additives and preservatives often found in store-bought gluten-free bread.
Gluten-free sourdough starter offers improved digestion, gut health benefits, and the joy of baking delicious, wholesome bread at home. It’s an excellent choice for anyone looking to enjoy the benefits of sourdough while adhering to a gluten-free diet.
Comparison of Ingredients, Roles, and Benefits in a Gluten-Free Sourdough Starter
| Ingredient | Role | Benefits |
|---|---|---|
| White Rice Flour | Base flour for the starter | Neutral flavor, smooth texture, easily digestible |
| Brown Rice Flour | Base flour for the starter | Mild flavor, good texture, high in fiber and essential minerals |
| Sorghum Flour | Base flour for the starter | Rich in antioxidants, provides a chewy texture, enhances flavor |
| Buckwheat Flour | Base flour for the starter | Nutty flavor, high in protein and essential amino acids |
| Teff Flour | Base flour for the starter | High in iron and calcium, adds a unique taste, improves nutritional profile |
| Filtered Water | Hydrates the flour, initiates fermentation | Chlorine-free, supports the growth of natural yeast and bacteria |
| Grated Apples or Raisins | Introduces natural yeast | Enhances fermentation, adds slight sweetness, boosts natural yeast activity |
Understanding Gluten-Free Sourdough Starters
For many, the journey to gluten-free sourdough can seem like a daunting one. The absence of gluten means that the natural binding and rising properties need to be replaced with careful attention to detail and a bit of patience. Here’s a breakdown of the essential elements you’ll need to consider.
Choosing the Right Flour for Your Gluten-Free Sourdough Starter
Choosing the correct type of flour is the cornerstone of your gluten-free sourdough starter. Popular choices include white rice flour, brown rice flour, sorghum flour, buckwheat flour, and teff flour. Each flour type offers a unique flavor and texture, so feel free to experiment to find your favorite combination. Brown rice flour is often favored for its mild taste, while buckwheat provides a more robust flavor. Sorghum and teff flours add unique textures and nutritional benefits.
Experimenting with these different flours can help you find the best flavor and texture for your gluten-free sourdough bread. Brown rice flour is often favored for its mild taste, while buckwheat provides a more robust flavor. Sorghum and teff flours add unique textures and nutritional benefits. White rice flour offers a neutral flavor and smooth texture, making it an excellent choice for those new to gluten-free baking.
Grated Apples or Raisins?
To help jumpstart the fermentation process, some recipes recommend adding grated apples or raisins to your gluten-free sourdough starter.
- Grated Apples: Grated apples introduce natural sugars and yeast, which can enhance the fermentation process. They also add a slight sweetness to the starter.
- Raisins: Raisins are another excellent option, providing natural sugars and yeast. Soaking the raisins in water before adding them to the starter can help release their natural yeast more effectively.
Both options help introduce natural yeast into your starter, promoting healthy fermentation and improving the overall activity of your gluten-free sourdough starter.
Feeding Ratios and Consistency for Optimal Results
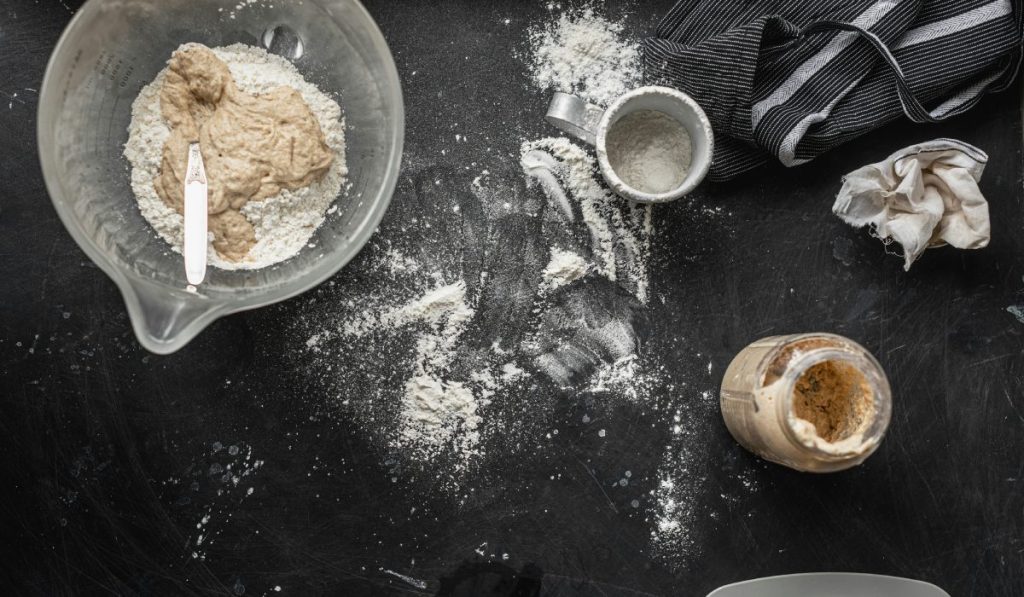
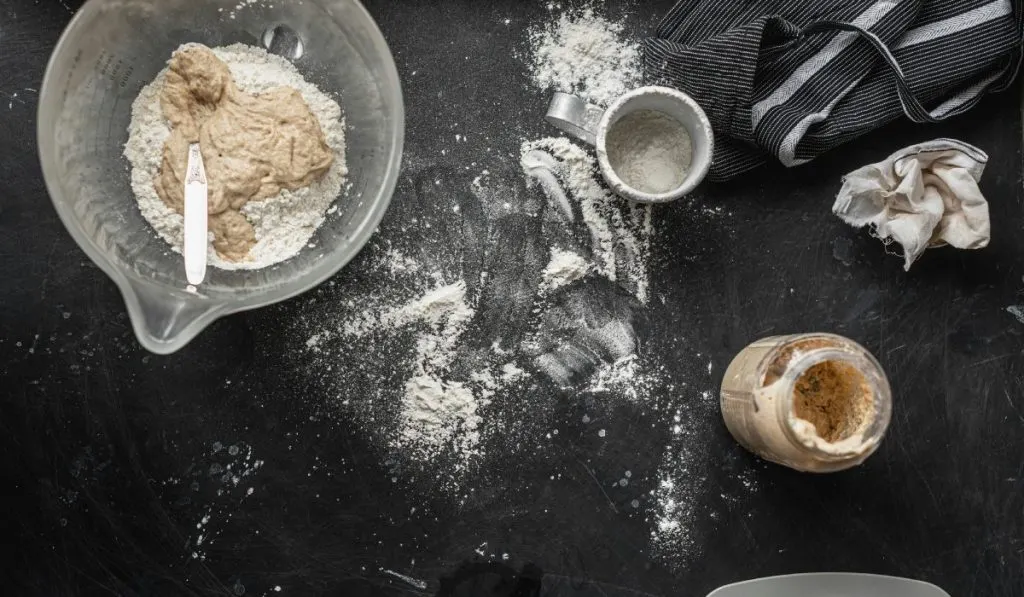
Feeding your starter involves a balance between flour and water. Consistency is more critical than precise ratios, aiming for a pancake batter-like texture. Typically, gluten-free flours absorb more water, so you may need to adjust accordingly to maintain this consistency. This balance ensures that the natural yeasts and bacteria in your starter have the right environment to thrive. A good rule of thumb is to feed your starter with equal parts flour and water by weight.
Maintaining Proper Hydration Levels
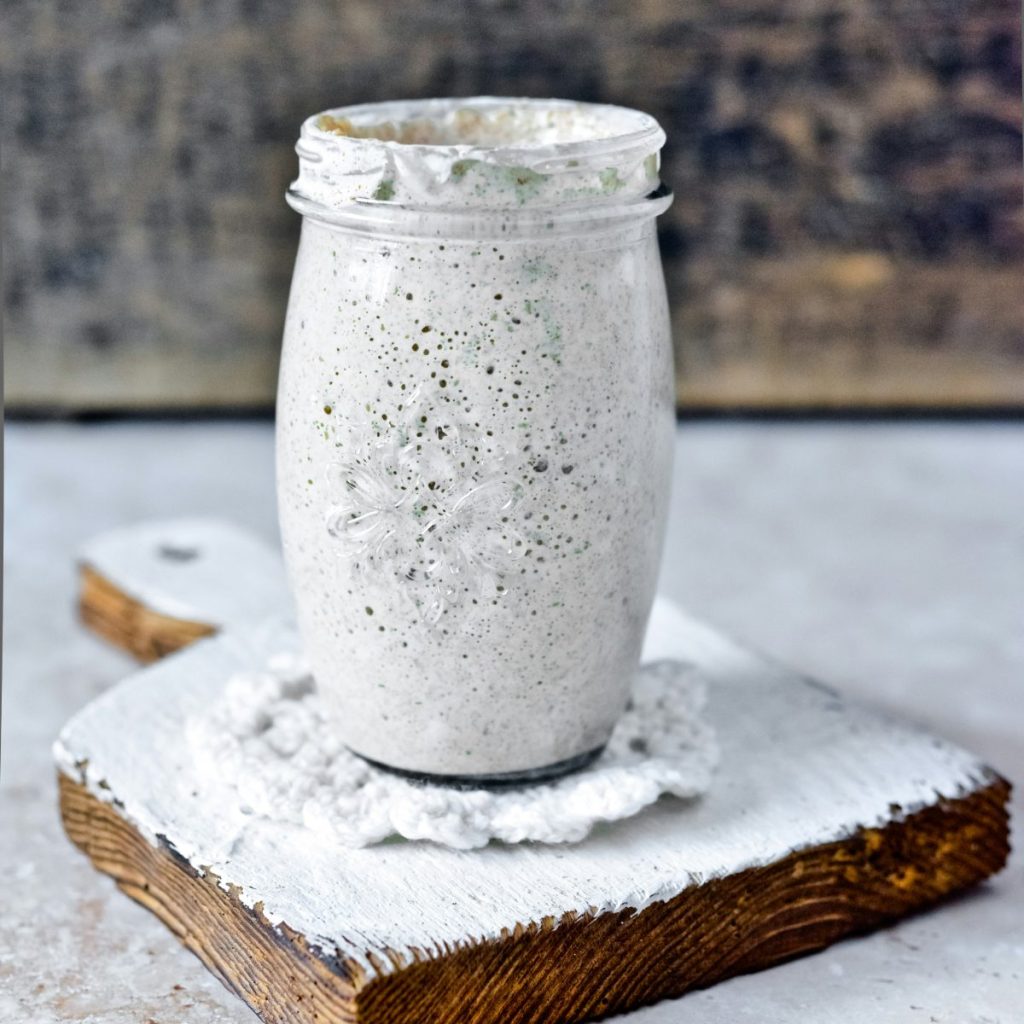
Maintaining proper hydration levels is crucial. Gluten-free flours are more absorbent, requiring more water to achieve the desired consistency. Adjust water or flour as needed to keep your starter in a thick paste-like state. This hydration level is essential for the fermentation process, as it allows the starter to develop the necessary gas bubbles for a good rise in your bread.
Getting Started: The Initial Mixture
Combine your chosen flour with filtered water. Avoid using tap water, as chlorine can inhibit fermentation. Some recipes recommend adding grated apples or raisins to introduce natural yeast. This can help jumpstart the fermentation process by providing additional sugars that yeast can feed on. Mix the ingredients thoroughly in a clean glass jar, cover loosely, and let it sit at room temperature.
Development Time: Patience is Key
Developing a mature, active starter typically takes about 7-14 days. During this period, you’ll need to feed your starter daily, discarding a portion of it before each feeding to maintain its health and volume. This period allows the natural yeasts and bacteria to establish themselves and create the environment necessary for sourdough fermentation. Be patient, as the process can vary depending on the temperature and humidity of your kitchen.
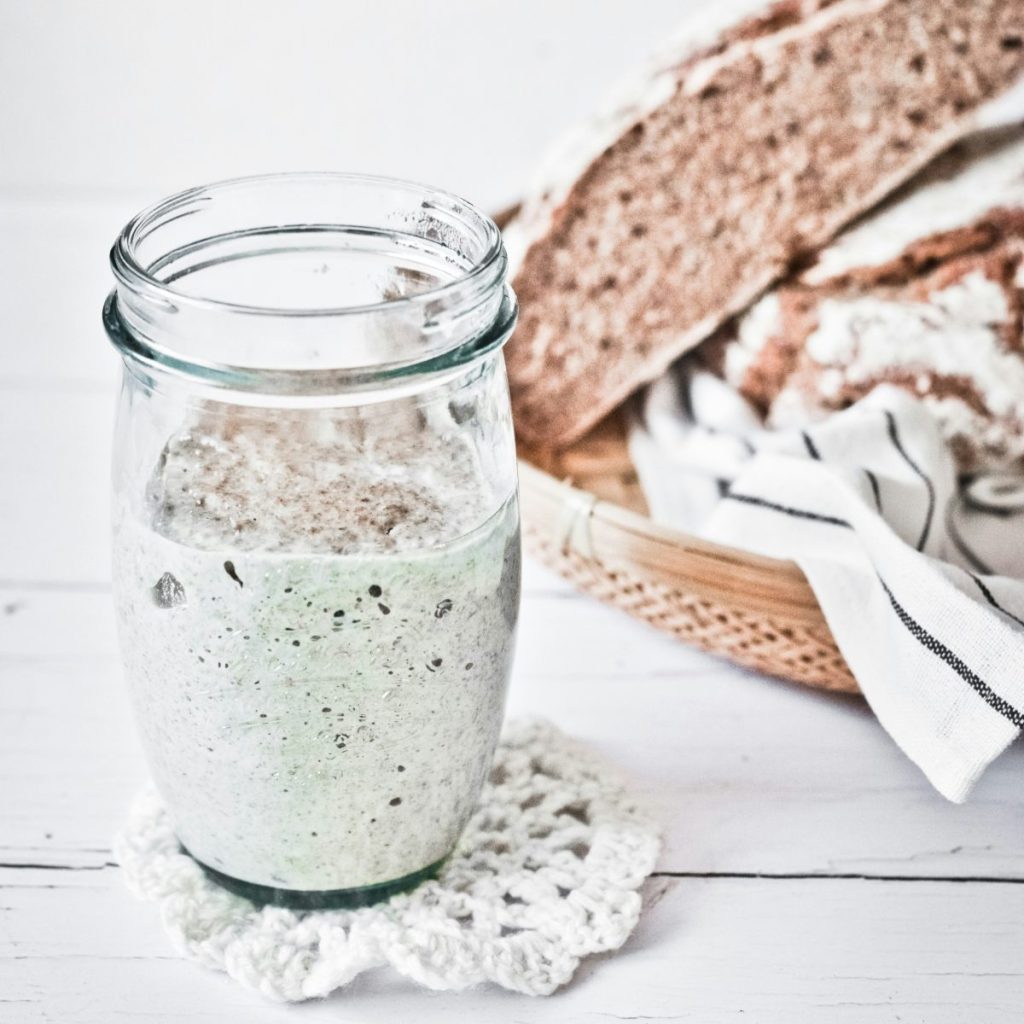
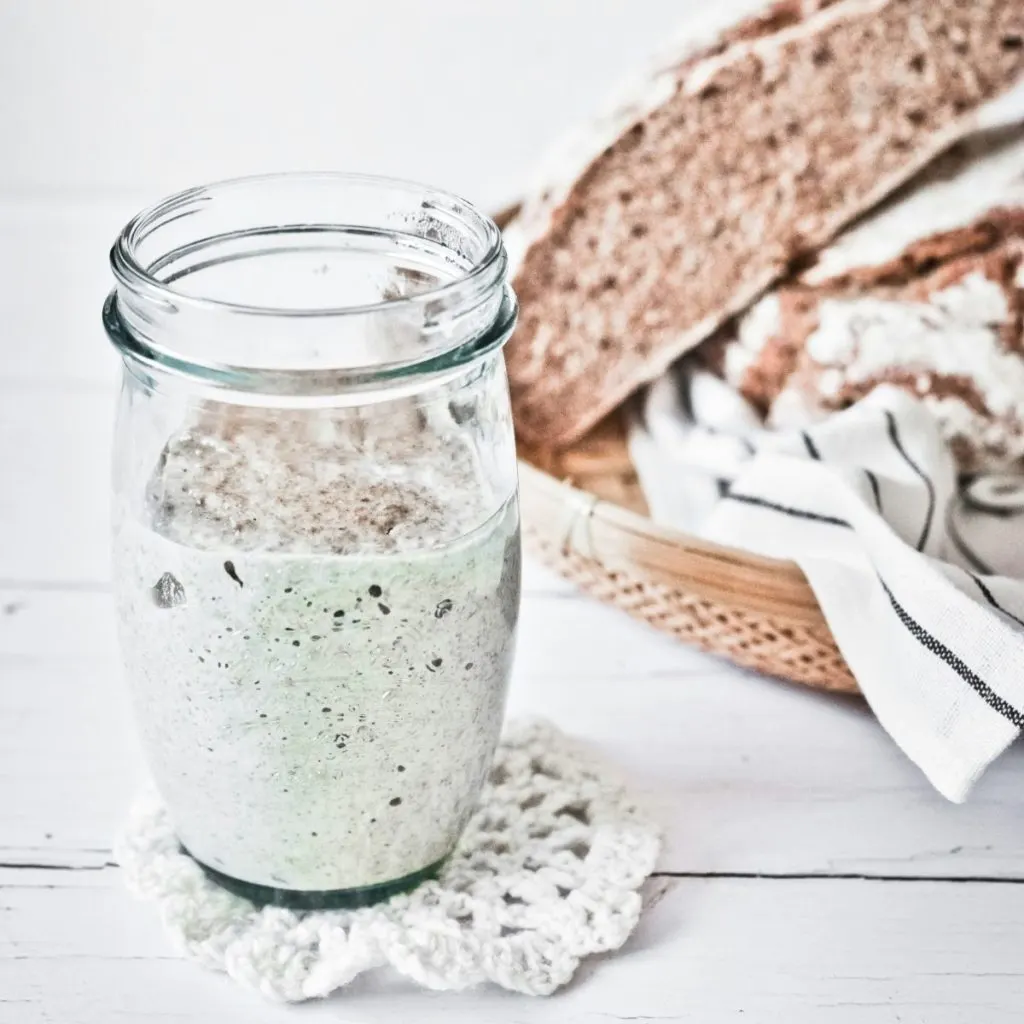
Signs of Readiness: Knowing When Your Starter is Active
An active starter will double in size, have bubbles throughout, and emit a pleasant sour smell. If you see a layer of liquid (hooch) on top, it’s an indication that the starter needs feeding. This liquid is a natural byproduct of fermentation and can be stirred back in or poured off. Regular feeding will help prevent hooch from forming and keep your starter healthy and active.
Maintaining Your Gluten-Free Sourdough Starter

Once your starter is active, maintaining it involves regular feedings and proper storage. Store your starter in the refrigerator if not used frequently. Bring it to room temperature and feed it before use. This routine keeps your starter active and ready for baking whenever you need it.
Feeding Frequency for a Healthy Starter
During the initial development stage, daily feeding is recommended. Once the starter is well-established, it can be fed weekly if stored in the refrigerator. For active starters, feed them 12 hours before baking to ensure they’re at their peak activity. This timing allows the starter to reach its maximum activity level, providing the best rise and flavor for your sourdough bread.
Creative Uses for Sourdough Discard
To avoid waste, use your sourdough discard in various recipes like pancakes, waffles, and pizza crusts. This not only reduces waste but also adds a unique sourdough flavor to your dishes. Sourdough discard can also be used in muffins, crackers, and even cookies. These recipes take advantage of the natural flavors and fermentation properties of the discard, adding depth and complexity to your baked goods.
Tips for Ensuring Success with Your Gluten-Free Sourdough Starter
Having worked with various gluten-free flours, I found that a mix of brown rice flour and sorghum flour offers a perfect balance of flavor and texture. Additionally, keeping the starter at a consistent room temperature significantly improves its activity. For those in warmer climates, you might need to feed your starter more frequently to keep up with the accelerated fermentation. Experiment with different flours and feeding schedules to find what works best for your environment.
- Use non-reactive utensils: Wooden or plastic spoons are best for mixing your starter, as metal can react with the acids in the starter.
- Maintain jar hygiene: Regularly clean the sides of the jar with filtered water to prevent mold and contamination.
- Monitor environmental factors: Temperature and humidity can affect fermentation. Warmer kitchens may require more frequent feedings.
- Store in glass jars: Use glass jars with loose covers to allow airflow while preventing contamination.
- Avoid metal utensils: Metal can react with the starter, so stick to wooden or plastic tools.
Common Challenges and Practical Solutions
Problem: The Starter Smells Off
If your starter emits a strong, unpleasant odor, it might be spoiled. Discard it and start fresh. Maintaining a clean jar and using filtered water can prevent this issue. Regularly cleaning your jar and tools will help ensure a healthy starter.
Problem: The Starter Isn’t Rising
If your starter isn’t doubling in size, try adjusting the feeding ratios or switching to a different type of flour. Sometimes, it just needs a bit more time to become active. Ensure that your kitchen temperature is conducive to fermentation, ideally between 70-75°F.
Problem: Hooch Formation
A layer of hooch indicates your starter is hungry. Simply pour off the hooch and feed your starter more frequently. Keeping a consistent feeding schedule will help prevent hooch formation and keep your starter healthy.
Conclusion
Creating and maintaining a gluten-free sourdough starter can be both rewarding and challenging. With the right flour, consistent feeding, and proper storage, you can enjoy delicious gluten-free sourdough bread at home. Start by selecting flours like brown rice, sorghum, buckwheat, or teff, and maintain a pancake batter-like consistency for best results.
Regular feeding is essential. During the initial stages, feed your starter daily, and once it’s well-established, weekly feedings will suffice if stored in the refrigerator. Always use filtered water to avoid chlorine, which can inhibit fermentation. If you notice a layer of liquid, called hooch, on top of your starter, it’s a sign that it needs feeding. Simply pour off the hooch and increase the feeding frequency.
Experiment with different flours and hydration levels to find what works best in your environment. Warmer kitchens might require more frequent feedings, while cooler settings might need adjustments in flour-to-water ratios. Incorporate your sourdough discard into recipes like pancakes, waffles, and pizza crusts to reduce waste and add a unique flavor to your dishes.
From personal experience, I found that a mix of brown rice flour and sorghum flour provides an excellent balance of flavor and texture. Keeping your starter at a consistent room temperature significantly improves its activity. Remember, patience is key, and each starter can behave differently based on its environment. Happy baking!
FAQs
What is the best flour for a gluten-free sourdough starter?
Brown rice flour, sorghum flour, buckwheat flour, and teff flour are popular choices.
How often should I feed my gluten-free sourdough starter?
Daily feeding is recommended during the initial development stage. Once established, weekly feedings are sufficient if stored in the refrigerator.
Can I use tap water for my starter?
It’s best to use filtered water, as chlorine in tap water can inhibit fermentation.
What can I do with sourdough discard?
Sourdough discard can be used in various recipes like pancakes, waffles, and pizza crusts to avoid waste.
Why does my starter have a layer of liquid on top?
This liquid, called hooch, indicates that the starter needs feeding. Simply pour it off and feed your starter more frequently.
Join Us and Transform >
Don’t Be an Amateur! Master the Art of Sourdough Bread!

Leave a comment