
You know that moment when your sourdough feels too… safe? That was me. I had the classic boule down. I knew my hydration levels, my ferment times, my lamination folds. But it started to feel like I was baking the same story over and over.
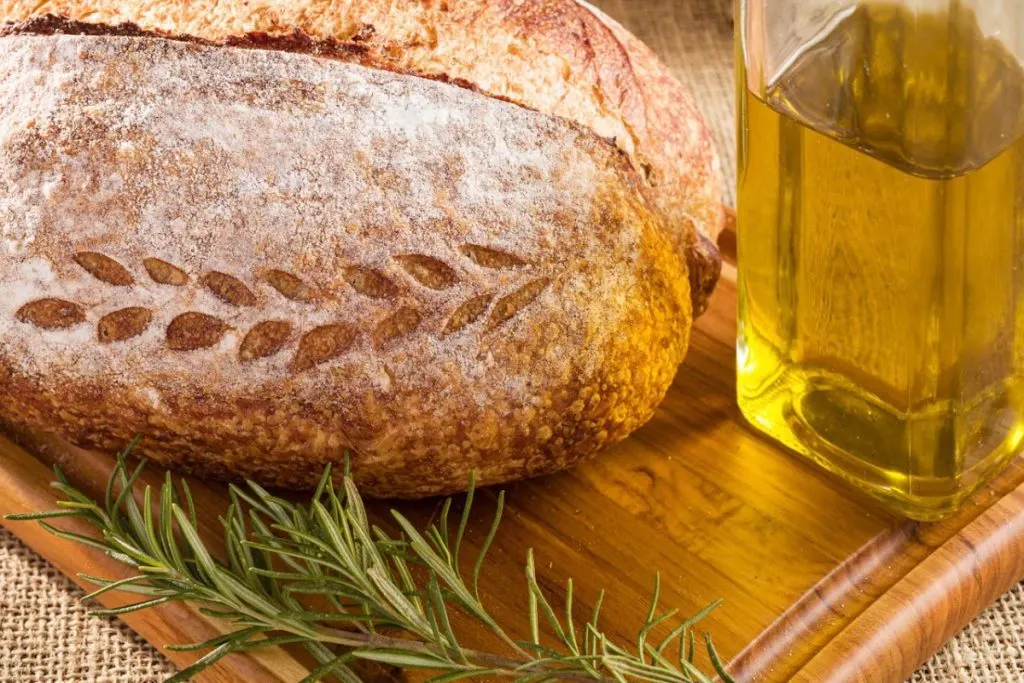
That’s when I turned to olive and rosemary—a combination so vibrant, it practically sings.


But here’s the catch: throw them into your dough the wrong way, and you end up with soggy pockets, burnt herbs, or slippery olives that refuse to stay put.
So I tweaked, tested, and tasted until this version landed. Now it’s my most requested bake. And in this post, I’ll walk you through how to get it just right—every time.
TL;DR: What You’ll Learn
- 🌿 How to balance bold rosemary and briny olives without overpowering the dough
- 🥖 My go-to method for achieving a golden crust with open crumb
- 🍽️ Smart serving ideas for brunches, boards, and cozy dinners
- 🕒 Why timing (and cold proofing) make all the difference in flavor
- 🔥 Insider tricks for mix-in success and pro-level scoring
The Flavor Combo That Changed My Loaf Game
Olives and rosemary might sound simple, but getting their balance just right is the key to transforming your sourdough into something truly spectacular. When done properly, these ingredients don’t just add flavor—they become the heart and soul of your loaf.
Olives bring a briny, salty richness to your bread that infuses every bite. Their mild tang and soft texture create little pockets of flavor that burst open when you take a bite. But moderation is key. Too many olives can overwhelm the dough and create soggy spots, which is something you want to avoid.
Fresh rosemary offers a piney, citrusy lift that contrasts perfectly with the richness of the dough. It adds both flavor and a gorgeous visual appeal. The challenge with rosemary is timing—add it too early and it’ll burn, losing its fresh fragrance. The trick is to add it right before baking or fold it into the dough during the final rise.
The balance of briny olives and herbaceous rosemary creates a flavor profile that’s both bold and delicate. It’s a combination that elevates a basic sourdough loaf into a showstopper. With the right touch, these ingredients can completely transform your baking game.
How to Achieve That Perfect Olive-Rosemary Balance
Mastering the balance between olives and rosemary is all about timing and distribution. Here are some tips for getting it just right:
- Choose quality ingredients: Go for Kalamata or oil-cured olives, which have better texture and flavor. Fresh rosemary is essential for that vibrant fragrance.
- Distribute evenly: Chop the olives into small pieces to ensure they’re spread throughout the dough without clumping together. Finely chop the rosemary to avoid burning.
- Add olives during the second fold: This helps keep their shape intact and prevents them from being overworked.
- Add rosemary at the end: Sprinkle it on top just before baking or fold it into the dough at the last rise to avoid burning.
With these tips, you’ll achieve the perfect balance of flavors every time.
What You’ll Need
For the dough:
- 500g bread flour (ideally around 12% protein)
- 100g bubbly, active sourdough starter (fed 6–8 hours prior)
- 350g room temperature water
- 10g sea salt
For the flavor magic:
- 120g Kalamata olives, pitted and chopped
- 1½ tablespoons finely chopped fresh rosemary
For finishing (optional):
- Olive oil
- Flaky sea salt
- Extra rosemary sprigs for topping
Insider’s note: Use firm, oil-cured olives or properly drained Kalamatas. Skip the watery canned ones—they’ll ruin your dough hydration.
Step-by-Step: How to Make My Sourdough Olive and Rosemary Bread
Step 1: Autolyse for Better Texture
Mix flour and water until no dry bits remain. Cover and let it rest for 45 minutes. This step helps the flour hydrate and kickstarts gluten development.
Step 2: Add Starter and Salt
Add your sourdough starter and salt to the autolysed dough. Mix thoroughly with wet hands using the pinch-and-fold method.
Insider tip: I always keep a little bowl of water nearby to dip my fingers. It keeps the dough from sticking and helps you mix more gently.
Step 3: Stretch, Fold, and Add-ins
Over the next 3 hours, perform 3 to 4 sets of stretch-and-folds, spaced 30–45 minutes apart. Add the olives and rosemary during the second fold—not before.
That timing matters. Letting the dough develop some structure before adding chunky mix-ins prevents tearing and improves the final crumb.
Step 4: Bulk Fermentation
Let your dough rest at room temperature, covered, until roughly doubled. Depending on the warmth of your kitchen, this might take 4 to 6 hours.
During this time, the dough should become airy, elastic, and slightly jiggly when gently shaken.
Why Cold Proofing Is the Secret Sauce
Once you’ve shaped your dough into a boule or batard and placed it into a well-floured banneton, it’s time for a nap—in the fridge.
An overnight cold proof (anywhere from 8–12 hours) gives the loaf complexity, deepens flavor, and helps it hold its shape during scoring.
Every time I’ve skipped this step in a hurry, I’ve regretted it. The flavor just isn’t the same.
The Bake
Preheat your oven with a Dutch oven inside to 475°F (245°C) for at least 45 minutes.
Remove your dough from the fridge, score it with a razor or lame, and carefully load it into the hot pot.
Baking schedule:
- Covered for 20 minutes
- Uncovered for 20–25 minutes until beautifully golden brown
Want extra drama? Brush with olive oil, sprinkle flaky salt and a bit more rosemary before the final 10 minutes.
Let it cool completely before slicing. I know it’s hard. But trust me—cutting too early messes up the crumb.

Best Ways to Serve It
This bread isn’t just delicious—it’s versatile. Here’s how I love serving it:
- Dipped in olive oil with a splash of balsamic
- Toasted with goat cheese and honey
- Alongside roasted tomato soup or butternut squash bisque
- As the base for open-faced sandwiches with grilled veggies
- Tucked into a picnic basket with sharp cheddar and fresh figs
It’s also a crowd-pleaser at wine nights and holiday tables. I’ve brought it to potlucks where it disappears in minutes.
Final Thoughts
When I bake this sourdough olive and rosemary bread, it never feels like just a loaf.
It’s a little Mediterranean getaway—flour, salt, time, and care transformed into something warm and soulful.
Baking sourdough is never about shortcuts. It’s about intention. And this loaf? It’s the kind of bread that rewards every bit of attention you give it.
Give it a go. Add your own twist. And if your house smells like rosemary and fresh bread, well, you’re doing it right.
FAQs
Can I use dry rosemary instead of fresh?
Yes, but use only a third of the amount. Soak it in warm water for 5 minutes before adding.
My olives fall out during shaping—help?
Make sure you’re adding them during the second fold, once the dough has some structure. Also, press them gently in as you shape.
Can I bake this in a loaf pan instead of a Dutch oven?
You can, but you won’t get the same steam or crust. If you do, try placing a pan of hot water in the oven to mimic the steam effect.
What’s the best olive variety to use?
Kalamata or oil-cured olives work best for flavor and texture. Avoid stuffed or watery canned olives.
How do I know my starter is active enough?
It should double within 6–8 hours after feeding and pass the float test—drop a spoonful into water and it should float.
Can I make this gluten-free?
This recipe was developed for high-protein wheat flour. You’d need a different formulation for gluten-free.
How long does it stay fresh?
About 2–3 days at room temperature if stored in a paper bag or wrapped in a towel. It also freezes beautifully when sliced.
What if I want more rosemary flavor?
Infuse your olive oil with rosemary and drizzle it on top post-bake, or fold in an extra half tablespoon during the third fold.
My crust is too thick—what went wrong?
Try shortening the uncovered bake time or adding a touch more steam in the beginning. You can also lower the final 10 minutes to 450°F.
Can I double this recipe?
Yes! Just be sure your mixing bowl and Dutch oven can handle the volume.
Join Us and Transform >
Don’t Be an Amateur! Master the Art of Sourdough Bread!

Leave a comment