
Ever wondered why your sourdough doesn’t turn out as airy and chewy as bakery loaves? The key might just be in mastering the sourdough windowpane test. This simple technique could be what’s standing between you and bread perfection.
TL;DR:
- Learn what the sourdough windowpane test is and why it’s crucial.
- Discover step-by-step how to perform the test correctly.
- Gain insights into troubleshooting common issues.
- Explore advanced tips from seasoned baker.
- Understand how mastering this test can transform your sourdough baking.
The Importance of the Windowpane Test in Sourdough Baking
The windowpane test is more than a mere baking technique; it is a critical method for assessing the maturity of your dough’s gluten network. Understanding this process can be transformative for home bakers aiming to replicate the kind of high-quality bread found in artisan bakeries.
Gluten, a protein matrix formed when wheat flour mixes with water, is responsible for capturing the carbon dioxide released during fermentation. This is what gives bread its rise and structure. Proper gluten development is essential for achieving the characteristic open, airy crumb of sourdough breads. However, determining when gluten has been sufficiently developed can be a challenge, especially for those new to sourdough baking.
The windowpane test provides a visual and tactile gauge for this development, serving not just to predict the final texture of your loaf, but also to prevent common issues such as overproofing or under-kneading—problems that can lead to dense, heavy breads.
What is the Sourdough Windowpane Test?
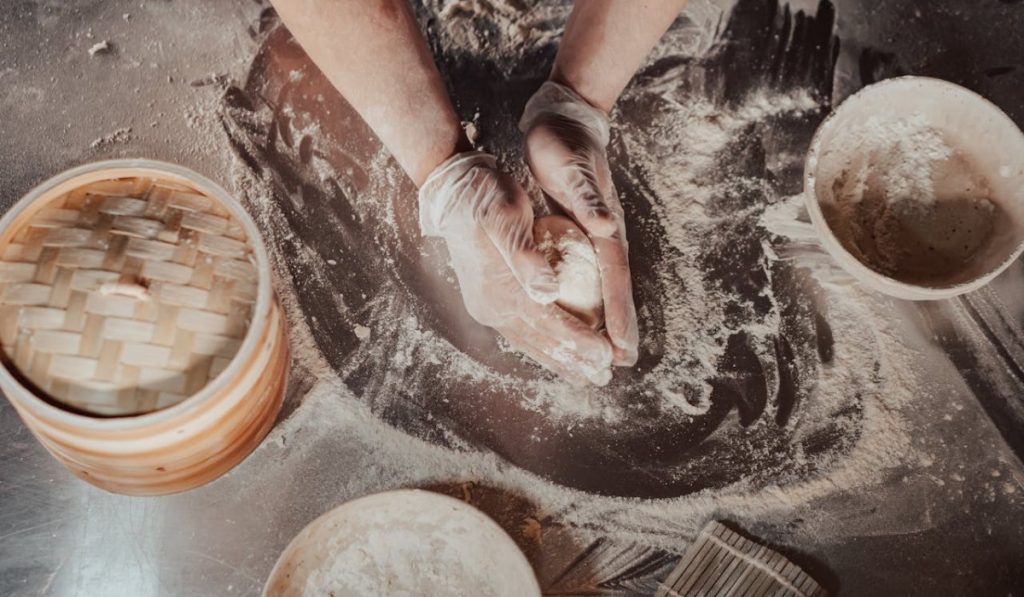
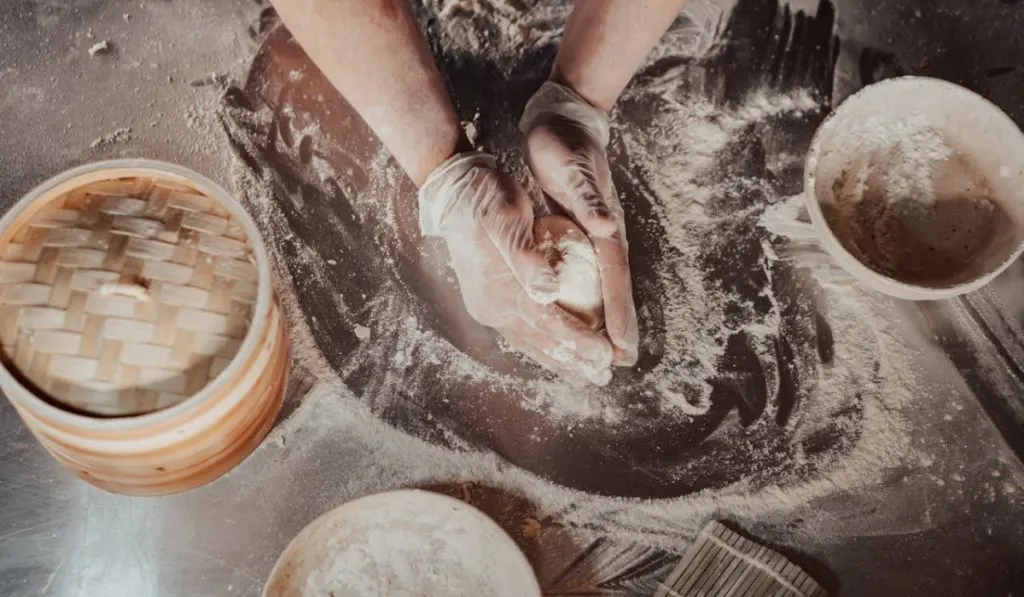
The windowpane test is a simple yet powerful way to check gluten development in dough. To perform the test, take a small piece of dough, roughly the size of a golf ball, and flatten it slightly between your fingers. Then, carefully stretch the dough from the center outwards, rotating it gradually to stretch it evenly into a thin membrane.
The goal is to stretch the dough thin enough to hold up to light without tearing, ideally forming a thin, translucent film that resembles a windowpane. If the dough can stretch to this degree without breaking, it suggests that the gluten strands are well-aligned and sufficiently strong, indicating that the dough is likely to hold its shape and trap gases effectively during baking.
If the dough tears before it becomes translucent, it’s a sign that the gluten is either underdeveloped or overly tight and needs more time to rest or further kneading. This test not only confirms the readiness of the dough for subsequent fermentation and shaping but also helps bakers adjust their process, such as hydration or kneading time, to achieve the desired outcome.
Step-by-Step Guide to Performing the Windowpane Test
Mastering the windowpane test can elevate your sourdough baking from good to great. Here’s a detailed, foolproof guide to conducting this crucial test effectively:
Step 1: Prepare the Dough
Begin by lightly flouring your hands to prevent sticking. After the dough has gone through its initial bulk fermentation, gently pinch off a small piece, about the size of a ping pong ball. This piece should be handled delicately to avoid degassing it completely.
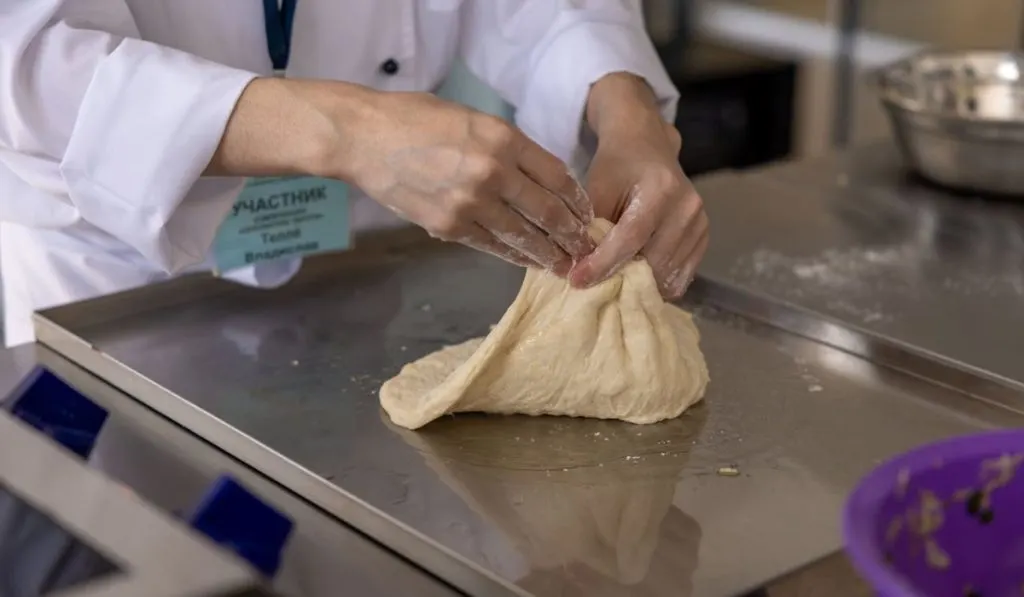
Step 2: Gently Stretch the Dough
With the dough piece in your hands, use your thumbs and forefingers to slowly start stretching the dough. The key here is gentleness and evenness. Begin in the center and gradually work your way outwards, carefully pulling the dough apart but not too thin too quickly as this can cause tearing.
Step 3: Assess the Transparency
Continue to stretch the dough until it begins to become translucent. You should be able to stretch it thin enough that you can see light through it, resembling a windowpane. Ideally, the stretched membrane should be thin but strong, without any holes or tears. If done correctly, the dough should have a smooth, even, and almost silky appearance.
Step 4: Evaluate and Adjust
If the dough tears before it reaches a translucent stage, this indicates underdevelopment. It could be due to insufficient kneading or not enough bulk fermentation time. In this case, return the dough to your mixing bowl, and either allow it to ferment longer or give it a few more kneads. Then, test another piece to see if the adjustments have helped. Conversely, if the dough stretches adequately but feels overly slack or runny, it may be over-fermented, suggesting that you should shorten the next fermentation cycle or adjust your yeast levels.
Understanding how to interpret the results of the windowpane test and knowing how to adjust your process accordingly are essential skills for any sourdough baker. This test not only helps you perfect your dough’s texture but also enhances your overall baking intuition.

Troubleshooting Common Windowpane Test Issues
Even experienced bakers can encounter issues with the windowpane test. Understanding how to diagnose and rectify these problems is key to consistently successful sourdough bread. Here’s a detailed guide to troubleshooting common issues you might face:
Immediate Tearing
If the dough tears immediately when you attempt the windowpane test, this is often a sign of underdevelopment. This can occur for several reasons:
- Insufficient kneading: The gluten hasn’t been worked enough to develop the necessary elasticity and strength. Increase the kneading time, ensuring you’re using effective techniques that stretch and fold the dough adequately.
- Low hydration: Dry dough has less flexibility and can tear easily. If the dough feels very stiff and hard to knead, gradually incorporate small amounts of water until it becomes more pliable and easier to stretch.
- Gluten quality: Sometimes, the quality of the flour can affect gluten development. Ensure you’re using a high-gluten or bread flour that’s appropriate for sourdough baking.
Sticky Dough
A sticky dough that doesn’t form a clean windowpane and leaves residue on your fingers may be too hydrated. Here’s how to adjust:
- Gradual flour addition: Rather than adding a large amount of flour at once, sprinkle small amounts of flour into the dough during the kneading process. This allows the flour to integrate smoothly without creating a stiff dough.
- Temperature control: High temperatures can make the dough stickier. If your baking environment is warm, consider reducing the water temperature you use, or shorten the fermentation time to keep the dough manageable.
- Fermentation adjustment: Over-fermented dough can also become excessively tacky and difficult to handle. If you suspect over-fermentation, reduce the yeast amount or fermentation time in your next batch.
By identifying and addressing these common issues, you can refine your technique and ensure that your sourdough reaches the ideal texture and structure for baking. Remember, mastering the windowpane test is as much about adjusting to what the dough tells you as it is about following steps.
Advanced Tips and Secrets
“The windowpane test is not just about technique; it’s about feeling the dough. Pay attention to its texture and elasticity. It tells you a lot about what your bread will be like”
Here are some advanced tips to help you master the windowpane test and enhance your sourdough baking:
- Use room temperature water during mixing: This helps to control the temperature of the dough, making it easier to manage during fermentation. If the water is too hot or too cold, it can affect yeast activity and gluten development.
- Consider the ambient temperature: Colder environments may slow down yeast activity, requiring longer fermentation times to achieve the same level of gluten development as in warmer conditions.
- Adjust hydration based on the flour type: Different flours absorb water differently. For example, whole wheat and rye flours may need more water compared to white bread flour. Understanding how your choice of flour interacts with water will help you adjust hydration levels more accurately.
- Incorporate autolyse: Before mixing salt and yeast, let your mixed flour and water rest for at least 20 to 30 minutes. This process, known as autolyse, helps gluten formation start naturally, which can make your windowpane test results more successful and improve the overall texture of your bread.
These tips are designed to not only help you pass the windowpane test but to also give you a deeper understanding of how different factors affect your dough, allowing you to bake with more precision and confidence.
Conclusion
Mastering the sourdough windowpane test is a significant step towards perfecting your baking skills. With practice and attention to detail, you’ll be baking loaves that not only taste great but are visually stunning as well.
FAQs
What is the windowpane test in baking?
The windowpane test is a method used to check gluten development in dough, indicating when it’s sufficiently kneaded and ready for further processing.
How do I know if I’ve passed the windowpane test?
If you can stretch a small piece of dough thin enough to be translucent without tearing, your dough has passed the test.
What if my dough fails the windowpane test?
Continue kneading or allow for more fermentation time. Adjust hydration levels as necessary based on the dough’s consistency.
Can I still bake my bread if the dough fails the windowpane test?
While you can bake the bread, it might not achieve the desired texture or airiness. It’s best to ensure the dough passes the test for optimal results.
Does the windowpane test work with all types of bread dough?
It is most effective with high-gluten doughs like sourdough, less so with softer dough types like those used for cakes or pastries.
For more tips and guides on sourdough baking, keep following our updates!
Join Us and Transform >
Don’t Be an Amateur! Master the Art of Sourdough Bread!

Leave a comment