

Welcome to the world of vacuum sealing, where freshness meets convenience in your kitchen! Have you ever wondered how to keep that loaf of sourdough as fresh as the day you bought it? The answer lies in effective vacuum sealing techniques, a game-changer for bread lovers. Dive into this guide filled with insights, tips, and advice tailored for those looking to extend their bread’s shelf life through vacuum sealing.
TL;DR
- Understand the benefits of vacuum sealing for bread preservation.
- Explore equipment and material recommendations for optimal results.
- Discover tips for prepping bread before vacuum sealing.
- Learn about storage durations and conditions post-vacuum sealing.
- Uncover creative uses for vacuum-sealed bread.
Why Vacuum Seal Your Bread?
Vacuum sealing isn’t just for meats and vegetables; it can significantly extend the shelf life of your bread. By removing air from the environment, this method prevents the growth of mold and bacteria, thus keeping bread fresh and delicious far longer than traditional storage methods.
Benefits of Vacuum Sealing Bread
- Extended Freshness: Vacuum sealing effectively retains the bread’s moisture and texture, preventing staleness and spoilage.
- Prevents Freezer Burn: By creating an airless environment, vacuum sealing protects bread from the dehydration and oxidation that causes freezer burn.
- Space Efficiency: Vacuum-sealed bread takes up less space, allowing for more efficient storage in freezers or pantries.
Optimal Conditions for Vacuum Sealing
- Cooling Time: Ensure the bread is completely cooled to room temperature before sealing to prevent condensation inside the package.
- Pre-Slicing: Consider slicing the bread prior to sealing if you plan to use it piece by piece, making it more convenient to thaw and serve.
Choosing the Right Equipment
Selecting the right vacuum sealer is crucial for effectively preserving the quality of your bread. It’s important to choose a model that can handle delicate items like bread without crushing them.
Features to Look For in a Vacuum Sealer
- Adjustable Vacuum Settings: Look for a vacuum sealer with settings that can be adjusted to a lower suction level to avoid compressing the bread excessively.
- Pulse Mode: A sealer with a pulse mode allows more control over the vacuum process, ideal for delicate items like baked goods.
- Accessory Port and Hose: Some sealers come with an external hose that can be used for vacuum sealing canisters, ideal for artisan or unusually shaped bread that might not fit a standard bag.
Recommended Vacuum Sealer Brands
- FoodSaver: Known for its reliability and variety of models that include gentle cycle options suitable for bread.
- Weston: Offers professional-quality sealers that are robust enough for frequent use with adjustable settings.
Preparation Is Key
Proper preparation can make or break your vacuum sealing success. Ensuring that the bread is cooled and properly wrapped before sealing is essential, as any oversight can lead to moisture build-up and spoilage.
Steps to Prepare Bread for Vacuum Sealing
- Cooling the Bread: Allow bread to cool completely to room temperature after baking. This prevents condensation from forming inside the seal, which can contribute to mold growth.
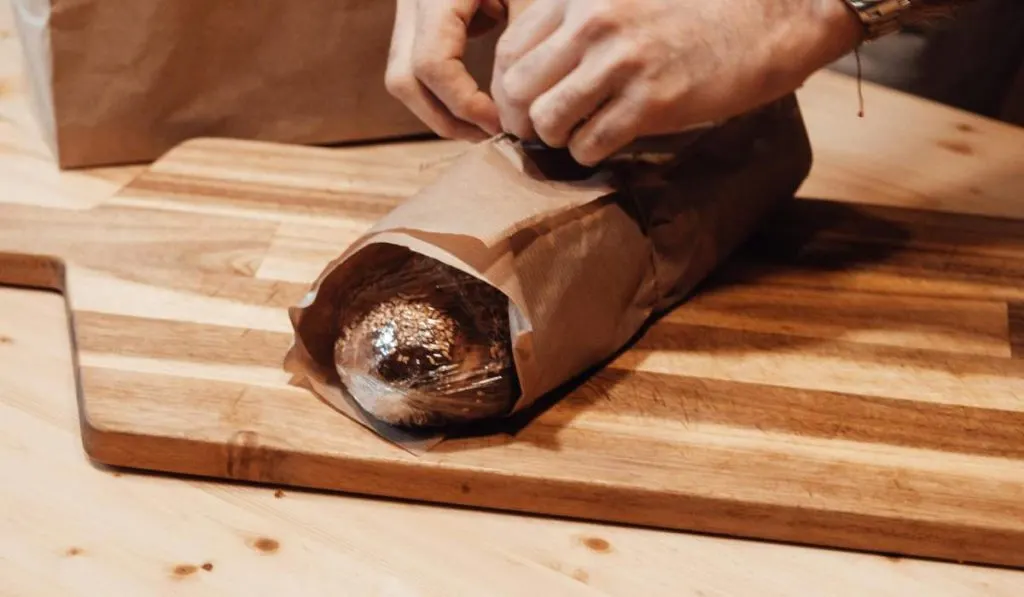
- Wrapping Techniques: Wrap the bread in freezer paper or parchment paper to protect its texture and integrity during the vacuum sealing process. This barrier also helps prevent freezer burn.
- Slicing Before Sealing: If convenient, slice your bread prior to sealing. This allows for easier usage post-freezing, letting you thaw only the amount you need without compromising the rest of the loaf.
Additional Tips for Effective Preparation
- Remove Crumbs: Brush off any loose crumbs before sealing, as they can puncture the vacuum seal bags and compromise the seal.
- Double Bagging: For added protection, especially for longer storage periods, consider double bagging the bread to further reduce the risk of air entry.
Storage and Longevity
Once sealed, bread can be stored in the freezer for up to three months without significant quality loss. This method is ideal for bulk bakers or those who love to have a variety of bread at their disposal without daily trips to the bakery.
Best Practices for Storing Vacuum Sealed Bread
- Temperature Consistency: Store the bread in a part of the freezer that maintains a consistent temperature to prevent thaw cycles that can affect the bread’s quality.
- Avoiding Compression: Place vacuum-sealed bread in a way that it isn’t crushed by other items in the freezer, as this can deform the bread and potentially break the seal.
Maximizing Freshness Post-Thawing
- Thawing Guidelines: Thaw sealed bread in the refrigerator overnight or at room temperature for a few hours before use. This slow thawing helps maintain the bread’s texture and flavor.
- Refreshing Bread: To restore the crust’s crispiness, briefly heat thawed bread in an oven preheated to 350 degrees Fahrenheit for 5-10 minutes.
Think Outside the Bread Box
Vacuum-sealed bread isn’t just for eating; it’s also perfect for creative culinary projects. Thawed bread maintains excellent texture for a variety of recipes, turning what could be considered stale bread into delectable treats.
Creative Uses for Vacuum-Sealed Bread
- French Toast: Use slices of vacuum-sealed bread to soak up egg mixture for French toast, providing a perfect texture that absorbs all the flavorful goodness.
- Homemade Croutons: Cube your bread and toss it with olive oil and seasonings before baking to create crunchy croutons that are ideal for salads or soups.
- Bread Pudding: Thawed bread is excellent for bread pudding, as it soaks up the custard mixture well, resulting in a rich and moist dessert.
- Bread Crumbs: Process dried bread slices into fine crumbs to use as a coating for fried foods or as a binding agent in meatballs and burgers.
Reviving Techniques
- Toasting: Lightly toast vacuum-sealed bread to enhance flavor and add crunch.
- Re-baking: Briefly heat bread in the oven to make it taste freshly baked. A few minutes at 350 degrees Fahrenheit can rejuvenate it perfectly.
Personal Insights
As an experienced journalist in the field of vacuum sealing, I’ve seen firsthand the diverse benefits this method can offer. My own experiments have yielded valuable insights into how different breads react to vacuum sealing.
Choosing the Right Bread for Vacuum Sealing
- Dense Breads: Heavier, denser breads like whole wheat, rye, and pumpernickel are ideal for vacuum sealing as they maintain their texture and don’t get crushed easily under pressure.
- Lighter Breads: Softer, more delicate breads such as white and sandwich loaves may require extra care. Wrap these lightly in tissue or parchment before sealing to protect their structure.
- Artisan Breads: Artisanal breads with hard crusts can benefit from vacuum sealing as it preserves the crust’s crunch. It’s important to cool these completely and possibly slice before sealing to maximize convenience and prevent moisture buildup.
Conclusion
Vacuum sealing bread is a smart, efficient way to preserve freshness, reduce waste, and enjoy your favorite loaves anytime. With the right tools and techniques, you can master this method and make the most of your bread-buying or baking endeavors.
FAQs
How long can vacuum-sealed bread last in the freezer?
Vacuum-sealed bread can be stored in the freezer for up to three months without a drop in quality.
Can I vacuum seal warm bread?
No, always allow bread to cool completely before vacuum sealing to prevent moisture buildup and mold.
What is the best way to thaw vacuum-sealed bread?
The best way to thaw it is by leaving it at room temperature or in the refrigerator overnight.
Can all types of bread be vacuum sealed?
Yes, but denser breads perform better than lighter ones, which might need extra padding to prevent crushing.
Is a special vacuum sealer needed for bread?
It’s advisable to use a vacuum sealer with adjustable settings to accommodate the delicate nature of bread.
How should I package bread before vacuum sealing?
To ensure optimal preservation, wrap the bread in parchment paper or a thin plastic wrap to prevent freezer burn and maintain moisture levels. This step is crucial for protecting the bread’s texture and flavor during extended storage.
Can vacuum sealing affect the flavor of bread?
Properly vacuum sealing bread should not affect its flavor. However, ensure the bread is completely cool and dry before sealing to maintain its original taste and texture.
Is it cost-effective to vacuum seal bread?
Yes, vacuum sealing can be very cost-effective, especially if you buy or bake bread in bulk. It reduces food waste by extending the bread’s shelf life, thus saving money in the long run.
Can I reseal a vacuum-sealed bread bag after opening?
Yes, if the bag is still in good condition, you can reseal it with a vacuum sealer. Just make sure the opening is clean and smooth for a secure seal. This method is perfect for those who want to use just a portion of the bread at a time.
Are there any breads that should not be vacuum sealed?
Very soft or airy breads like ciabatta or baguettes might not be ideal for vacuum sealing as they can easily be compressed. For these types of bread, consider partial vacuum sealing with less suction or using protective cushioning.
Join Us and Transform >
Don’t Be an Amateur! Master the Art of Sourdough Bread!

Leave a comment