The sourdough discard in these dinner rolls does almost none of the rising. A spoonful of instant yeast handles the lift, while the discard brings mild tang and tenderness.
That split job is what makes the two-hour timeline realistic. Active starter alone often needs many hours to raise an enriched dough.
Here, the yeast works fast, so the whole process fits between lunch cleanup and dinner.
I love that idea because discard usually ends up in pancakes or the trash. These rolls turn that leftover jar into sixteen buttery, pull-apart rounds baked snug in one pan.
The dough uses everyday ingredients like milk, an egg, butter, and bread flour. The method stays friendly to beginners, too.
Once you see how quickly it puffs in a warm kitchen, you may start saving discard on purpose.
Discard Brings Flavor While Yeast Does the Lifting
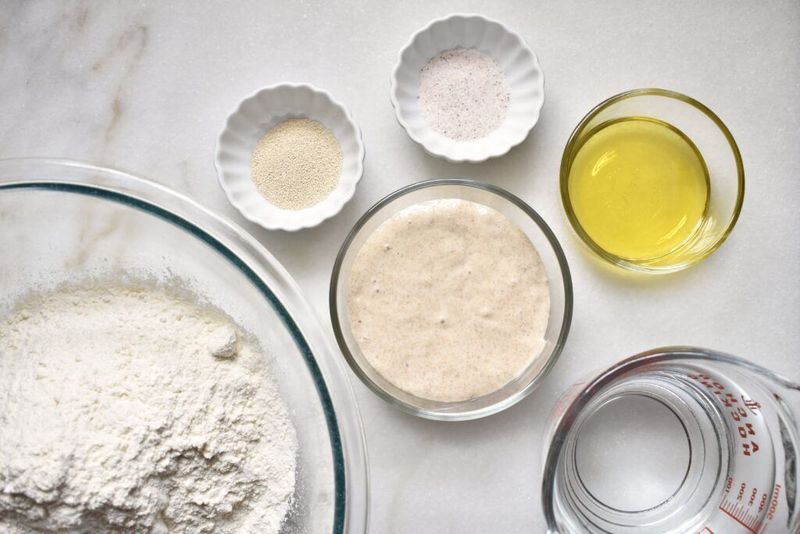
Sourdough discard is the starter you remove before feeding, and it has usually lost much of its rising power. In this recipe, that is perfectly fine.
Instant yeast takes charge of the rise, and the discard simply adds flavor.
Why not use discard alone? Its yeast population is often sleepy or weak, so it cannot reliably raise a rich dough on a short schedule.
Butter, sugar, and egg also slow fermentation, which makes the job even harder for a tired starter.
Instant yeast changes the math. It can double a soft dough in about an hour or so in a warm room.
That speed keeps the total time near two hours, from mixing bowl to bread basket.
The discard still earns its spot. It adds a gentle tang and a little extra moisture to the crumb.
You will not get the bold sourness of a long-fermented loaf, so expect a mild, rounded flavor instead.
Think of it as a friendly team. The yeast handles speed, and the discard handles personality.
Together they let you use leftover starter on a busy weeknight without planning a day ahead.
A Short Shopping List With Big Jobs

Eight simple ingredients make up the dough, and you probably own most of them already. You need milk, sourdough discard, one egg, unsalted butter, sugar, bread flour, instant yeast, and salt.
A little extra butter gets brushed on at the end.
Bread flour matters more than you might guess. Its higher protein builds a stronger gluten network, which helps rolls rise tall and hold a soft, springy crumb.
All-purpose flour can work, though the dough may feel a bit slacker and the rolls a little less lofty.
Milk, egg, and butter enrich the dough. Fat coats the gluten strands, which keeps the texture tender instead of chewy.
Sugar adds a hint of sweetness and feeds the yeast, while also helping the tops brown.
Salt is small but mighty. It seasons the bread and keeps the yeast from racing out of control.
Skipping it can leave the rolls bland and puffy in an odd way.
Discard works best at room temperature. Cold discard straight from the fridge is usable, but it chills the dough.
Expect a slower rise if you go that route.
Temperature Checks That Protect Your Yeast
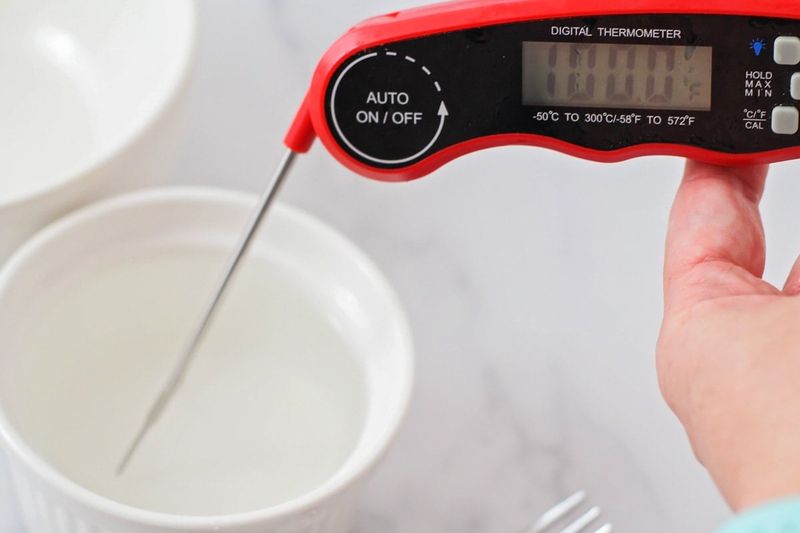
Yeast is tough in many ways, yet hot liquid can ruin it quickly. That is why this recipe asks for milk warmed to about 110°F (43°C).
Melted butter should cool to around the same temperature before mixing.
A quick-read thermometer takes the guesswork out. If you do not have one, the milk should feel comfortably warm on your wrist, similar to a baby bottle.
Steaming milk is far too hot, so let it rest a few minutes.
Why bother warming anything at all? Warm ingredients give instant yeast a head start.
A dough that begins around room temperature or slightly above will rise faster than one built from cold milk and chilled discard.
Your kitchen plays a role too. A chilly winter counter can stretch the rise well past the expected window.
Try placing the bowl in an oven with only the light switched on, which often creates a mild, steady warmth.
Room-temperature egg and discard help as well. Leave them out for about 30 minutes before you start.
These small steps add almost no work, yet they keep the two-hour goal within reach on most days.
Mixing and Kneading a Soft, Tacky Dough
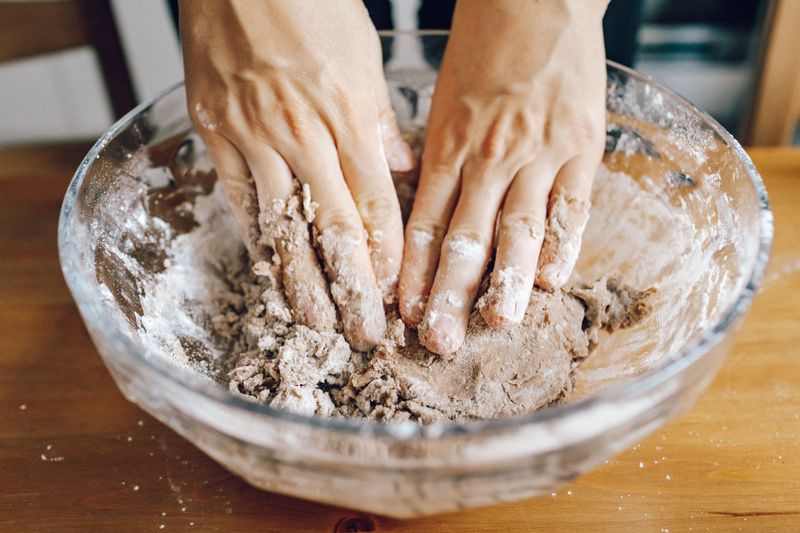
A stand mixer makes quick work of this dough, but your hands can do the job too. Start with the paddle attachment and stir the warm milk, discard, egg, melted butter, and sugar until smooth.
That step blends the wet ingredients evenly before flour arrives.
Next, add the bread flour, instant yeast, and salt. Swap to the dough hook and mix on low until a shaggy dough forms.
Then bump the speed to medium-low and knead for about 8 to 10 minutes.
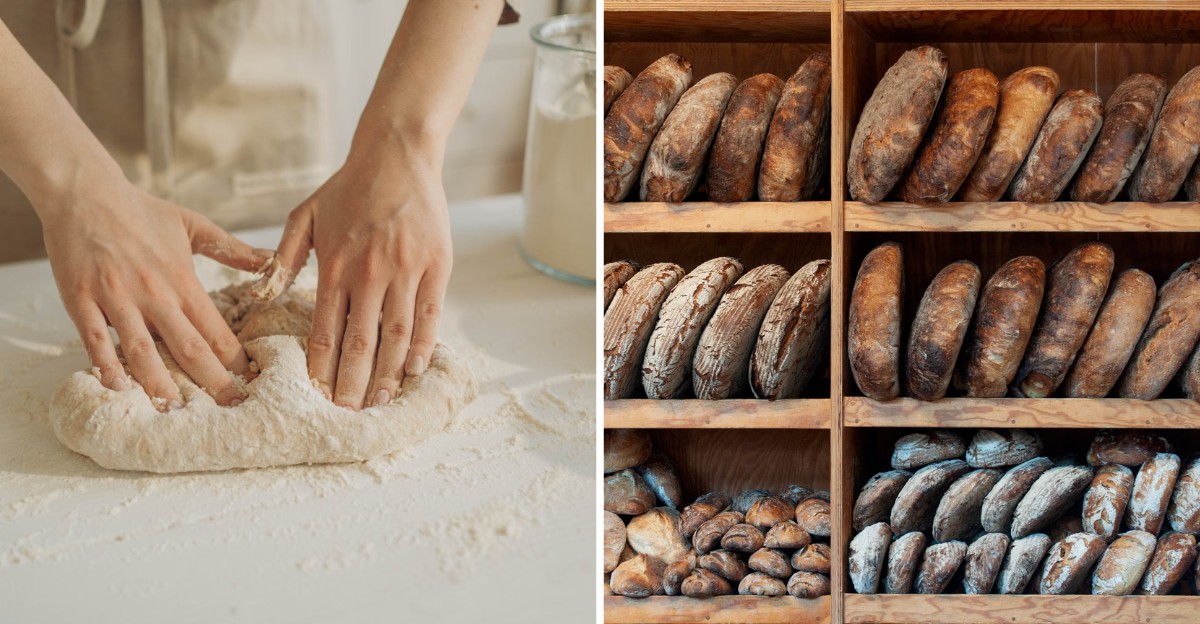
By hand, plan on 10 to 15 minutes of steady kneading. Push the dough away with the heel of your hand, fold it back, and turn it.
Your arms get a small workout, and the dough slowly turns silky.
What should you look for? The finished dough should feel smooth, elastic, and slightly tacky, while pulling away from the bowl sides.
It should not glue itself to your fingers.
Resist the urge to dump in extra flour. Too much makes rolls dense and dry.
A lightly oiled hand or a bench scraper handles stickiness far better than another heavy scoop.
Watching the First Rise Instead of the Clock

Your dough now heads into a greased bowl for its first rise, called bulk fermentation. Cover it with plastic wrap or a damp towel and set it somewhere warm.
Most of the time, it needs about 60 to 90 minutes.
That range is honest, not vague. Kitchen temperature, discard temperature, and even flour brand can nudge the timing.
A warm summer kitchen may finish early, while a cool one might need extra minutes.
Use your eyes first. The dough should look roughly doubled and feel airy and soft.
A straight-sided container or a piece of tape marking the starting height makes doubling easy to judge.
Then try the poke test. Press a floured finger about half an inch into the dough.
If the dent springs back slowly and leaves a small mark, you are ready to shape.
Underproofed dough springs back quickly and bakes into tight, heavy rolls. Overproofed dough may sag or collapse when poked, and it can taste a bit boozy.
Catching the sweet spot gives the yeast enough gas to fill the rolls without exhausting the gluten structure you built.
Sixteen Tight Little Balls, One Snug Pan
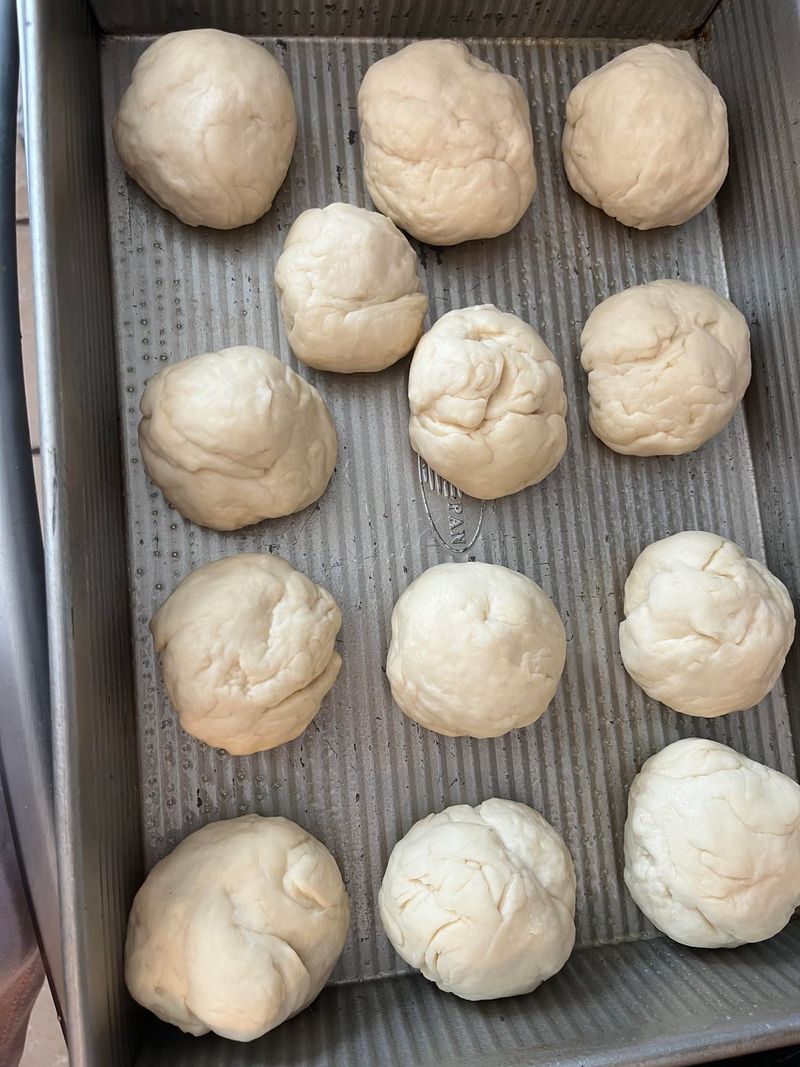
Here comes the fun part. Turn the risen dough onto a lightly floured counter and press out the largest bubbles gently.
Then divide it into 16 equal pieces.
A kitchen scale helps here. The full dough weighs a little over 860 grams, so each piece lands near 54 grams.
Equal sizes mean the rolls bake evenly, with no pale giants hiding beside browned little ones.
To shape, pull the edges of each piece underneath and pinch them together. Set the ball seam side down, cup your hand over it, and roll in small circles against the counter.
The light friction tightens the surface into a smooth, round top.
Surface tension is the goal. A taut skin helps rolls rise upward instead of spreading flat.
If the dough slides around too much, wipe away some flour, since a bit of grip makes shaping easier.
Arrange the balls in a greased 9×13 inch pan, four rows of four. Leave a little space between them.
As they proof and bake, they will press together into that classic pull-apart look with soft, tender sides.
The Full Recipe Card
Yield:Active Time: 16 rolls. about 25 minutes.
Rising:Bake: 60 to 90 minutes bulk, about 30 minutes proof. 18 to 22 minutes.
Total: roughly 2 to 2.5 hours, depending on warmth.
Ingredients: 220 g (3/4 cup plus 3 tbsp) milk warmed to 110°F; 100 g (1/3 cup) sourdough discard, room temperature; 1 large egg; 57 g (4 tbsp) unsalted butter, melted and cooled; 24 g (2 tbsp) sugar; 450 g (about 3 cups plus 3 tbsp) bread flour; 7 g (2 tsp) instant yeast; 9 g (1 1/2 tsp) salt; 2 tbsp melted butter for brushing.
1. Mix:2. Paddle the milk, discard, egg, butter, and sugar until smooth.
Add Dry:3. Knead:4. Add flour, yeast, and salt, then switch to the hook. 8 to 10 minutes on medium-low until smooth and slightly tacky.
Bulk Rise: Cover in a greased bowl until doubled, 60 to 90 minutes.
5. Shape:6. Divide into 16 balls and place in a greased 9×13 pan.
Proof:7. Cover about 30 minutes until puffy. Preheat to 350°F (175°C).
Bake:8. Finish: 18 to 22 minutes, until golden and 190 to 200°F inside. Brush with butter and cool briefly.
Golden Tops and a Buttery Finish
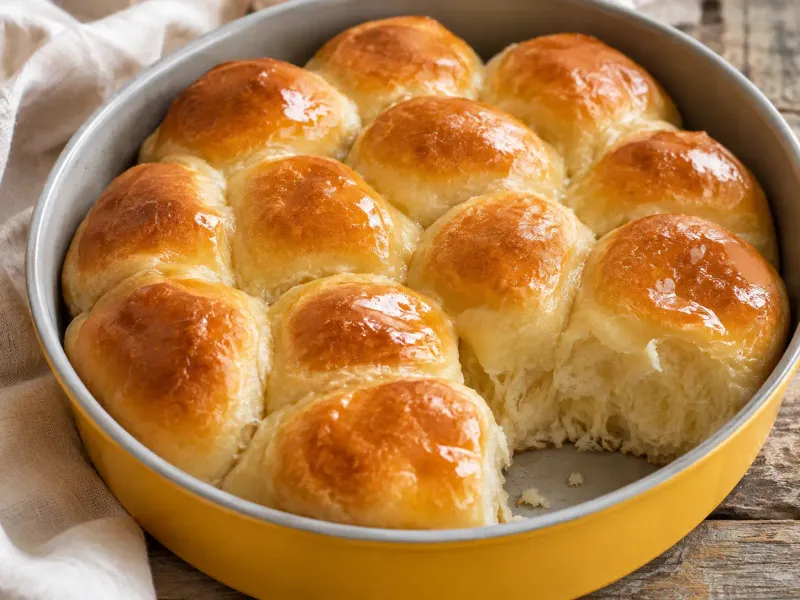
Once the shaped rolls look puffy and a gentle poke leaves a slowly filling dent, they are ready for heat. A moderate 350°F (175°C) oven bakes them through without scorching the sugary, buttery tops.
Preheat while the rolls finish proofing so no time gets wasted.
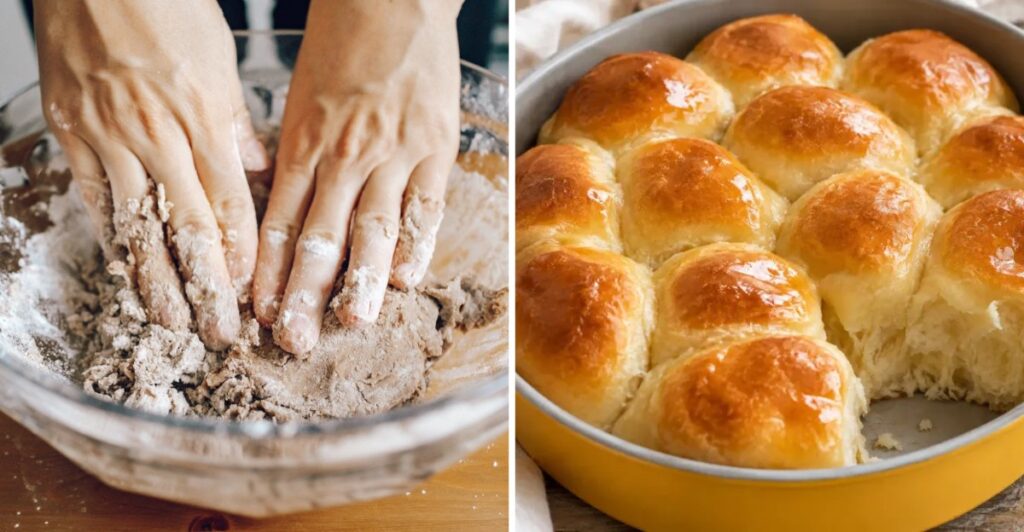
Bake for 18 to 22 minutes. The tops should turn an even golden brown.
Ovens vary, so start checking near the 18-minute mark.
Color alone can fool you, especially with enriched dough that browns early. An instant-read thermometer settles the question.
Slide it into a center roll, and look for 190 to 200°F (88 to 93°C).
Browning too fast? Lay a loose sheet of foil over the pan for the last few minutes.
That shields the tops while the middles catch up.
Right out of the oven, brush the rolls with the extra 2 tablespoons of melted butter. The warm crust soaks it up, adding shine and keeping the surface soft.
Let them rest in the pan for a few minutes, since steam is still finishing the crumb inside. Then pull one apart and admire those feathery sides.
Make-Ahead Options for Busy Holidays
Two hours is quick, but holiday kitchens get crowded. Luckily, this dough tolerates the fridge well.
Cold temperatures slow the yeast, giving you flexible pause points.
Option one: chill after the first rise. Let the dough double, then cover the bowl tightly and refrigerate overnight.
The next day, shape the cold dough, then proof until puffy before baking.
Option two: shape the night before. Arrange the balls in the pan, wrap it well, and refrigerate.
About 1 to 2 hours before baking, set the pan in a warm spot to lose its chill and finish rising.
Chilled dough takes longer to proof, so lean on the poke test rather than a timer. Rolls should look visibly puffy and pressed together before they go in.
Pulling them too early leads to tighter, smaller rolls.
A long cold rest may also deepen the tang a little, since fermentation keeps working slowly. That can be a welcome bonus for sourdough fans.
Just keep the pan tightly covered so the surface does not dry into a stiff skin, which can stop the rolls from rising smoothly.
Fixing Dense Rolls and Storing the Leftovers
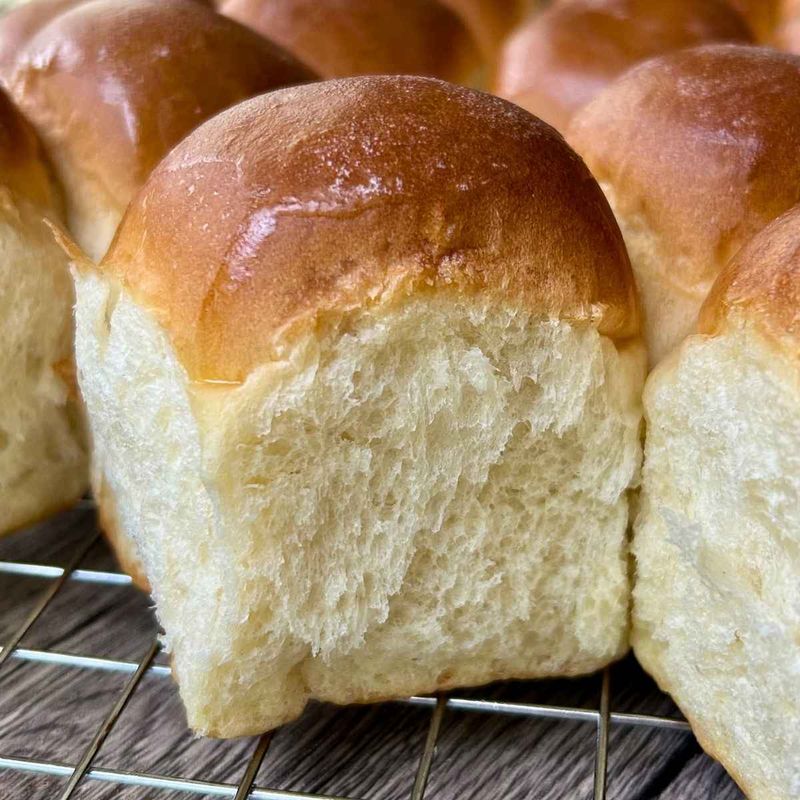
Dense, squat rolls usually point to one of a few culprits. Underproofing is the most common, especially in a cool kitchen.
Give the dough more time and judge by puffiness, not the clock.
Extra flour is another sneaky cause. A stiff dough fights the yeast and bakes up dry.
Short kneading also leaves weak gluten that cannot trap gas well, so knead until the dough feels smooth and stretchy.
Liquid hotter than 110°F can damage yeast, leaving a sluggish rise. Old yeast causes the same problem, so check the date on the package.
If your rolls spread flat, they may have overproofed or been shaped too loosely.
For leftovers, cool the rolls completely first. Trapped steam makes bags soggy.
Then store them in an airtight container or zip-top bag at room temperature for up to about three days.
To refresh, warm them in a 300°F (150°C) oven for a few minutes. For longer storage, freeze baked rolls airtight for up to a month.
Thaw at room temperature, then reheat briefly. A swipe of butter or honey afterward never hurts.