A sourdough starter fed at 1:1:1 can peak in roughly half the time when your kitchen hits the mid-80s. That speed is not a sign of a super-strong culture.
It often means the microbes are racing through their food and running out early.
The sharp, nail-polish smell many Florida bakers notice is usually hunger, not death. Warm yeast and bacteria burn through fresh flour fast, then produce acids and other byproducts while they wait for the next meal.
I love how much that one detail reframes the whole problem.
Florida adds a second twist with sticky humidity and long, hot summers. Many homes stay air-conditioned, yet counters near windows or appliances can run much warmer.
So your jar might live in a tiny tropical zone you never noticed.
Keeping a starter happy here comes down to temperature, food, and timing. Each piece is easier to manage than it sounds.
A Bubbly Sourdough Starter Jar That Peaks and Crashes Fast
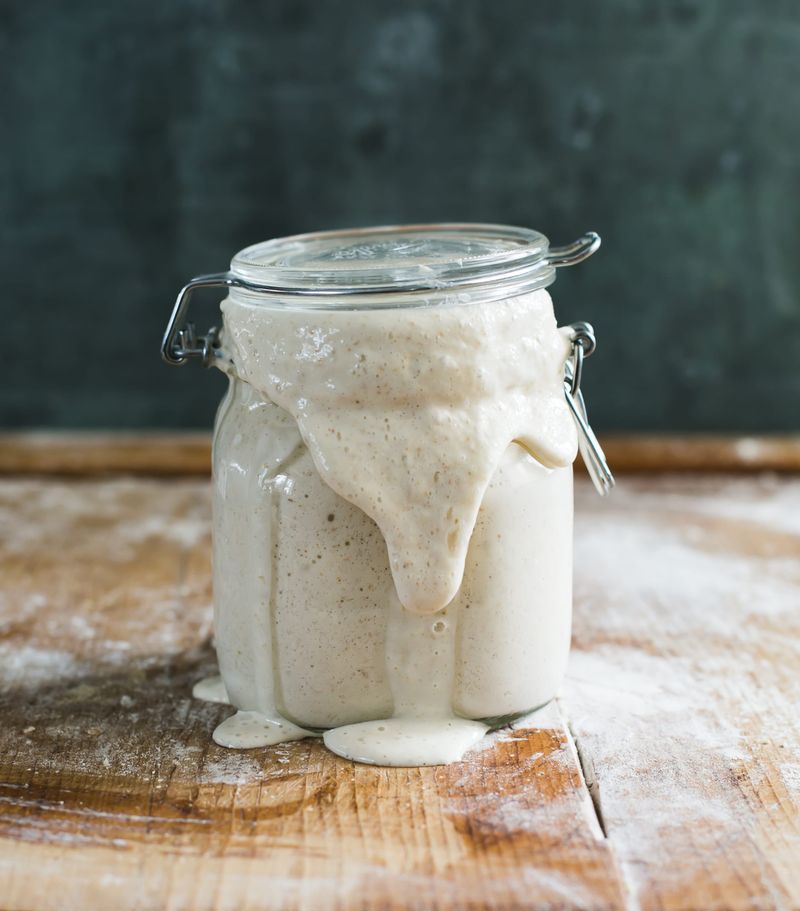
Streaks of dried starter high on the glass tell a story you missed while you were at work. Your culture rose, peaked, and sank back down hours before you checked.
Heat speeds up the yeast and bacteria inside your jar. Many baking educators consider roughly 75 to 78°F a comfortable range, and Florida counters often run warmer than that.
Above about 85°F, starters tend to rise and fall very quickly. You may notice a runny texture, a sharp acetone smell, or gray liquid on top within hours.
None of those signs automatically means your starter is dying. They usually mean it ate its food fast and is now hungry.
Watch for patterns rather than a single bad day. A starter that peaks within two or three hours of feeding is probably running too warm for a standard schedule.
Some other factors can create the same symptoms. Thin starter might come from extra water, weak flour, or a long gap since feeding, so think about all of them before changing everything.
A cheap kitchen thermometer helps you sort this out. Measure the air near the jar and the starter itself, because a spot by the stove can be several degrees warmer than the rest of the room.
Once you know the real temperature, the fixes in the next sections get much easier to tune.
Cold Water Feedings Slow Down a Racing Sourdough Starter
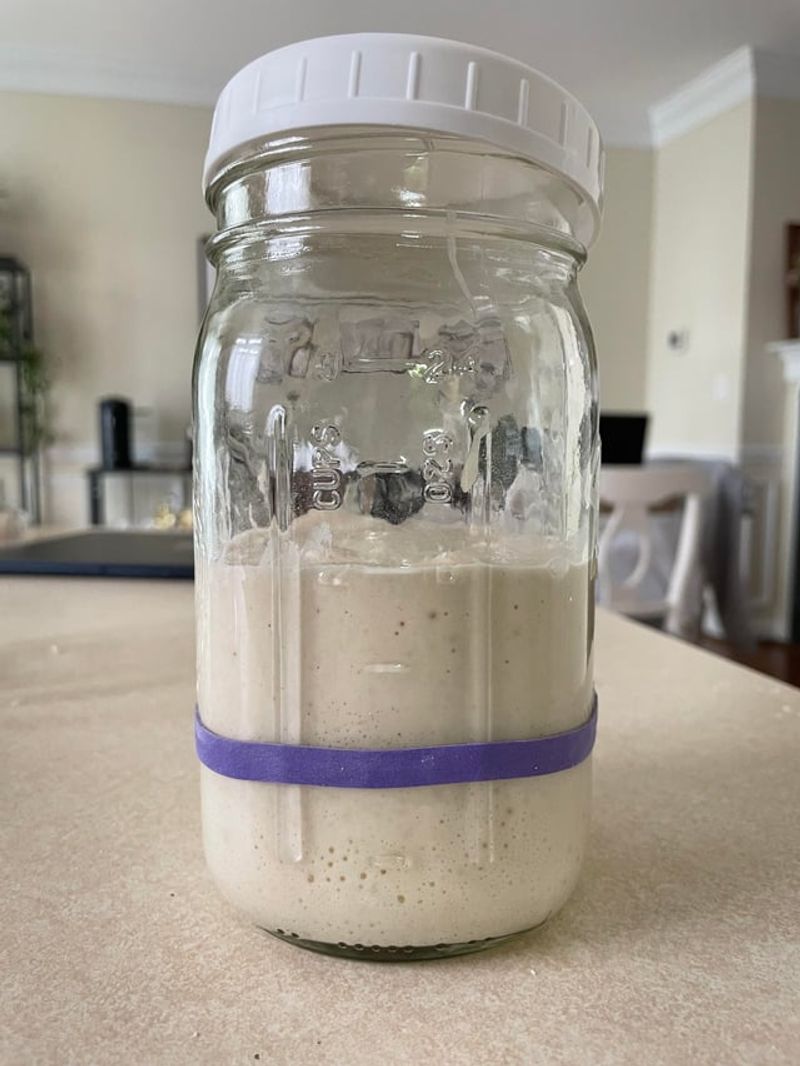
Water temperature is the easiest dial you can turn during a Florida summer. Your starter is mostly flour and water, so the water you add strongly shapes how warm the mix starts out.
Many bakers chill feeding water in the fridge before use. Aiming somewhere around 60 to 65°F is a common starting point in a warm kitchen.
Cooler water does not stop fermentation. It simply gives the microbes a slower start, which can push the peak later and make your schedule more manageable.
Try this simple routine for a few days:
1. Keep a bottle of filtered water in the fridge.
2. Weigh your starter, flour, and cold water as usual.
3. Stir well and note the time.
4. Mark the jar level with a rubber band.
5. Check when it peaks and record it.
Use the notes to adjust. If the peak still comes too early, colder water or a different feeding ratio may help more than tiny tweaks.
Avoid going straight to ice water every time without watching results. Very cold starter in a cooler room might slow down more than you want, especially if your house runs chilly air conditioning.
Chlorinated tap water is usually fine for many starters. If yours seems sluggish, letting tap water sit out or using filtered water is an easy thing to test.
Bigger Feeding Ratios Like 1:5:5 Stretch a Starter’s Meal
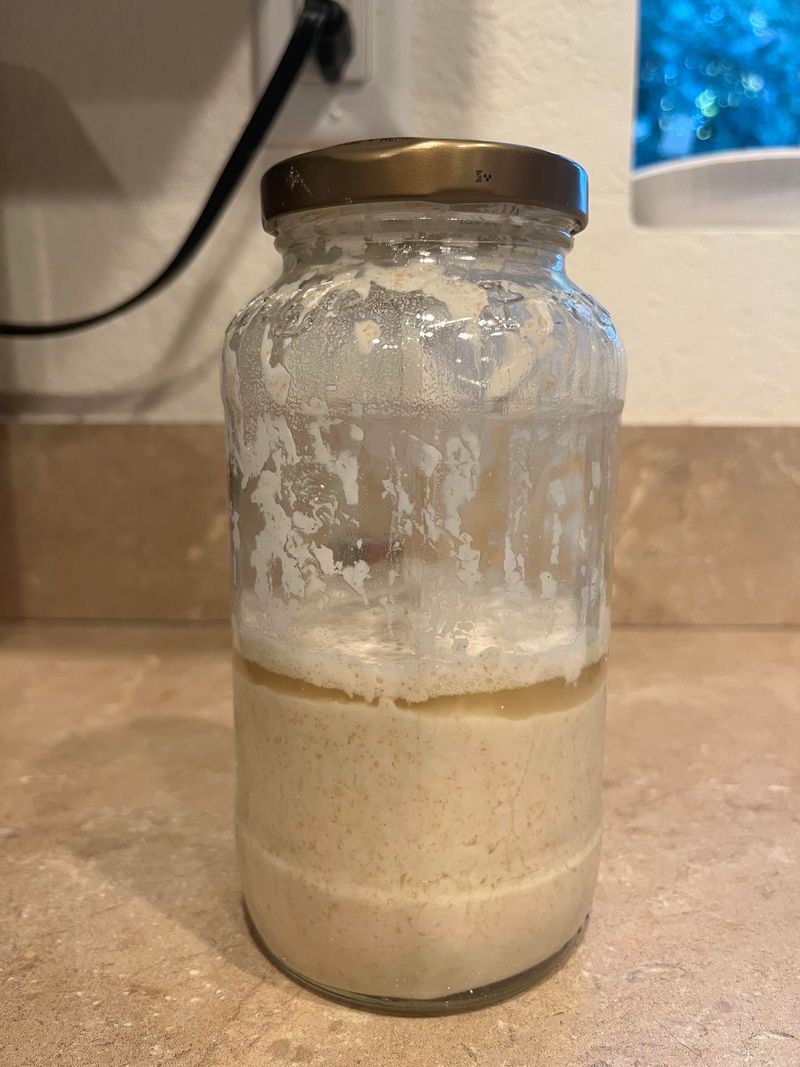
A small spoonful of starter can handle a surprisingly big meal. That idea is the backbone of hot-weather feeding.
A 1:1:1 ratio means equal weights of starter, flour, and water. In serious heat, that small amount of food can disappear fast, so your starter peaks and turns sour early.
Raising the ratio gives the microbes more food relative to their numbers. That usually slows the climb to peak and stretches your window.
Here are commonly used ratios by weight:
Warm kitchen, mid-70s °F: 1:2:2
Hot kitchen, around 80°F: 1:3:3 to 1:5:5
Very hot spots: 1:5:5 or higher
For example, 10 grams starter, 50 grams flour, and 50 grams water is a 1:5:5 feed. Weighing in grams makes this far more reliable than measuring with cups.
These numbers are starting points, not rules. Your flour, starter strength, and exact temperature all change the timing, so watch the jar and adjust.
A starter at a high ratio may look slow for the first few hours. Give it time before deciding it failed, and note when it actually peaks.
Bonus perk: smaller amounts of starter mean less discard. Keeping only 10 to 20 grams between feedings saves flour during long summer stretches.
Finding the Coolest Shelf for Your Starter Jar at Home
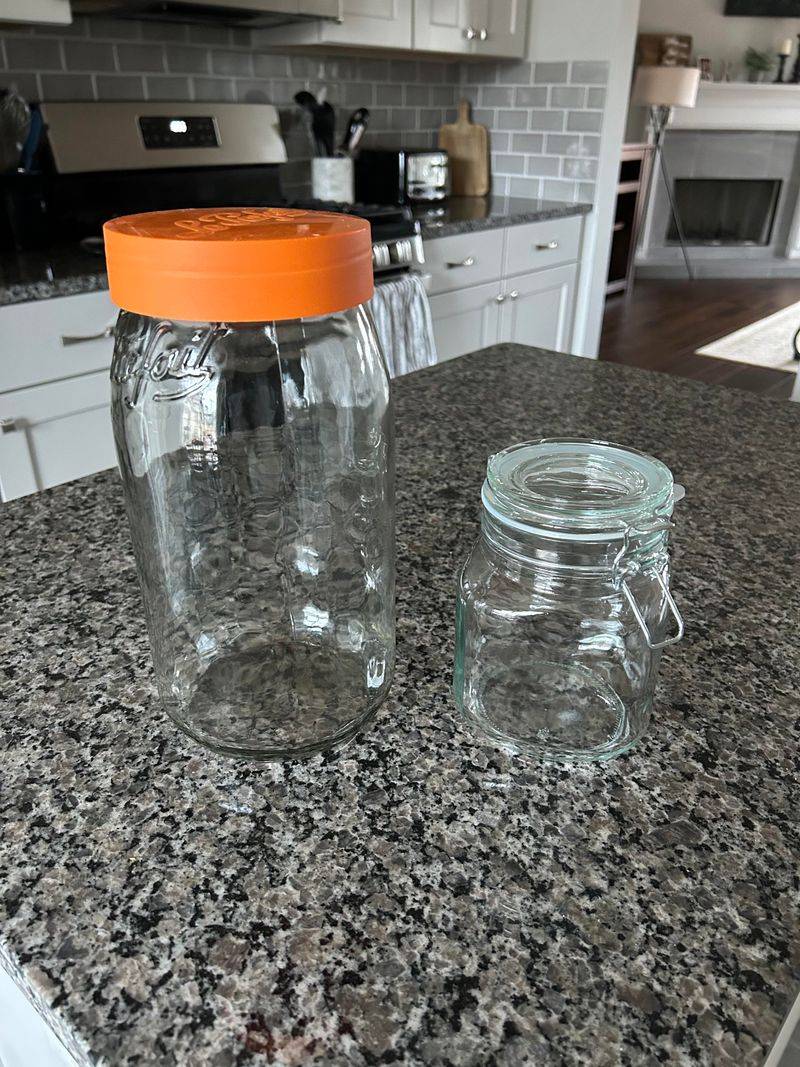
Microclimates exist inside your own kitchen. The top of the fridge, a sunny windowsill, and the spot beside the dishwasher can all run noticeably warmer than the thermostat setting.
Spend a day placing a thermometer in a few locations. Interior cabinets, pantry shelves, or a room far from exterior walls are often cooler.
Keep the jar out of direct sun. A clear glass jar in a sunbeam can warm up quickly, even in an air-conditioned home.
Some bakers use a cooler with a frozen gel pack nearby for short periods. Others set the jar in a shallow bowl of cool water, which helps pull heat away.
If you try these tricks, check temperature often. Cooling methods can drift, and you want steady conditions rather than wild swings.
Wine fridges or beverage coolers with adjustable settings are another option some serious bakers use. They are not necessary, but they can make a starter very predictable.
Power outages and hurricane season deserve a quick plan too. A starter can usually survive a few warm days if well fed before, though a dried backup is a smart safety net.
Consistency is the real goal here. A starter at a stable 76°F is easier to read than one bouncing between 72 and 88.
Refrigerated Sourdough Starter Makes Summer Baking Breaks Easy
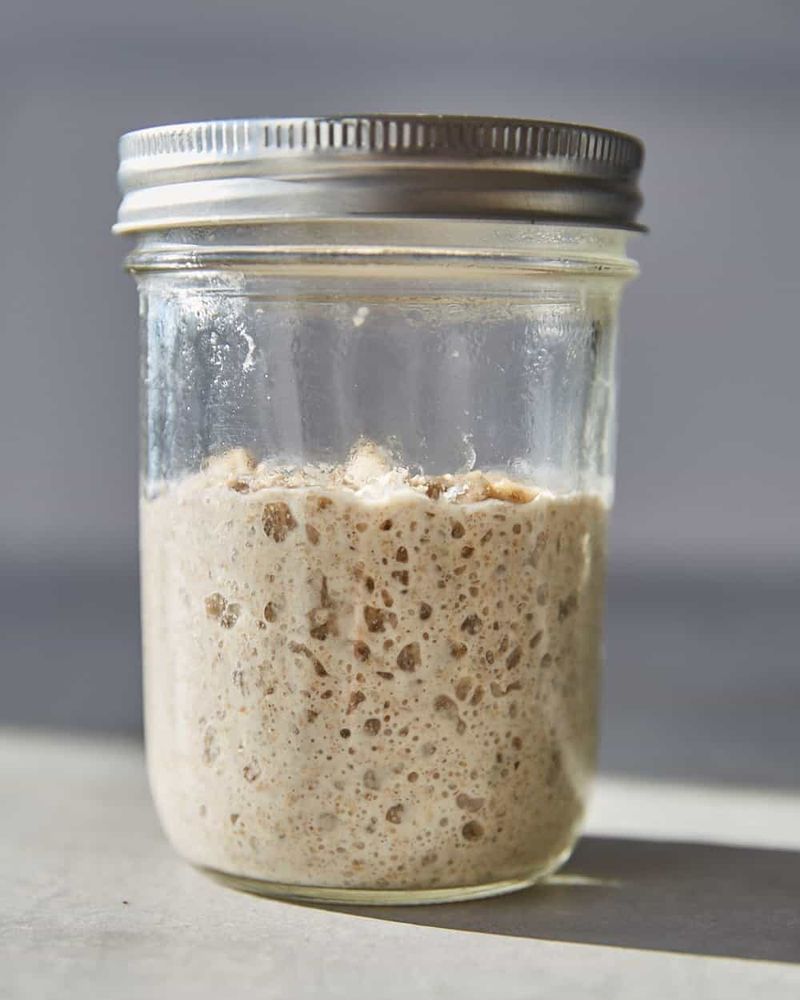
Your refrigerator is the best pause button a Florida baker owns. Cold slows the culture dramatically, so it needs food far less often.
Many bakers keep starter in the fridge and feed it about once a week. A healthy, established culture often handles this routine well.
To store it, feed your starter at a higher ratio such as 1:2:2 or 1:5:5. Let it sit at room temperature for an hour or two to get going, then refrigerate with a loose or lightly sealed lid.
Before baking, take it out and give it one or more room-temperature feedings. Bake once it is rising predictably and looks bubbly at peak, not just after a set number of hours.
Gray liquid on a fridge starter is common after a week. Pour it off or stir it in, then discard and feed as usual.
A brand new starter is a little different. Most guides suggest waiting until it rises reliably for several days before relying on the fridge.
Label the jar with the last feeding date. That tiny habit prevents the classic surprise of finding a forgotten jar a month later.
Fridge storage can make bread a bit more tangy. If you prefer milder loaves, an extra feeding or two before mixing dough can help.
Gray Hooch on Top of a Hungry Sourdough Starter
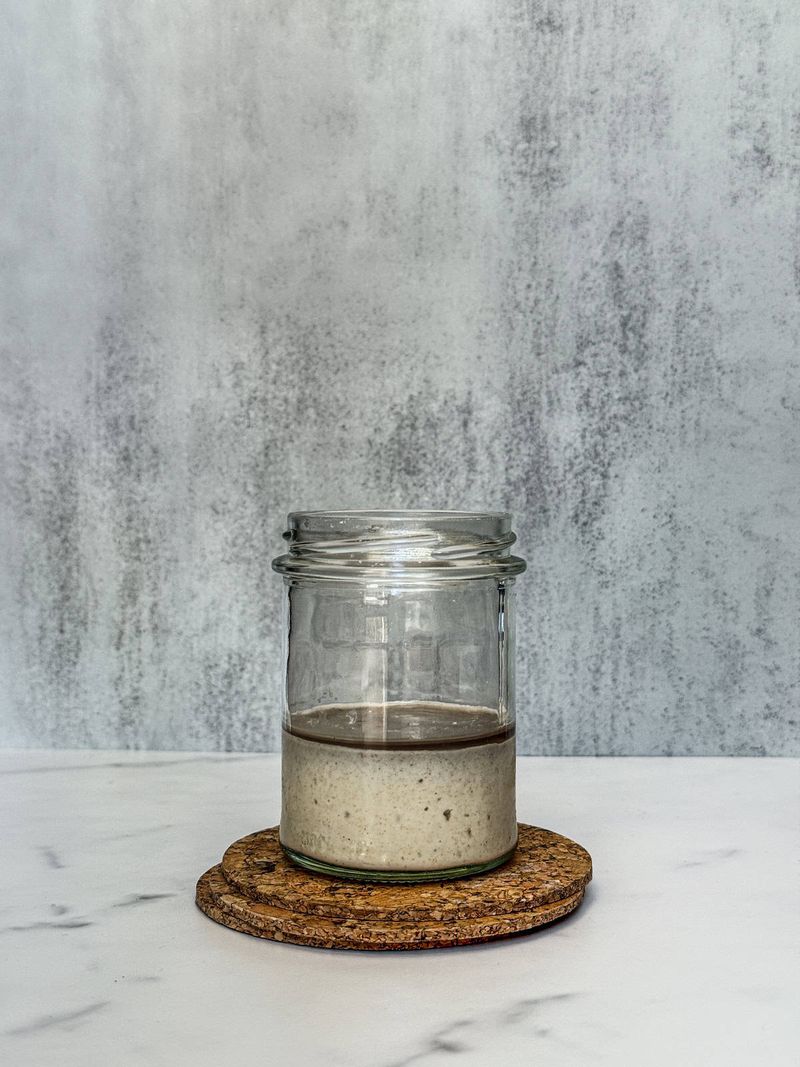
That murky liquid floating on top has a funny nickname: hooch. It is a classic signal that your starter ran out of food.
Hooch forms faster in heat because the culture eats faster. You might see it within hours in a hot kitchen, while a cool kitchen could take a day or more.
A sharp acetone or vinegar smell often comes with it. That smell is unpleasant but usually normal for a hungry starter.
Here is a simple response:
1. Pour off the liquid for a milder flavor, or stir it in for more tang.
2. Keep a small amount of starter.
3. Feed with fresh flour and water at your usual hot-weather ratio.
4. Watch for rising and bubbles.
Seeing hooch often is useful feedback. It suggests you need a higher ratio, cooler water, a cooler spot, or the fridge.
Hooch color can range from clear to gray to almost brown. Darker liquid usually just means it sat longer, but always check carefully for fuzzy spots or odd colors.
Food-safe judgment matters here. Liquid alone is not mold, yet anything fuzzy, pink, or orange is a different story covered next.
Pink Streaks or Fuzzy Mold Mean the Starter Jar Goes in the Trash
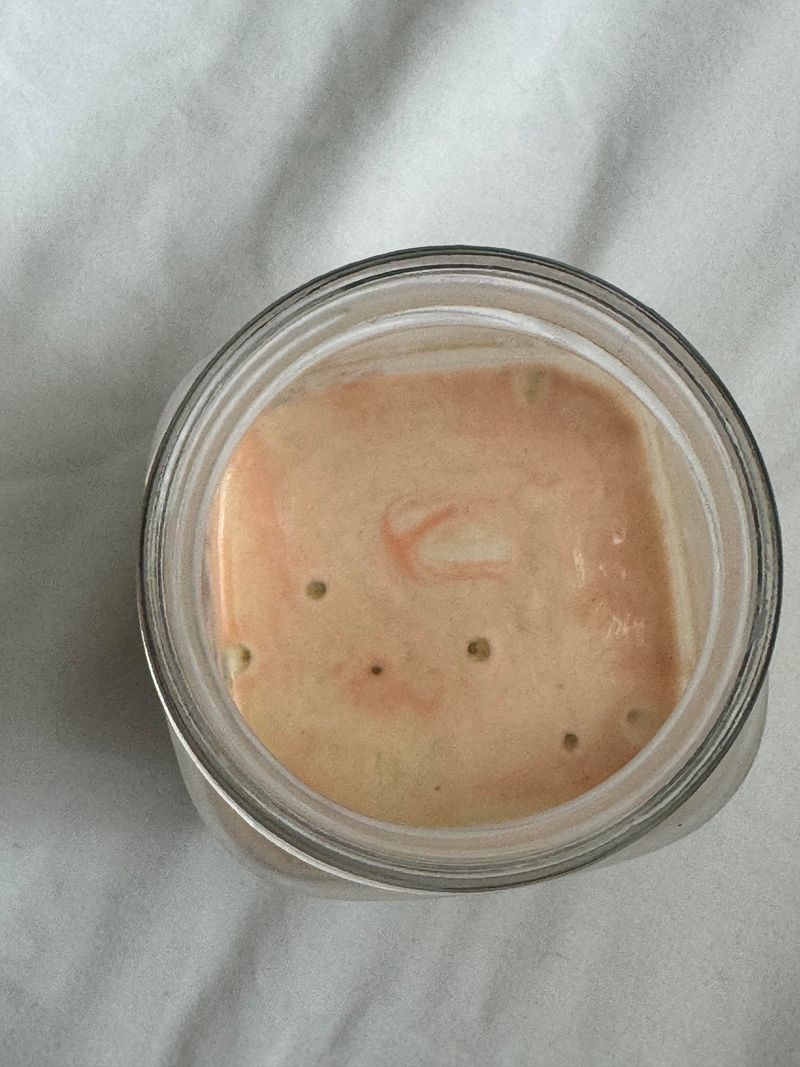
Warm, humid air is friendly to mold as well as yeast. That makes contamination checks more important for Florida starters left alone too long.
Healthy starter can look bubbly, beige, gray, or covered in liquid. It can smell sour, yeasty, or like nail polish when hungry.
Warning signs are different:
Fuzzy spots of any color
Pink or orange streaks or tints
Green, black, or blue patches
A rotten or putrid smell unlike normal sourness
If you see any of these, discard the entire starter. Do not scrape off the top and keep the rest, since mold and some bacteria can spread beyond what you see.
Wash the jar in hot, soapy water, or recycle it if you prefer. Then start fresh, or use a dried backup if you saved one.
A thin, dry crust on top is not the same thing as mold. It forms when the surface dries out and has no fuzz or strange color, though checking closely is always wise.
Prevention helps a lot. Clean jars, regular feeding, a loose lid, and refrigerator storage between bakes reduce the long, warm idle stretches where trouble grows.
When in doubt, throw it out. A starter is easy to replace, and safety wins.
Reviving a Sluggish Starter With Rye or Whole Wheat Flour
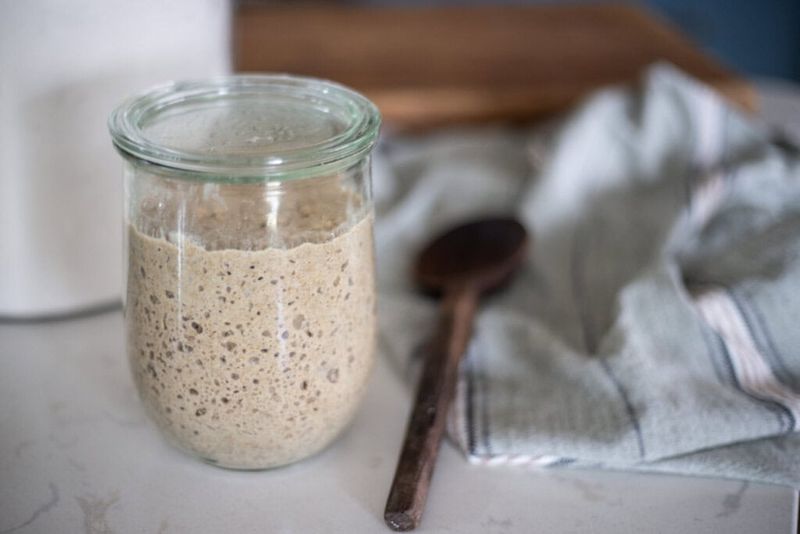
A starter that survived the heat but now barely rises is a common summer puzzle. Whole grain flour can be a helpful nudge.
Rye and whole wheat contain more nutrients and minerals than white flour. Many bakers find that swapping in some whole grain speeds up a tired culture.
Try replacing about a quarter to half of the feeding flour with rye or whole wheat. Keep your other habits consistent so you can tell whether the change helped.
A simple rescue rhythm looks like this:
1. Keep a tablespoon or so of the healthiest starter in a clean jar.
2. Feed at about 1:2:2 by weight.
3. Keep it in a moderate spot, ideally mid-70s °F.
4. Feed again roughly every 12 to 24 hours, based on activity.
Recovery time varies a lot. Some starters bounce back within a few days, while others need a week or more.
Use observable signs instead of a calendar. Look for a predictable rise, plenty of bubbles, and a pleasant sour smell after each feeding.
Whole grain starters tend to ferment faster, so they can peak sooner in heat. Balance that by keeping water cool or ratios higher once the culture perks up.
Dried Sourdough Starter Flakes as a Hurricane Season Backup
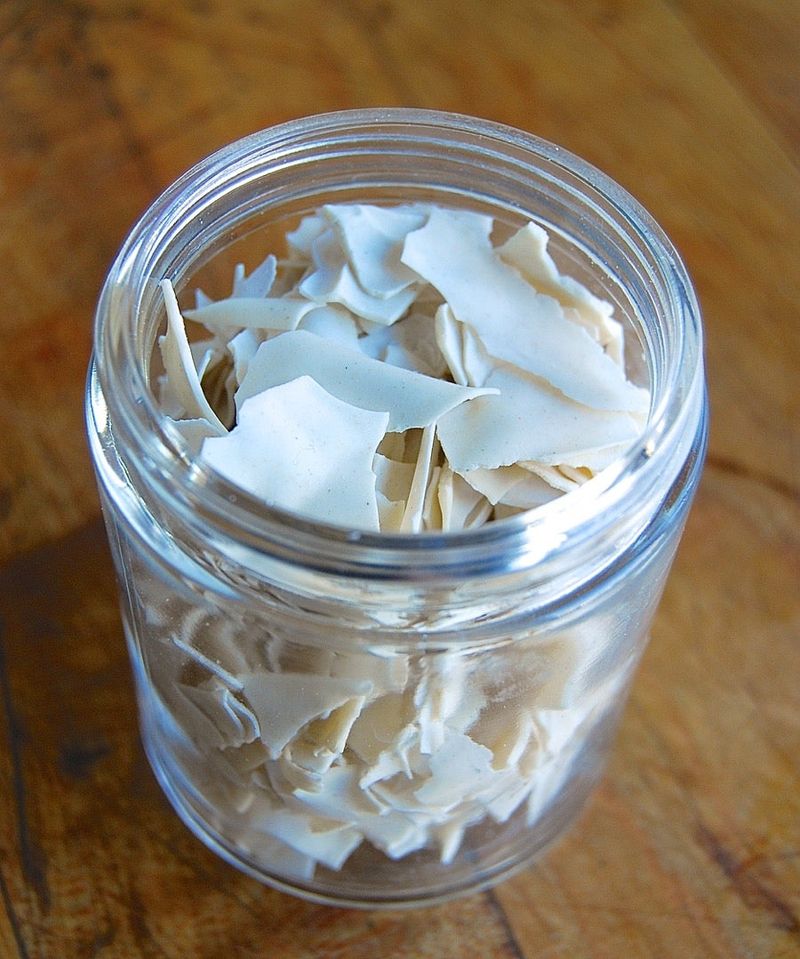
Florida bakers have one worry most others skip: days without power. A dried backup turns that worry into a small inconvenience.
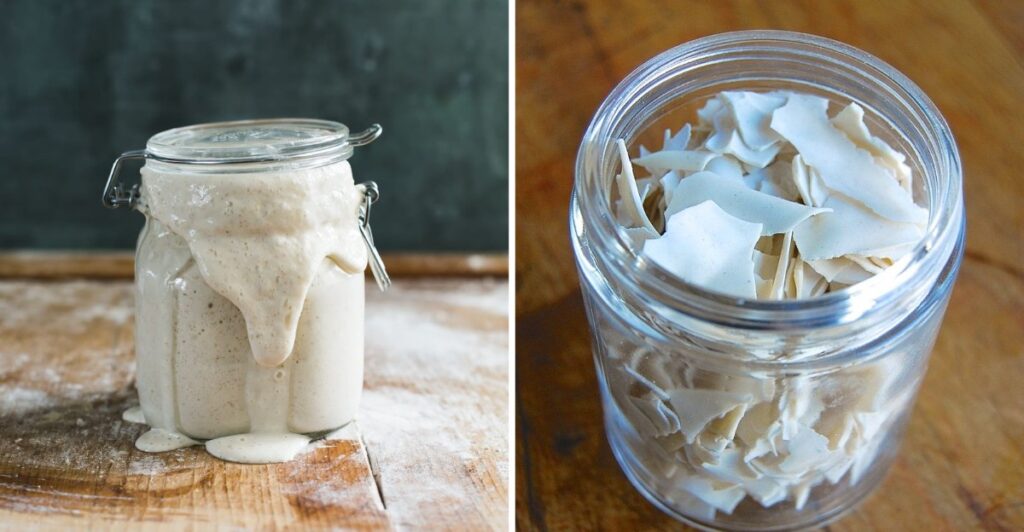
Drying is simple. Spread a thin layer of active, recently fed starter on parchment and let it dry completely at room temperature.
Once fully dry and brittle, break it into flakes. Store them in an airtight jar in a cool, dry spot, and many bakers also keep them in the fridge or freezer.
Humidity can slow drying a lot. Running the job in an air-conditioned room helps, and the layer must be completely dry before you seal it.
To revive it later:
1. Soak a small amount of flakes in water until softened.
2. Mix in flour to make a thick paste.
3. Feed regularly, watching for rising and bubbles.
Revival can take several days or longer. Patience matters, because dried cultures often wake slowly.
Discard the flakes if they show any mold or smell off. Dry storage is safe only when it stays dry.
Many bakers also keep a jar of starter in the freezer as a second plan. Results vary, so having flakes and a fridge jar gives you more than one path back to fresh bread.