A sourdough loaf can reach a safe internal temperature and still turn gummy if you slice it too soon. The crumb keeps setting on the cooling rack, long after the oven turns off.
That surprises a lot of bakers. Hot bread is still full of steam, and its starches have not firmed up yet.
Cut it early, and the knife smears soft crumb into a sticky, pasty layer that looks raw.
I love how much that one small detail explains. Still, early slicing is only one suspect.
A sleepy starter, weak gluten, too little or too much fermentation, a cool oven, or thirsty flour can all leave you with a heavy, damp loaf.
The tricky part is that several causes look alike on the cutting board. Reading the crumb carefully, and remembering how the dough behaved before baking, points you toward the right fix instead of a random guess.
Your Sliced Sourdough Crumb Is Already Telling You the Answer
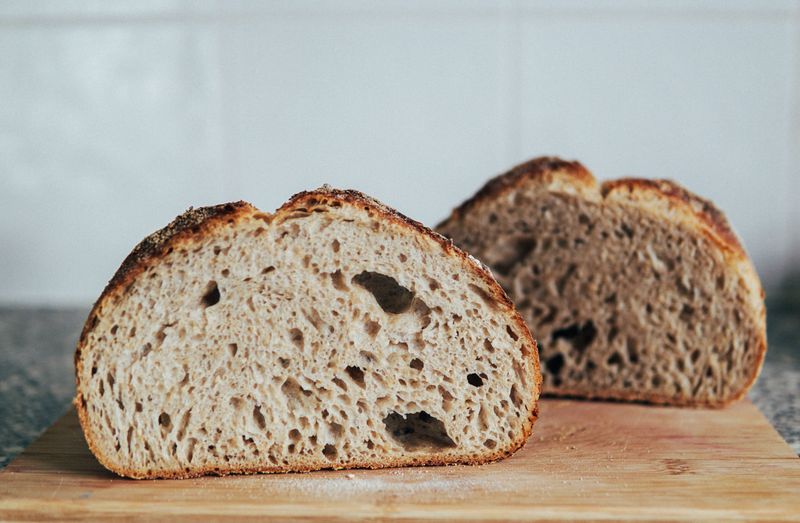
Think of a cut loaf as a crime scene with excellent evidence. Each crumb pattern hints at a different suspect, though none proves guilt on its own.
A tight, even crumb with few holes and a cakey feel often points to under-fermentation or a weak starter. A flat loaf with a sticky, shiny crumb and tiny bubbles more often suggests over-fermentation, where the gluten has worn out.
A tall loaf with a gummy streak near the bottom usually means underbaking or slicing while hot.
Those patterns overlap, so add context before deciding. Ask yourself how the dough felt during bulk fermentation.
Was it puffy and jiggly, or slack and soupy, or barely changed?
Write down your answers alongside a photo of the crumb. Notes like room temperature, flour type, and bulk time turn a frustrating loaf into useful data.
Change only one variable on your next bake. If you shorten fermentation, switch flour, and lower hydration all at once, you will never know which change helped.
Patience here saves you several more disappointing loaves and plenty of flour.
Slicing a Hot Sourdough Boule Turns the Crumb to Paste
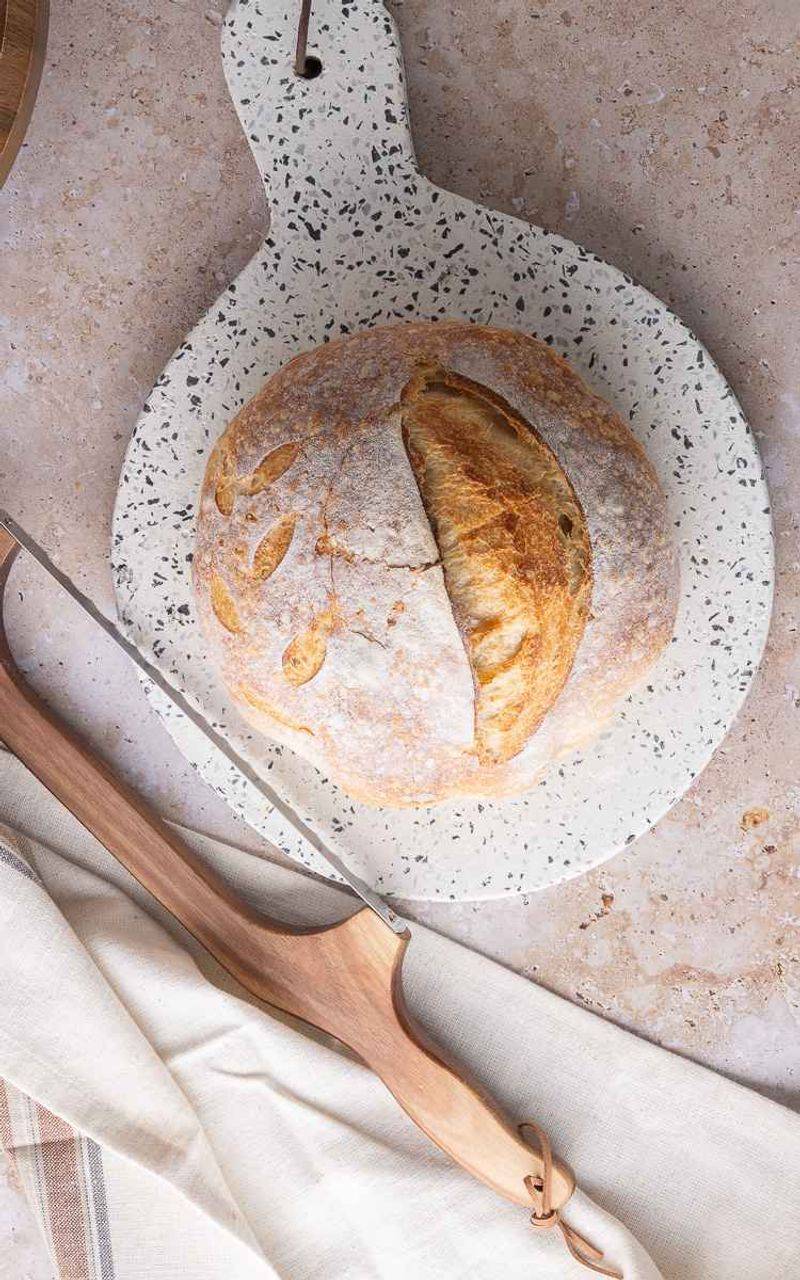
Steam does not leave a fresh loaf the moment the oven door opens. It keeps moving outward for a good while, and the crumb keeps firming as it goes.
When you cut too early, that soft, still-setting interior gets compressed by the knife. The result can look underbaked even when the bake was fine.
It is one of the easiest mistakes to fix, because the fix costs nothing.
Here is a simple cooling routine:
1. Move the loaf straight from the pan to a wire rack so the bottom does not steam.
2. Leave it uncovered while it cools.
3. Wait at least 1 to 2 hours, longer for large or high-hydration loaves.
4. Slice once the loaf feels close to room temperature, using a serrated knife.
A cooled crumb should feel springy rather than damp. If it still looks gummy after full cooling, the cause lies earlier in the process, so check your bake or fermentation next.
Craving warm bread anyway? Rewarm cooled slices in a toaster or a hot oven for a few minutes.
You get the toasty experience without sacrificing the texture of the whole loaf.
A Sleepy Sourdough Starter in the Jar Can Sink Your Loaf
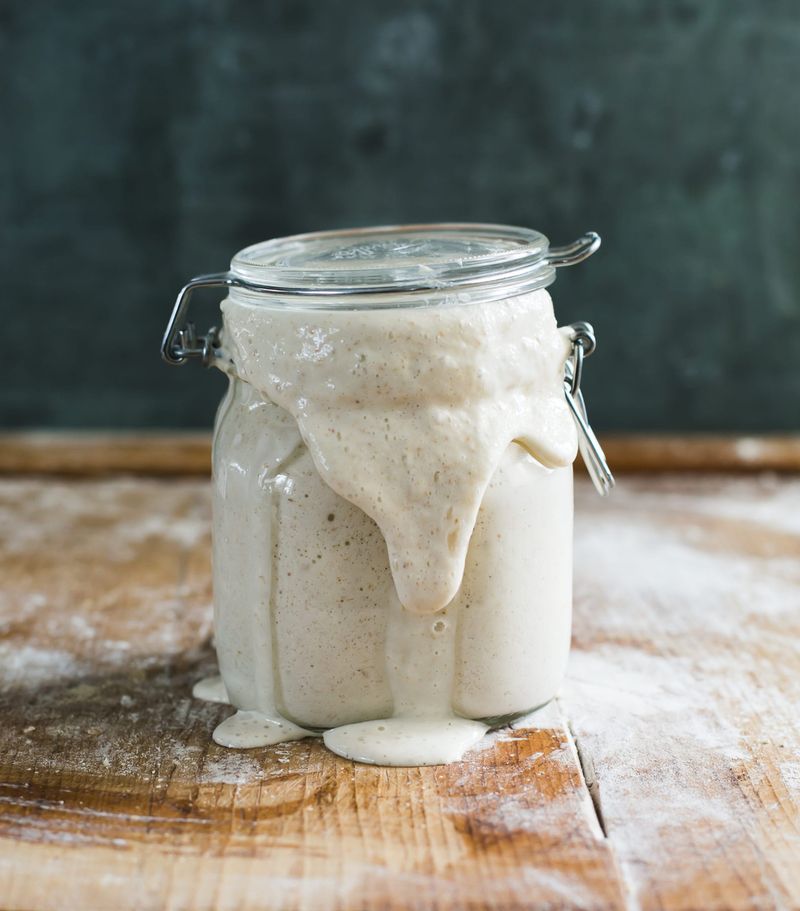
Plenty of dense loaves begin days earlier, inside the starter jar. A starter that bubbles a little but never really rises may not have enough power to lift a whole loaf.
Healthy starters tend to behave predictably. After feeding, they rise noticeably, often doubling, and show bubbles throughout with a domed or just-peaking top.
A rubber band around the jar makes that rise easy to track. Timing depends heavily on temperature, so watch the jar rather than the clock.
For a sluggish starter, try steady feedings at room temperature, roughly every 12 to 24 hours. Many bakers use ratios like 1:1:1 or 1:2:2 of starter, flour, and water by weight, with higher ratios slowing things down in a warm kitchen.
Keep going until the rise becomes reliable over several feedings, which can take days and sometimes longer.
Bake with the starter near its peak, not after it collapses into a soupy mess. A few drops of liquid on top are normal hunger signs.
Fuzzy mold, pink or orange streaks, or colored patches mean the whole starter should be discarded, not scraped and saved.
Stretch and Folds Build the Gluten Your Dough Was Missing
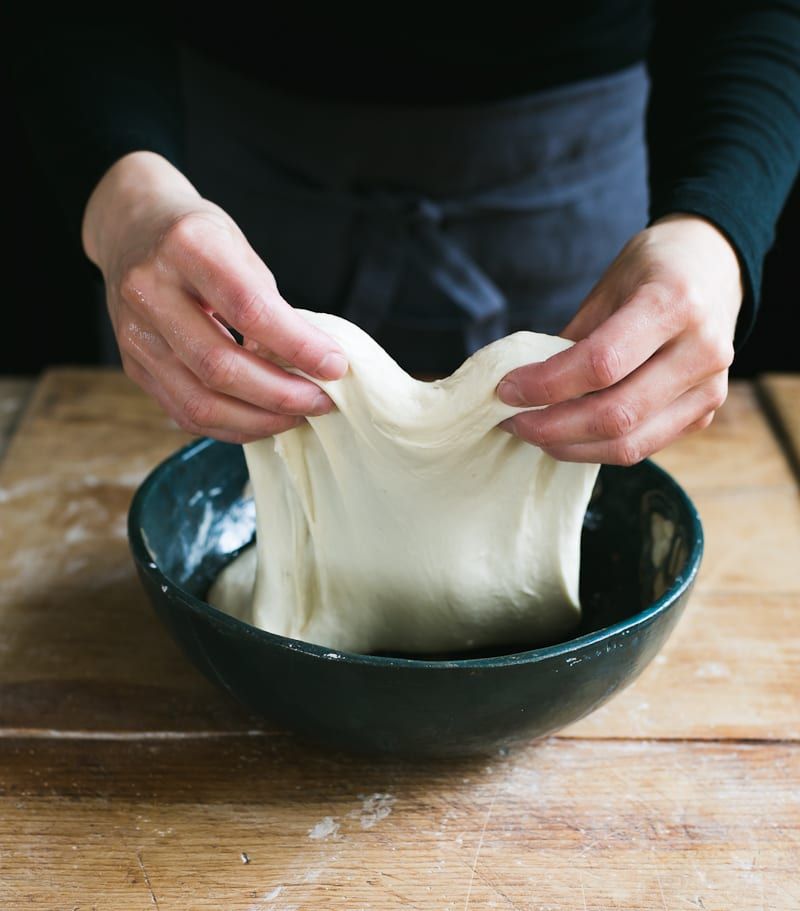
Gas from your starter needs somewhere to stay. Gluten forms the stretchy net that traps it, and a loose net lets bubbles escape, leaving a heavy crumb behind.
Weak gluten feels different from overfermented dough. Underdeveloped dough feels slack and shaggy early in bulk, tearing easily, while overfermented dough started strong and then turned soupy.
That difference matters, because the fixes go in opposite directions.
To build strength, try a few sets of stretch and folds or coil folds during the first half of bulk fermentation. Space them about 30 minutes apart, wetting your hands so the dough does not cling.
Stop when the dough holds its shape better, looks smoother, and stretches without ripping immediately.
The windowpane test can help, though sourdough rarely needs a perfect, tissue-thin window. A small piece that stretches fairly thin before tearing usually shows decent development.
Skip the urge to dump in extra flour every time the dough feels sticky. Sticky dough is often normal at higher hydration.
Strength usually comes from time and folding, while extra flour quietly changes your whole recipe.
Underproofed Dough Leaves Tight Crumb and Wild Ear Bursts
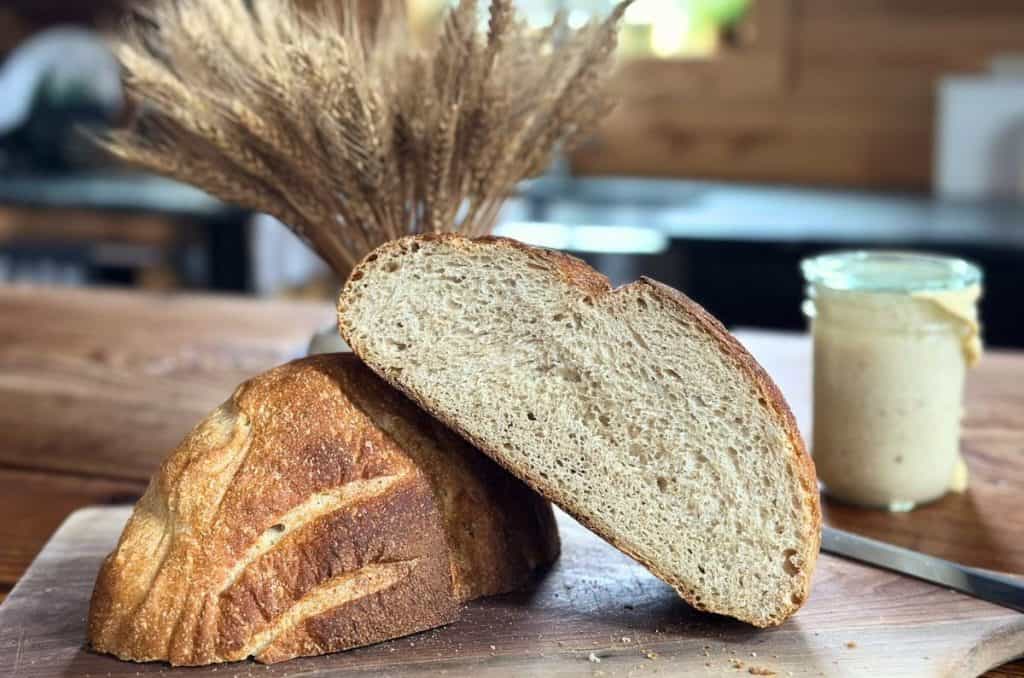
A loaf can look dramatic on the outside and still disappoint inside. Underproofed sourdough often bursts unevenly at the score, then reveals a tight, dense crumb, sometimes with a few big tunnels near the top.
That happens because the dough lacked enough gas and relaxation before baking. The oven tries to finish the job, but heat sets the crumb before it fully opens up.
Signs of underproofed dough before baking:
– Bulk dough barely grew and still looks smooth and tight.
– Few bubbles show on the sides or surface.
– A floured finger poke springs back almost instantly.
Many bakers aim for roughly a 50 to 75 percent rise during bulk, though the right amount depends on the flour, hydration, and starter. A straight-sided container makes that growth much easier to judge.
Cool kitchens slow everything down, so a recipe’s listed time may be far too short. Try a warmer spot, such as an oven with only the light on, while checking the dough often.
Let observations decide when bulk ends.
Overproofed Sourdough Spreads Flat Like a Pancake
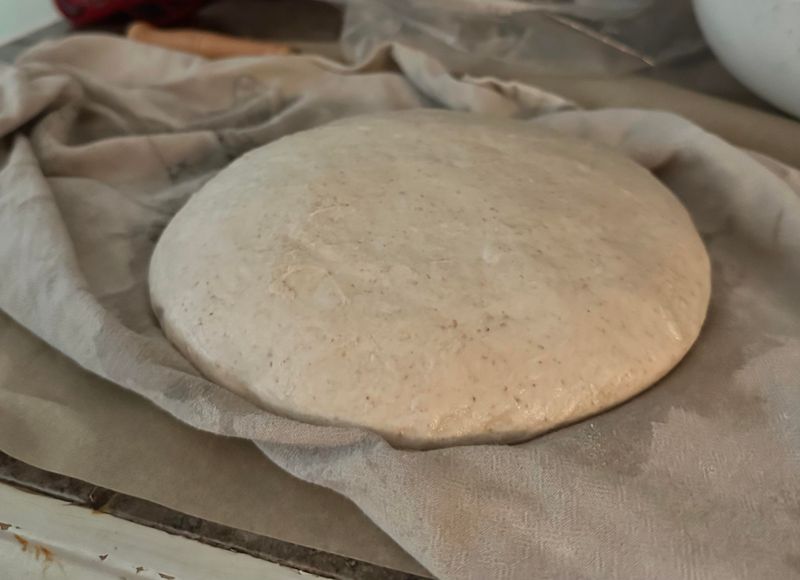
Funny thing about fermentation: too much of a good thing turns bread into a frisbee. Overproofed dough runs out of strength, slumps when you turn it out, and bakes into a flat loaf with a dense or gummy crumb.
Over long fermentation, acids and enzymes weaken the gluten. Eventually the dough cannot hold its gas, and big bubbles pop or collapse before the oven has a chance to help.
Common warning signs include:
– Dough that smells very sour and feels loose or soupy.
– Large bubbles bursting on the surface.
– A poke that leaves a dent with no spring back at all.
– Shaped dough that spreads quickly and will not hold a score.
Warm kitchens speed this up fast. Around 77°F, bulk can finish much sooner than many recipes suggest, so cooler mixing water and earlier check-ins help.
A smaller amount of starter also slows fermentation without changing your schedule much. Cold proofing in the fridge after shaping gives you extra control.
Just remember that cold slows fermentation but does not stop it completely.
A Dutch Oven Bake Needs More Heat and Time Than You Think
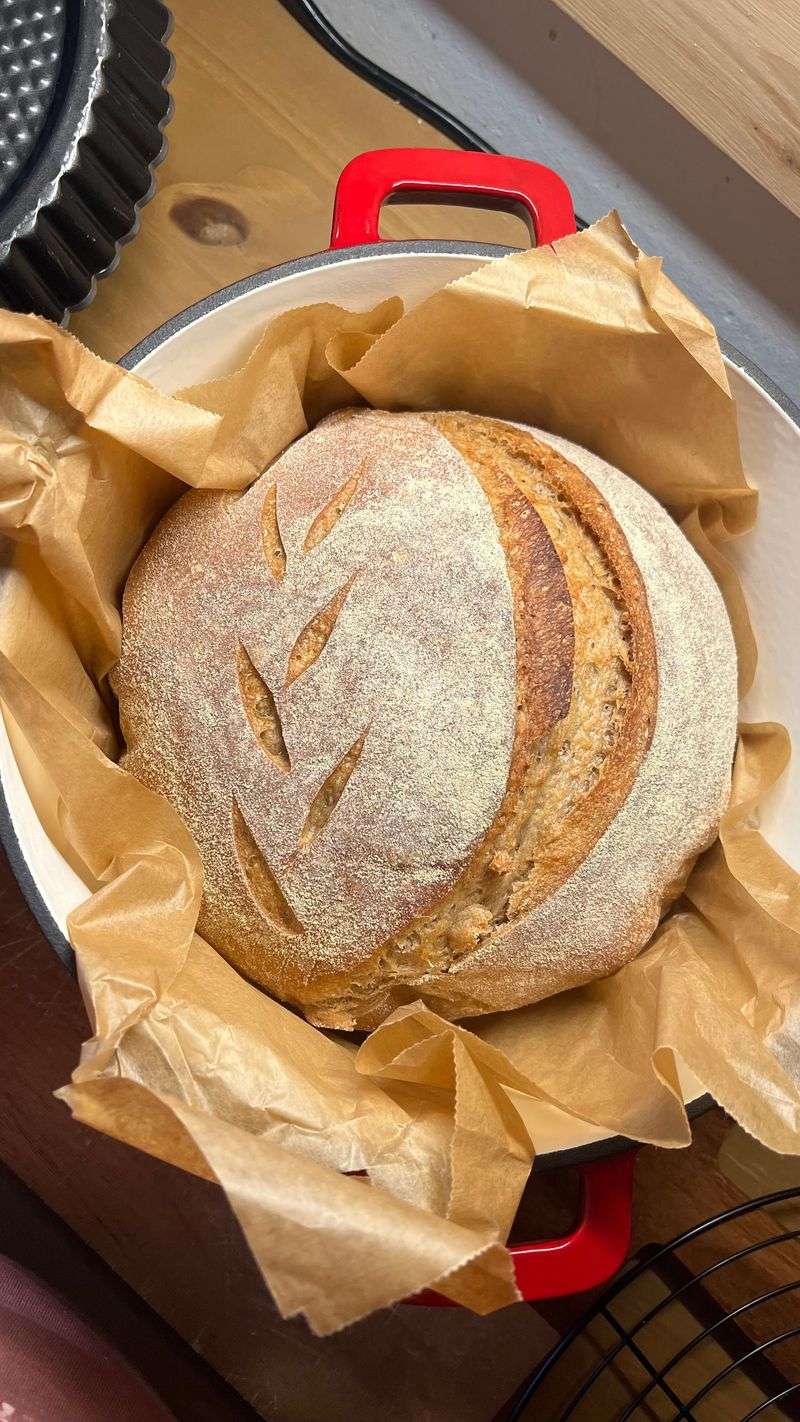
Many ovens run cooler than the dial claims, sometimes by quite a bit. An inexpensive oven thermometer reveals whether your 450 degrees is actually 410.
A cool oven or a short bake can leave the center damp and gummy, especially in large or wet loaves. Pale crusts are a frequent clue, since bakers often pull loaves early to avoid browning too much.
A practical bake plan for a typical Dutch oven boule:
1. Preheat the oven and pot thoroughly, often 45 to 60 minutes around 450 to 475°F.
2. Bake covered first to trap steam, following your recipe’s timing.
3. Uncover and continue until the crust is deeply browned.
4. Check the center with an instant-read thermometer, aiming for roughly 205 to 210°F.
Hitting that temperature is a helpful checkpoint, not a full guarantee. Very wet doughs may benefit from a few extra minutes even after reaching it.
Dark mahogany crust usually means flavor, not failure. If the bottom scorches before the inside finishes, slide a baking sheet onto the rack beneath the pot for shielding.
Whole Wheat, Rye, and High Hydration Change the Crumb
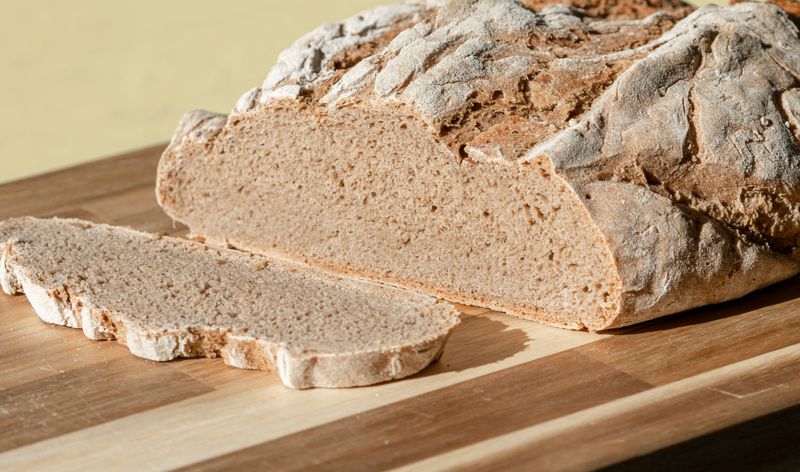
Rye flour forms very little useful gluten, which is why classic rye loaves are naturally denser and moister. That is the grain doing its job, not a mistake on your part.
Flour choice shapes your crumb more than many recipes admit. Higher-protein bread flour, often around 12 to 13 percent protein, usually builds stronger dough than all-purpose.
Whole wheat and rye absorb more water, and their bran can cut through gluten strands.
Hydration adds another twist. A recipe written for strong bread flour at 80 percent water can turn soupy and gummy with softer all-purpose flour.
Some useful adjustments:
– Drop hydration a few percent, perhaps toward 70 percent, when using all-purpose flour.
– Start whole grain additions around 20 to 30 percent of total flour.
– Weigh flour and water in grams, since cup measurements vary widely.
Flour brands differ too, even with similar labels. If a new bag suddenly behaves strangely, hold back a little water at mixing and add it gradually.
You can always add water, but taking it out is much harder.
Shaping a Sourdough Batard With Tension Holds the Rise
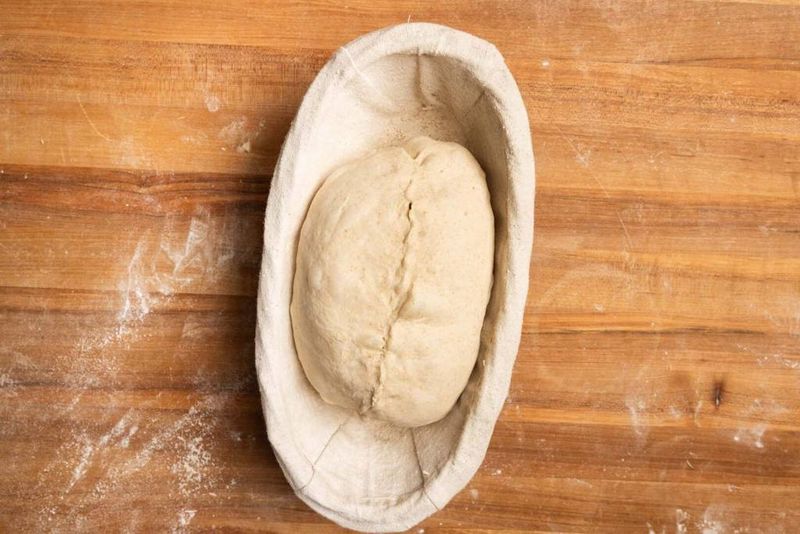
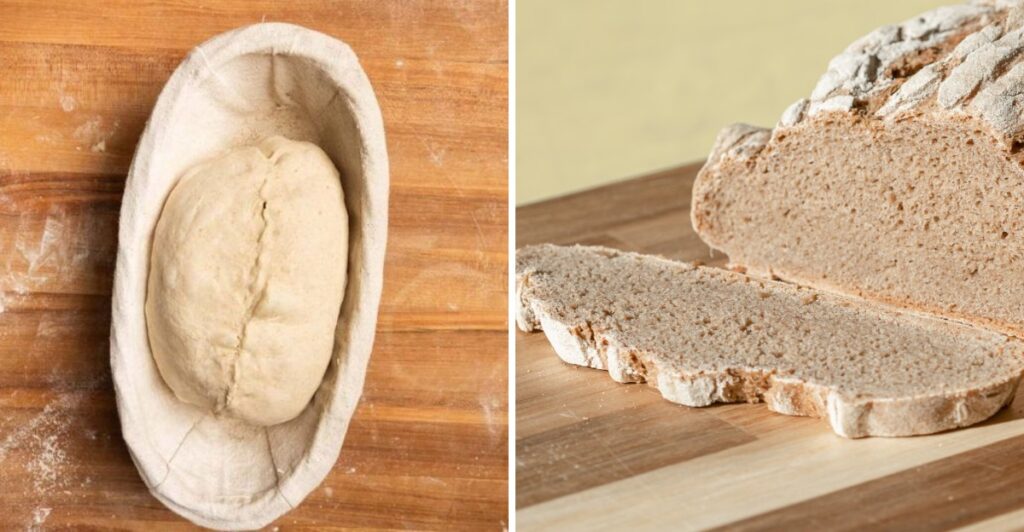
Shaping is the last chance to give your loaf a tight outer skin. That surface tension helps the dough rise upward in the oven instead of slumping sideways into a dense, low slab.
Loose shaping can mimic overproofing, which confuses plenty of bakers. If bulk looked healthy but the shaped loaf spread quickly, weak tension might be the real issue.
A quick shaping checklist:
– Use only a light dusting of flour so the dough can grip the counter.
– Pre-shape into a loose round, then rest it 20 to 30 minutes.
– Fold and roll the dough firmly, dragging it toward you to tighten the skin.
– Stop when the surface looks smooth and taut without tearing.
Pressing every bubble out is unnecessary and can make the crumb tighter. Handle the dough confidently but gently, keeping some of that hard-earned gas inside.
Got a stubborn gummy problem? Run through these sections in order, from crumb to cooling.
Most dense loaves trace back to one or two causes, and testing them one bake at a time reveals which ones apply to your kitchen.