
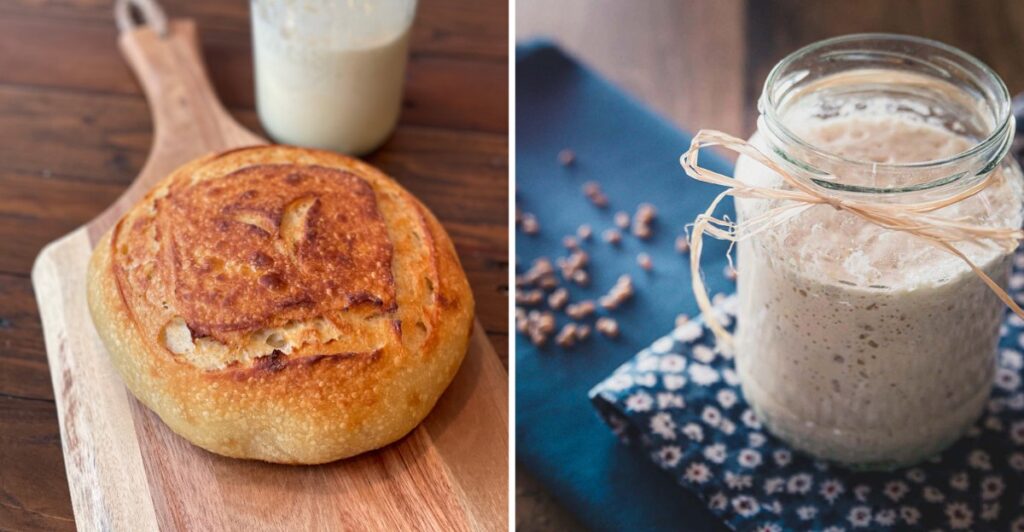
Remember that bubbly bag of batter sitting on Grandma’s kitchen counter? It was Amish Friendship Bread starter, and it turned into a sweet, cinnamon loaf that made the whole house smell amazing.
Better yet, it was meant to be shared, passed from one kitchen to the next like a tasty chain letter. Here is everything you need to know about this old-fashioned treat, from its mysterious history to the tricks that keep a starter alive for years.
A Recipe With a Mystery Past
Here is a fun surprise: nobody knows exactly who invented Amish Friendship Bread. Food historians have searched for proof that Amish families created it, and they have come up empty.
The name stuck anyway, and it has been sticking for decades.
Similar breads go back a long way. Recipes for friendship cakes and breads show up as early as the 1860s.
During the Great Depression, families shared starters because it was a smart, cheap way to stretch food and help neighbors.
The version Grandma knew likely took off in the 1970s and early 1980s. Around that time, the recipe began appearing in newspapers.
By the early 1990s, it had found its way onto the early internet, spreading faster than ever.
It also looks a lot like the Herman Friendship Cake from Europe. Herman was a sweet starter passed between friends, often with a playful name and a set of rules.
Many bakers think the two traditions are cousins.
So why the Amish label? Amish baking was already famous for sharing and community meals.
A pass-it-along recipe fit that picture perfectly, so the name felt natural to many people.
Elizabeth Coblentz, an Old Order Amish writer, explained that true Amish friendship bread is basically a sourdough bread. It was shared as a sign of care, especially with people who were sick or going through hard times.
That kind heart is the real root of the tradition.
Knowing this history makes each loaf feel a little more special. You are not just baking a snack.
You are joining a long line of people who used bread to say, I am thinking of you. Next time someone hands you a bag of starter, you will know the story behind it.
Meet the Bubbly Starter
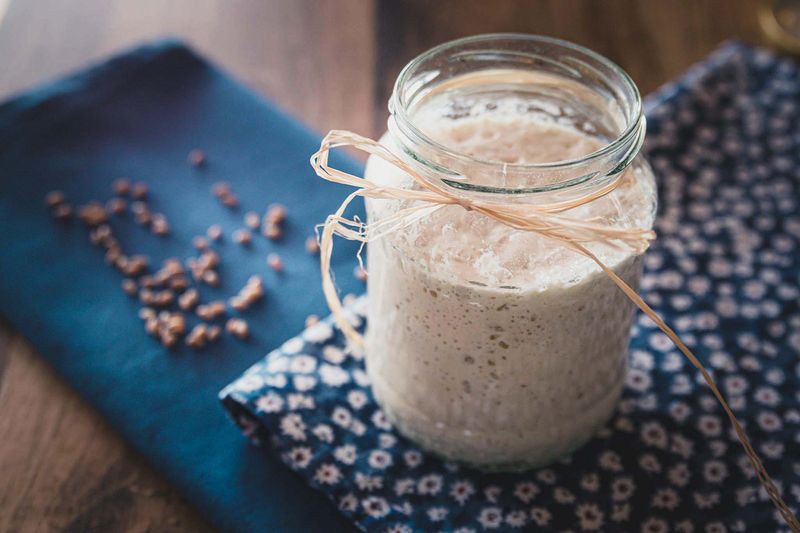
Picture a pale, foamy mixture that burps little bubbles when you stir it. That is the starter, the beating heart of every loaf.
Without it, you just have plain cinnamon cake.
Most sourdough starters use only flour and water. Amish Friendship Bread starter is different.
It mixes yeast, all-purpose flour, sugar, and milk, which makes it sweeter and a bit tangy.
Making one from scratch is simple. First, dissolve a packet of active dry or instant yeast in warm water.
Then mix flour, sugar, and milk in another container, and stir the yeast mixture in.
The type of milk matters more than you might think. Bakers suggest 2 percent or higher fat milk for the best texture.
Some people swap honey for sugar, which adds a soft, floral sweetness.
Once it is mixed, the yeast gets busy. It eats the sugar and makes gas, which creates those bubbles.
Over time, it builds a flavor that smells a lot like beer or fresh bread dough.
Store your starter in a glass or plastic bowl, or a gallon zipper bag. Cover it loosely so gas can escape.
Keep metal bowls and spoons away, since the acid in the starter can react with some metals.
Many families never make a starter from scratch at all. They get a bag from a friend, coworker, or church buddy.
That is half the fun, because your starter might have traveled through dozens of kitchens before reaching yours.
Think of the starter as a small pet that lives on your counter. It needs a little attention, a few snacks, and a cozy spot.
Treat it well, and it will reward you with loaf after loaf of sweet, golden bread.
The Famous 10-Day Countdown
Ten days might sound like forever when bread is on the line. But the waiting is part of the charm, and Grandma probably had a little calendar taped to the fridge to keep track.
Day 1 is when the starter is made or received. Write the date right on the bag with a marker.
Trust me, you will forget otherwise.
On Days 2 through 5, your only job is to mash the bag or stir the bowl once a day. If you use a bag, let out the extra air.
Kids love this part, since squishing a bag of goo is weirdly fun.
Day 6 is feeding day. Add 1 cup each of flour, sugar, and milk.
Mash it all together until smooth.
Days 7 through 9 go back to simple mashing. The starter will grow bigger and bubblier.
You may notice the smell getting stronger, which is a good sign.
Day 10 is the big moment. Feed the starter once more with 1 cup each of flour, sugar, and milk, though some recipes use half a cup.
Then divide it up.
Here is the usual split. Keep 1 cup to bake with today and 1 cup to start your next cycle.
The remaining 2 to 3 cups go into bags for friends, along with the instructions.
A handy tip is to set a daily phone reminder. Another trick is to keep the bag somewhere you look every morning, like next to the coffee maker.
Missing a day is not a disaster, but steady care gives the best flavor.
Once you finish your first round, the rhythm becomes easy. Before long, you will mash that bag without even thinking about it.
Squish, Do Not Stir With Metal
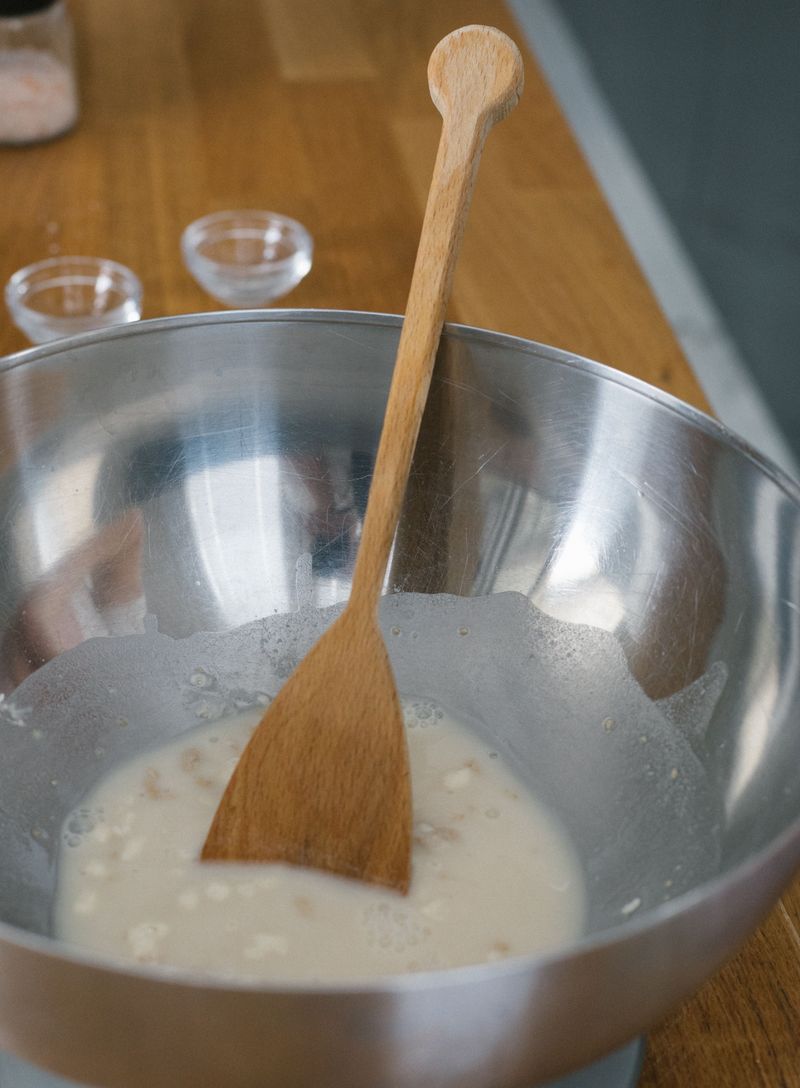
Grandma had a rule: no metal spoons near the starter. She may not have explained why, but she was onto something real.
The starter is slightly acidic because of fermentation. That acid can react with certain metals, like aluminum or some older pans.
The reaction can give the batter an odd taste and may even harm the yeast.
So what should you use instead? Wooden spoons, silicone spatulas, and plastic utensils are all great choices.
Glass, ceramic, and food-safe plastic bowls work best for storage.
A gallon zipper bag is the easiest option of all. You never need a spoon, because you just squish it with your hands.
Cleanup is a breeze too.
Covering is important as well. The yeast makes gas while it works, so a sealed jar can build up pressure.
Use a loose lid, a kitchen towel, or plastic wrap with a few holes.
If you use a bag, open it a crack each day to let air out. A puffy, balloon-like bag means it is time to burp it.
Skip this, and you might find a sticky mess on your counter.
Where you keep the starter matters, too. Room temperature is perfect during the 10-day cycle.
Avoid hot sunny windowsills or chilly drafty corners, because yeast likes steady, comfy warmth.
Wondering about the milk sitting out for days? Surprisingly, it does not spoil the way you might expect.
The fermentation process keeps it safe, which is why the starter can rest on the counter instead of in the fridge.
Small habits like these make a big difference. Follow them, and your starter will stay happy, healthy, and ready to turn into something delicious.
Baking Day Brings the Cinnamon
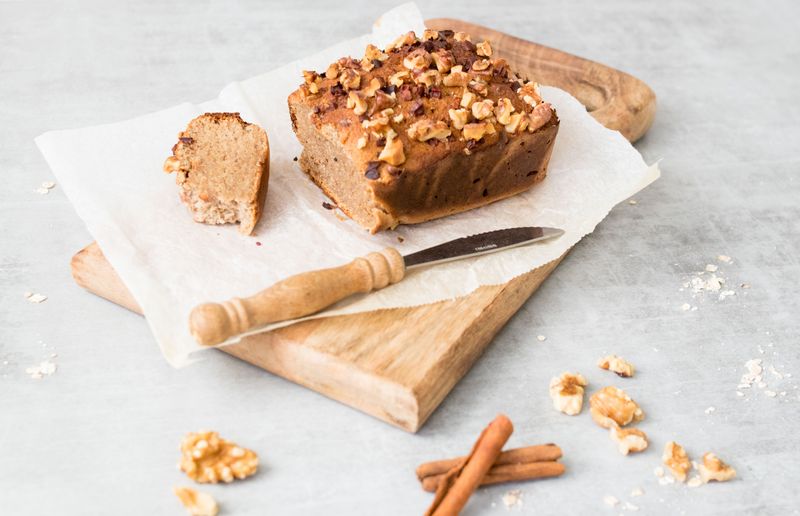
The smell hits you first. Warm cinnamon and sugar drift through the house, and suddenly everyone wanders into the kitchen asking when it will be ready.
To make the classic loaf, start with 1 cup of starter. Mix in vegetable oil, eggs, sugar, vanilla, flour, baking powder, baking soda, salt, and cinnamon.
The batter will be thick, smooth, and smell sweet already.
Many recipes add one secret ingredient: a box of instant vanilla pudding mix. It sounds strange, but it keeps the bread super moist.
It also gives a soft, rich flavor that people remember.
Now for the best part, the crust. Grease two loaf pans, then dust them with a mix of cinnamon and sugar.
Pour in the batter and sprinkle more cinnamon sugar on top.
Bake at 325 to 350 degrees Fahrenheit for about 40 to 60 minutes. Ovens vary, so check early.
Poke a toothpick into the center, and if it comes out clean, the bread is done.
Let the loaves cool in the pans for about ten minutes. Then move them to a wire rack.
Cutting too soon can make slices crumble, though nobody blames you for trying.
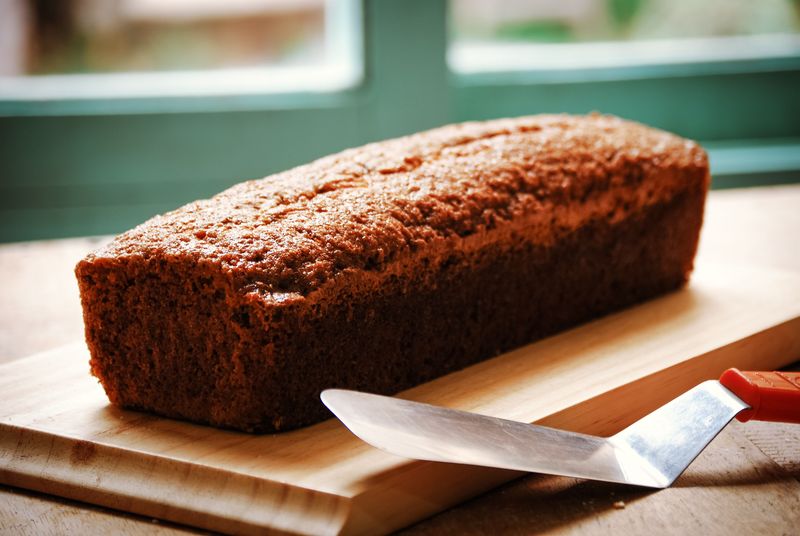
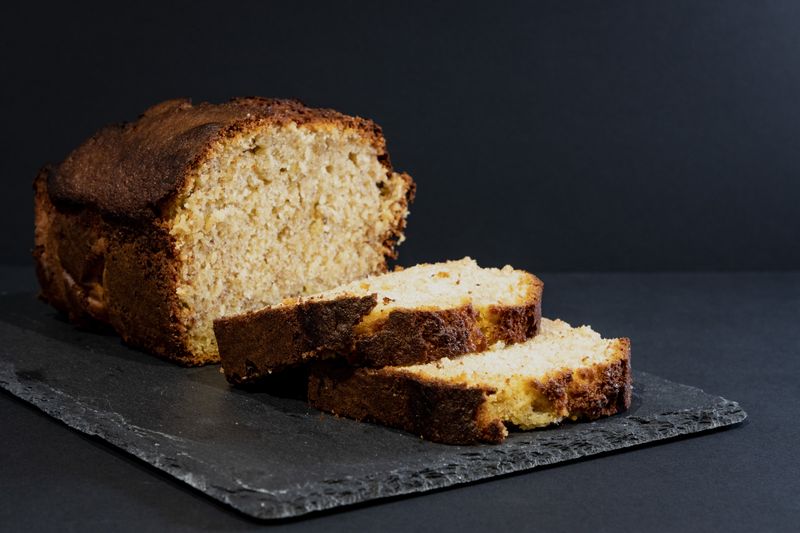
The result tastes like a mix between pound cake and coffee cake. The inside is soft and tender.
The outside has a sweet, crackly crust that might be the best part of all.
Wrap leftover slices tightly in plastic wrap to keep them fresh. They also freeze well for up to a few months.
Pull one out for a quick breakfast or an after-school snack, and you will see why Grandma kept the cycle going.
Sharing Is the Whole Point

Think of it as the friendliest chain letter ever written. Instead of warning you about bad luck, it hands you a bag of batter and says, enjoy.
The friendship part is not just a cute name. Giving away starter is the heart of the whole tradition.
Each person who gets a bag can bake their own loaves and pass more along.
This idea connects to a German word, Gemeinschaft, which means community. It describes the warm feeling of people caring for one another.
A simple bag of starter can carry that feeling from house to house.
When you share, include a copy of the instructions. Write the date and which day of the cycle it is.
A handwritten note makes it even sweeter.
Want to make your gift extra special? Tie the bag with a ribbon or twine.
Add a mini loaf on the side so your friend can taste what is coming.
Be thoughtful about who you give it to, though. Not everyone has time for a 10-day project.
Ask first, so your gift feels like a treat and not a chore.
Sharing can also be a way to help. Bring a loaf to a neighbor who is sick, a new family on the block, or a friend going through a tough week.
That kind of gesture matches the original spirit of caring for those in need.
Some families even track how far their starter travels. They hear back from friends of friends in other towns.
It is amazing how one bag on a counter can connect so many people, and it all began with a simple act of kindness.
Keeping Your Starter Alive for Years
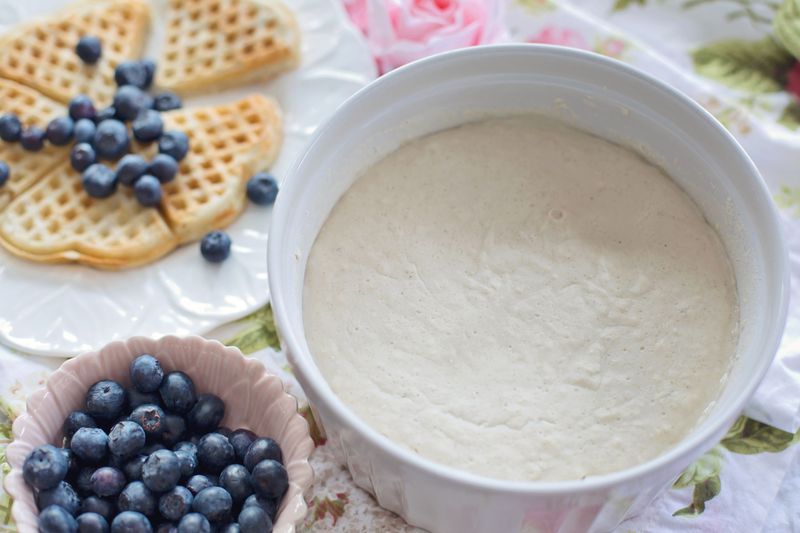
Some families brag that their starter is older than their kids. With the right care, that is totally possible, because a well-kept starter can last forever.
The secret is regular feeding. Once a week, give it equal amounts of flour, sugar, and milk.
This gives the yeast fresh food so it stays strong.
Size control matters too. Starters grow fast, so trim yours down to between 1 and 3 cups before feeding.
Bake with the extra, share it, or freeze it.
Your nose is your best tool. A healthy starter smells yeasty, a little like beer.
That smell tells you the yeast is happy and working.
A sharp, sour, or harsh smell is a warning. If it has been around five days since the last feeding, your starter is hungry.
Feed it right away, and it usually perks back up.
Sometimes a layer of liquid forms on top. Many bakers simply stir it back in.
It is often just a sign that the starter needs a meal.
Mold is a different story, though. If you see fuzzy spots, pink or orange streaks, or strange colors, throw the whole thing out.
It is not worth the risk, and you can always get or make a new one.
Keep your container clean as well. Every so often, move the starter into a freshly washed jar or bag.
Old crusty bits around the rim can attract unwanted germs.
Caring for a starter teaches patience and responsibility in a fun way. It is a great family project for kids too.
Before you know it, you will be the one with the legendary starter everyone asks about.
The Fridge and Freezer Lifesaver
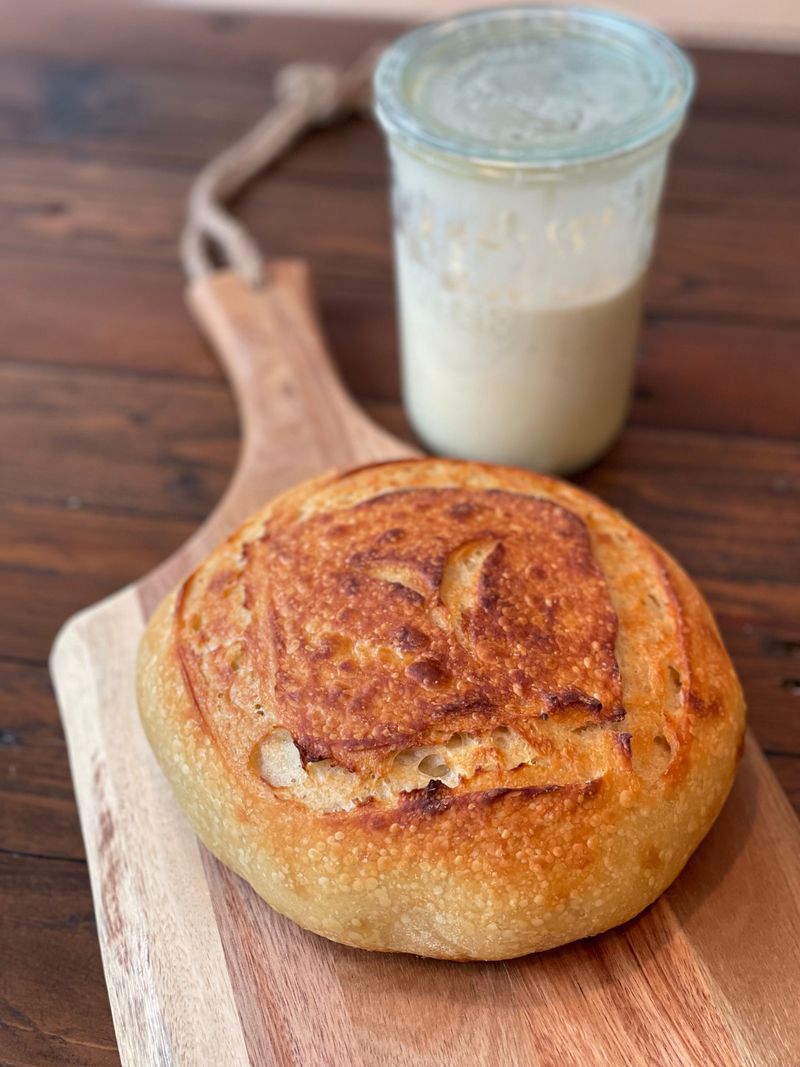
Going on vacation? Feeling buried in bags of batter?
Good news: you can hit the pause button without losing your starter.
The refrigerator slows everything down. Cold temperatures make the yeast sleepy, so it eats and grows much more slowly.
You will not need to mash it every single day.
A refrigerated starter still needs a snack now and then. A weekly feeding keeps it going.
When you are ready to bake, let it warm up on the counter first.
For long breaks, the freezer is your best friend. Measure the starter into 1 cup portions and place them in freezer bags.
Squeeze out the air, seal tight, and label each bag with the date.
Frozen starter can wait patiently for months. This is perfect for busy seasons, like holidays or the start of a school year.
It is also handy if you received more bags than you can handle.
Thawing is simple. Move a bag to the counter and let it come to room temperature.
It may look a little flat at first, but give it time.
Here is the key rule. Once thawed, treat the starter like it is Day 1.
Begin the full 10-day cycle again, mashing and feeding on schedule.
Many bakers keep one frozen bag as a backup. If something goes wrong with the active starter, they still have a spare ready to wake up.
It is like having insurance for your bread.
Frozen bags also make easy gifts. Hand one to a friend along with a printed recipe card.
They can start the cycle whenever life slows down enough to enjoy it.
Pudding Swaps and Mix-In Magic
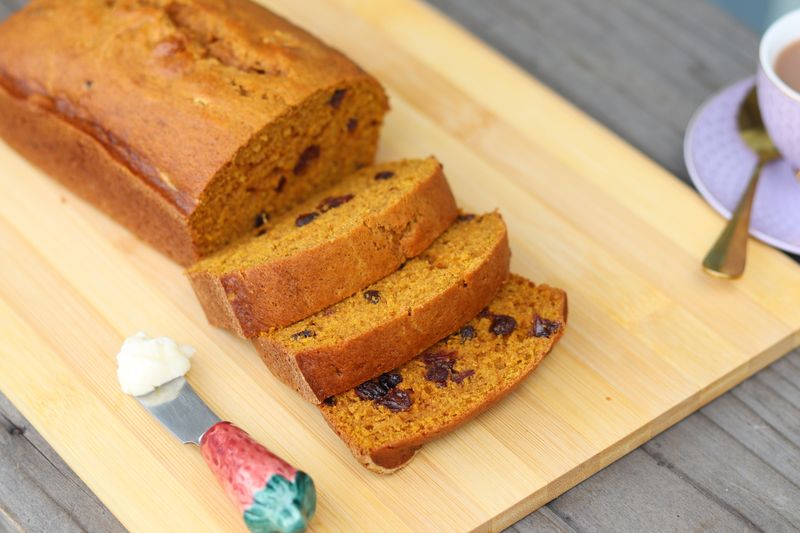
Plain cinnamon is a classic, but why stop there? Once you get comfortable, the recipe becomes a playground for your taste buds.
The easiest change is the pudding mix. Swap vanilla for chocolate, lemon, cheesecake, or banana cream instant pudding.
Each one gives the loaf a whole new personality.
Chocolate pudding with chocolate chips makes a rich, brownie-like bread. Lemon pudding with poppy seeds tastes bright and fresh.
Banana cream with walnuts is like banana bread with a twist.
Fruits are another fun path. Try cherries, strawberries, apples, cranberries, or raisins.
Pumpkin and sweet potato make cozy fall loaves, and persimmon is a fun choice if you can find it.
Nuts add crunch. Walnuts and pecans are favorites, and toasting them first brings out extra flavor.
Shredded coconut is great for a tropical feel.
You can even skip the cinnamon. That opens the door to flavors that cinnamon might cover up, like lemon or strawberry.
Experiment and see what your family likes best.
Here is a handy tip for mix-ins. Toss chopped fruit, nuts, or chips with a spoonful of flour before stirring them in.
This helps keep them from sinking to the bottom of the pan.
Keep a little notebook of your experiments. Write down what you tried and how it turned out.
Over time, you will build your own family recipe collection, just like Grandma did.
Need a fun challenge? Host a friendship bread taste test with friends.
Everyone bakes a different flavor, and you vote on the winner. It turns a simple recipe into a party.
Beyond the Loaf Pan
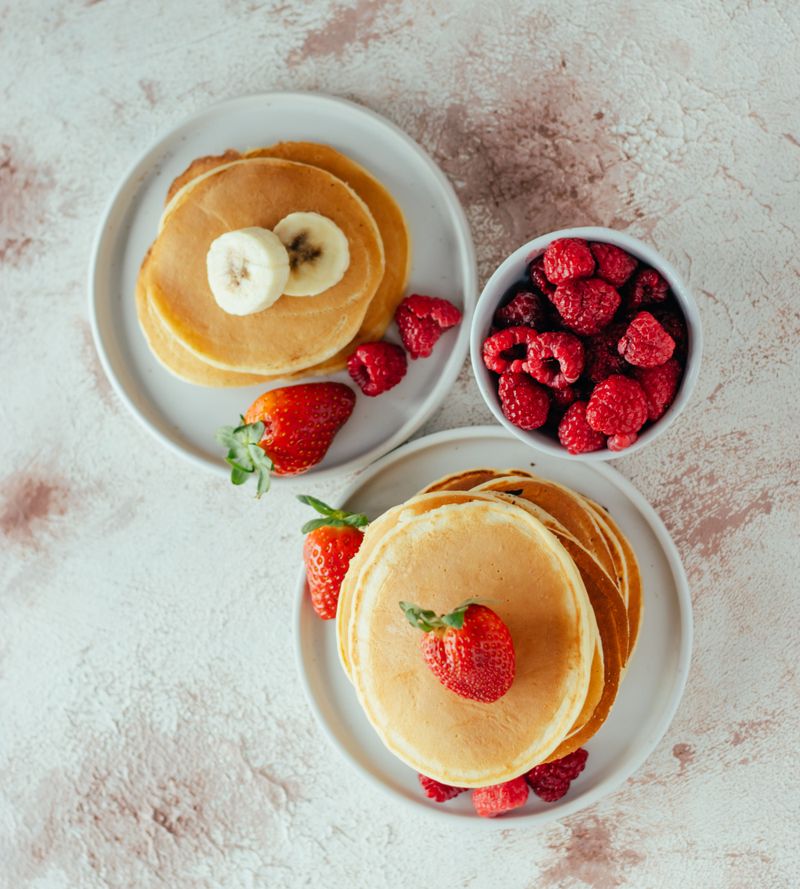
Got more starter than loaf pans? Do not panic.
That bubbly batter can turn into almost anything, from Sunday pancakes to holiday cookies.
Muffins are a natural first step. Use the regular bread batter, pour it into muffin cups, and bake for less time, usually around 20 minutes.
They are perfect for lunchboxes and grab-and-go mornings.
Pancakes are another crowd pleaser. Starter adds a light tang and fluffy texture.
Weekend breakfast suddenly feels a lot fancier.
Bakers have also used starter for scones, cakes, cookies, and biscotti. Some make blondies, bread pudding, dinner rolls, and even cornbread.
Each recipe gives the starter a fresh job.
Bread pudding is a clever way to use up older loaves. Cube stale friendship bread, soak it in eggs and milk, and bake until golden.
Nothing goes to waste.
Savory options work too. Leave out the cinnamon and cut back on sugar for rolls or cornbread.
The starter adds depth that plain recipes sometimes lack.
Here is a practical tip. Since starter is sweet, reduce sugar a bit in other recipes when you add it.
Taste the batter and adjust as you go.
Trying new uses is also a smart way to manage extra starter. Instead of tossing it or begging friends to take another bag, you bake something new.
Your family gets variety, and your starter stays under control.
Grandma probably had a few secret uses of her own. Maybe she made cinnamon rolls for holidays or coffee cake for church.
Ask older relatives what they remember, and you might uncover a forgotten family favorite worth bringing back to your own counter.