Sourdough bagel dough is so stiff that some bakers compare it to cookie dough. That firmness is no accident.
It is the reason a good bagel chews back a little when you bite it.
The dough also gets a quick bath before it ever sees the oven. Boiling sets the outside, which helps create that shiny, slightly crackly crust.
Then the oven finishes the job.
For beginners, that stiff dough is a gift. It holds its shape instead of slumping across the counter.
You mix in the evening, let your starter do slow work overnight, and shape in the morning.
I love that the hardest part is waiting. Below you’ll find one full recipe, broken into easy stages, with tips for shaping, boiling, toppings, and fixing common hiccups.
Your starter should be bubbly and ready before you begin, so give it a feed today.
Why Stiff Dough Makes Better Sourdough Bagels
Most sourdough loaves are wet, jiggly, and a little dramatic. Bagel dough is the calm sibling that sits still and behaves.
It uses much less water, so it feels firm and only slightly tacky.
Bakers call the water level hydration, meaning water compared to flour by weight. A rustic sourdough loaf often runs around 70 to 80 percent.
This bagel dough lands near 55 percent once you count the water and flour inside the starter.
Less water means a tighter crumb with fewer big holes. That tight structure is what gives a bagel its famous chew.
A wetter dough would bake up softer and puffier, closer to a dinner roll with a hole in it.
Firm dough also makes shaping friendlier for new bakers. It does not stick to your fingers like glue or spread when you set it down.
You can roll a rope, press the ends together, and trust it to stay put.
There is one tradeoff to know before you start. Stiff dough takes more muscle to knead, and it may look shaggy at first.
Rest periods help a lot, because flour keeps soaking up water while you take a break.
So when your dough feels tougher than expected, do not reach for extra water. That firmness is doing its job.
Think of it as the backbone of the whole recipe, quietly setting you up for a bagel with real bite.
Five Simple Ingredients Behind The Chew
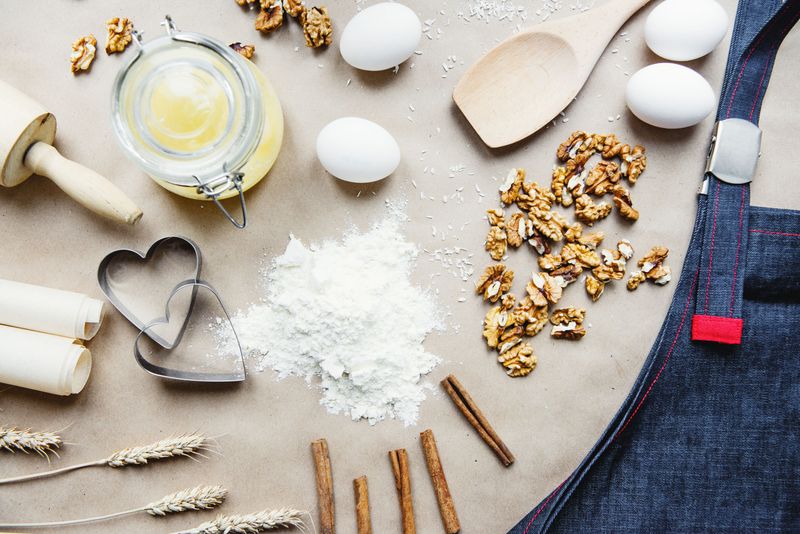
Flour, water, salt, honey, and starter. That short list is the entire dough, and each item pulls its weight.
Bread flour comes first because protein matters here. Bread flour usually contains around 12 to 13 percent protein, which builds strong gluten for a chewy bite.
All-purpose flour will work in a pinch, but expect a slightly softer, less springy bagel.
Active sourdough starter is your only leavening. No commercial yeast or baking soda joins the party.
The recipe assumes a 100 percent hydration starter, which means it is fed equal weights of flour and water.
Honey or sugar adds a touch of sweetness and helps the crust brown. Some bagel shops use barley malt syrup for a deeper, malty flavor.
If you find it, you can swap it in at the same weight.
Salt does more than season. It firms up gluten and helps slow fermentation, so the overnight rise stays steady.
Use fine sea salt or table salt, and weigh it if you can, since different salts measure differently by the spoon.
Water should be warm, around 80 to 85°F, to give the starter a gentle nudge. Very hot water can stress the wild yeast, so aim for comfortably warm to the touch.
A kitchen scale helps more than any fancy tool. Grams remove the guesswork that cups can bring, especially with flour.
Wake Up Your Starter Before You Start
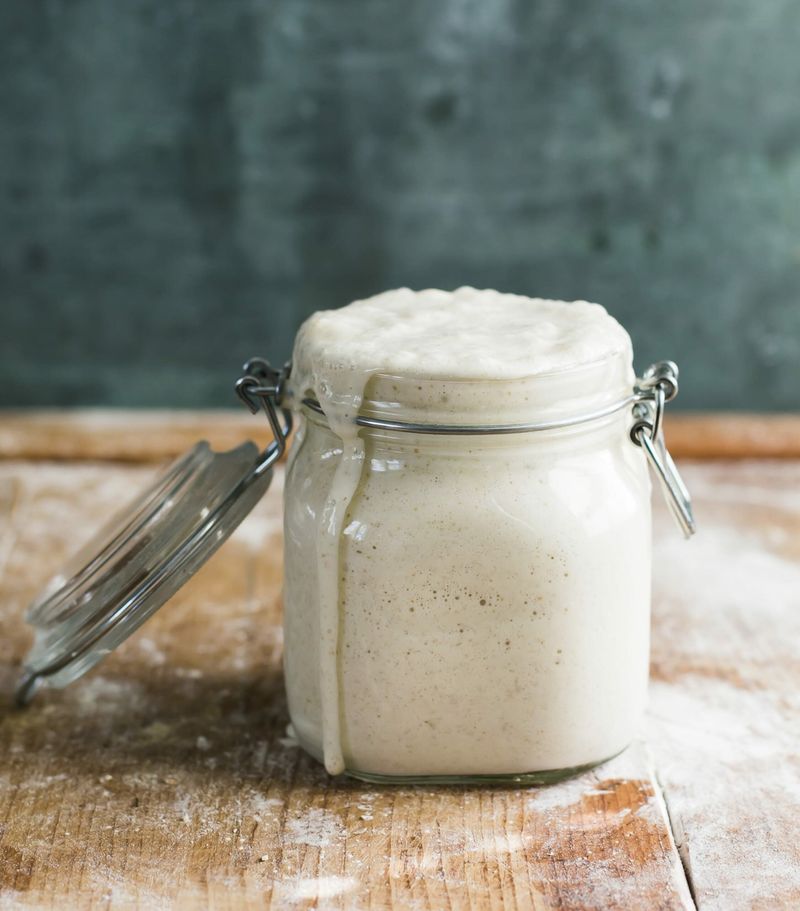
Here is a fun test: drop a spoonful of starter into a glass of water. If it floats, it usually holds plenty of gas and is ready to work.
The test is not perfect, but it is a handy clue for beginners.
Your starter needs to be active, not discard. Discard is the leftover you remove before feeding, and it is often too sleepy to raise a stiff dough on its own.
For bagels, you want starter at or near its peak.
Feed it about 4 to 12 hours before mixing, depending on how fast it usually moves. A warm kitchen speeds things up, while a cool one slows things down.
Many bakers feed in the morning and mix after dinner.
Look for these signs of readiness:
- Roughly doubled in size since feeding
- Bubbles on the top and along the sides of the jar
- A domed or just slightly flattening surface
- A pleasant tangy smell, not sharp or harsh
A rubber band around the jar makes progress easy to spot. Slide it to the starter level right after feeding, then watch it climb.
If your starter has been living in the fridge, give it two or three feedings at room temperature first. A strong starter matters even more here than in softer doughs.
Stiff bagel dough gives weak yeast very little help.
The Full Overnight Sourdough Bagel Recipe Card
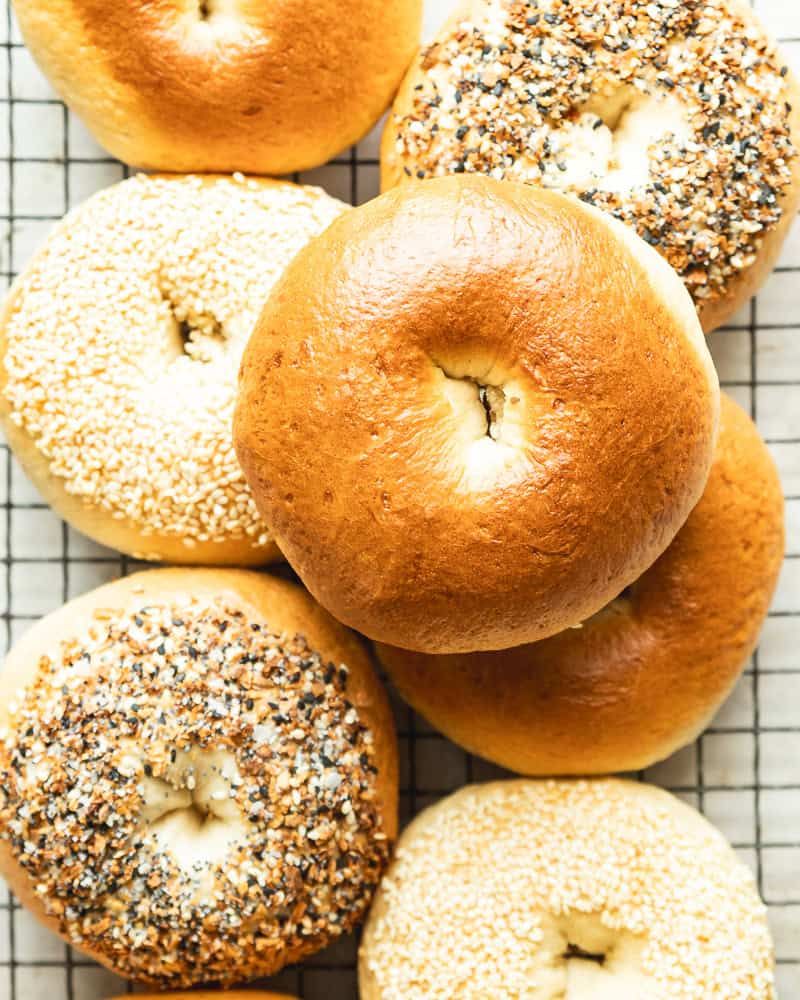
Yield: 8 bagels
Active Time: about 1 hour
Bulk Fermentation: 8 to 12 hours, depending on starter strength and room temperature
Final Rest: 30 to 60 minutes
Bake Time: 20 to 25 minutes
Total Time: about 11 to 15 hours
Ingredients
For The Dough
- 100 g (about 1/2 cup) active sourdough starter
- 250 g (about 1 cup + 1 tbsp) warm water
- 25 g (about 1 heaping tbsp) honey or sugar
- 500 g (about 4 cups) bread flour
- 9 g (about 1 1/2 tsp) fine sea salt
For The Boil
- Large pot of water
- 1 to 2 tbsp honey or sugar
Instructions
- Mix. Whisk starter, water, and honey. Add flour and salt, then stir into a shaggy dough.
- Rest And Knead. Rest 30 minutes, covered. Knead 3 to 5 minutes until fairly smooth.
- Bulk Ferment. Cover and leave at room temperature overnight until puffed by roughly 50 percent.
- Divide And Shape. Cut into 8 pieces (about 110 g each). Shape into rings on parchment.
- Rest. Cover 30 to 60 minutes until slightly puffy. Preheat oven to 425°F.
- Boil. Simmer bagels 1 to 2 minutes per side in sweetened water.
- Top And Bake. Add toppings while damp. Bake 20 to 25 minutes until deep golden.
- Cool. Rest on a wire rack at least 20 minutes before slicing.
Mixing And Kneading A Stubborn Dough
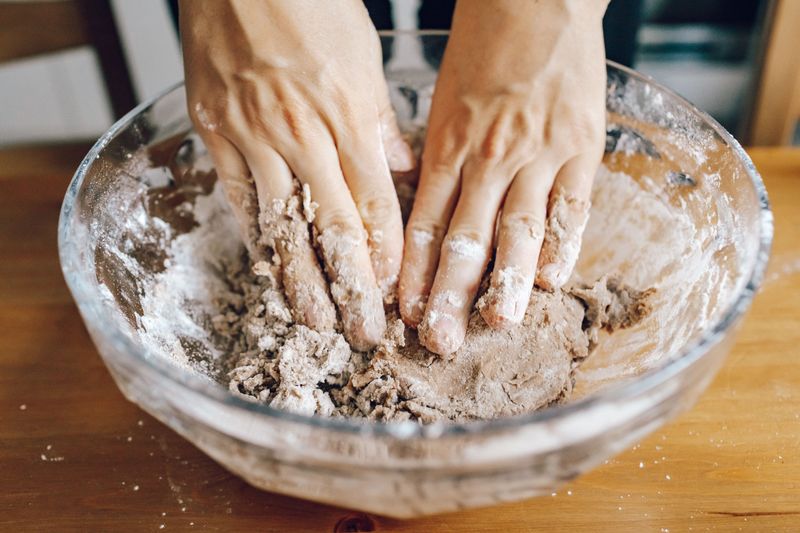
At first, the dough will look like a bowl of dry, raggedy crumbs. Do not panic.
Flour needs time to drink up the water, and stiff dough simply hydrates slowly.
Start by whisking the starter, warm water, and honey until the starter mostly dissolves. Then add flour and salt and stir with a sturdy spatula or your hand.
When it gets too thick to stir, squeeze and press until no dry flour remains.
Now comes the secret weapon: a rest. Cover the bowl and walk away for about 30 minutes.
Bakers call this an autolyse when it happens before salt goes in, but even with salt included, the break makes kneading much easier.
After the rest, turn the dough onto a clean counter. You likely will not need extra flour, since the dough is already firm.
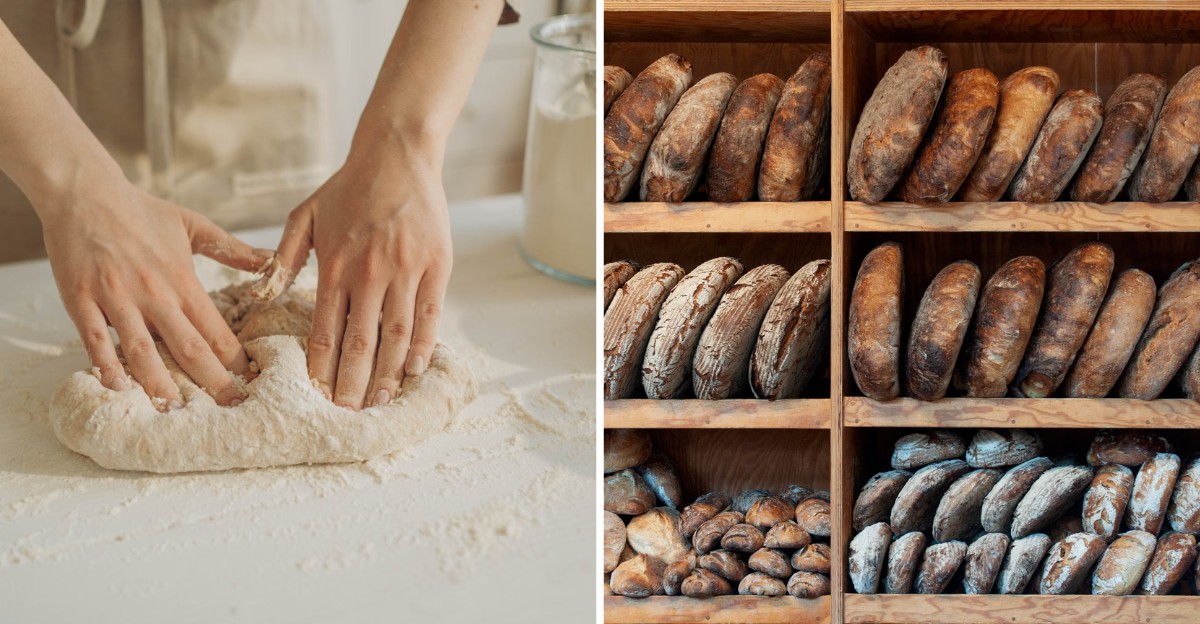
Push it away with the heel of your hand, fold it back, turn it, and repeat.
Knead for about 3 to 5 minutes. The goal is a fairly smooth ball, not a perfectly silky one.
Some small lumps are fine because the long overnight rise keeps building strength.
A stand mixer can help if your arms protest. Use the dough hook on low speed, since stiff dough can strain smaller machines.
Watch the motor and stop if it sounds unhappy.
Once smooth-ish, shape the dough into a ball and place it in a lightly oiled bowl. Cover it well so the surface does not dry out overnight.
Let The Overnight Rise Do The Heavy Lifting
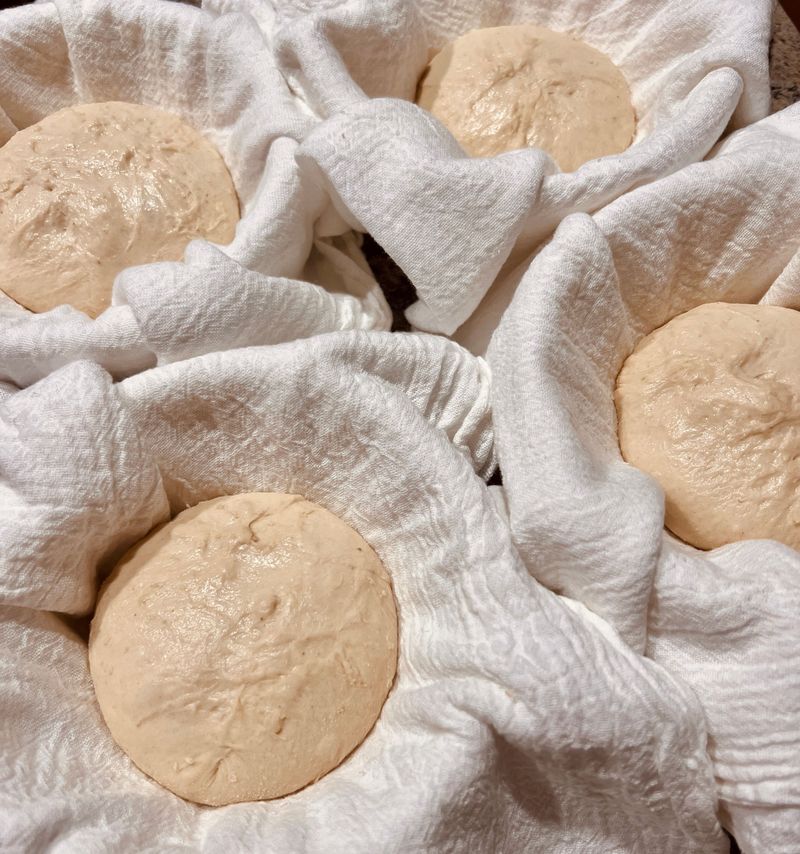
While you sleep, wild yeast and bacteria quietly turn flour into flavor. That slow party is called bulk fermentation, and it does most of the work in this recipe.
This method uses room-temperature fermentation, not the fridge. At around 68 to 72°F, the dough usually needs 8 to 12 hours.
Warmer kitchens may finish sooner, and cooler ones can take longer.
A Sample Schedule
- Morning: Feed your starter.
- Evening, around 7 to 8 pm: Mix, rest, and knead.
- Overnight: Bulk ferment, covered, on the counter.
- Next morning: Shape, rest, boil, and bake.
Clocks are just guides, so watch the dough instead. You want it to grow by about 50 percent, not double.
The top should look slightly domed, and you may spot a few bubbles on the sides of the bowl.
Stiff dough rises more modestly than wet loaf dough. Expecting a huge, billowy rise often leads beginners to wait too long.
Overfermented bagel dough turns slack and can lose its structure.
What if the dough is ready at 4 am and you are not? Pop it in the fridge to slow things down until you wake up.
Cold dough is also easier to shape, so this detour works out nicely.
If it barely moved by morning, give it more time somewhere warm. A cold kitchen or a slow starter are common reasons.
Shape Your Bagels Without Fighting The Dough
Ever wonder why bagels have holes? One popular theory says the hole helped bakers string them on poles for selling.
Today, the hole also helps the bagel cook evenly from the inside out.
Turn the dough out and divide it into 8 equal pieces, about 110 grams each. A scale keeps them even so they bake at the same pace.
Shape each piece into a loose ball and let them rest a few minutes.
Two Beginner-Friendly Methods
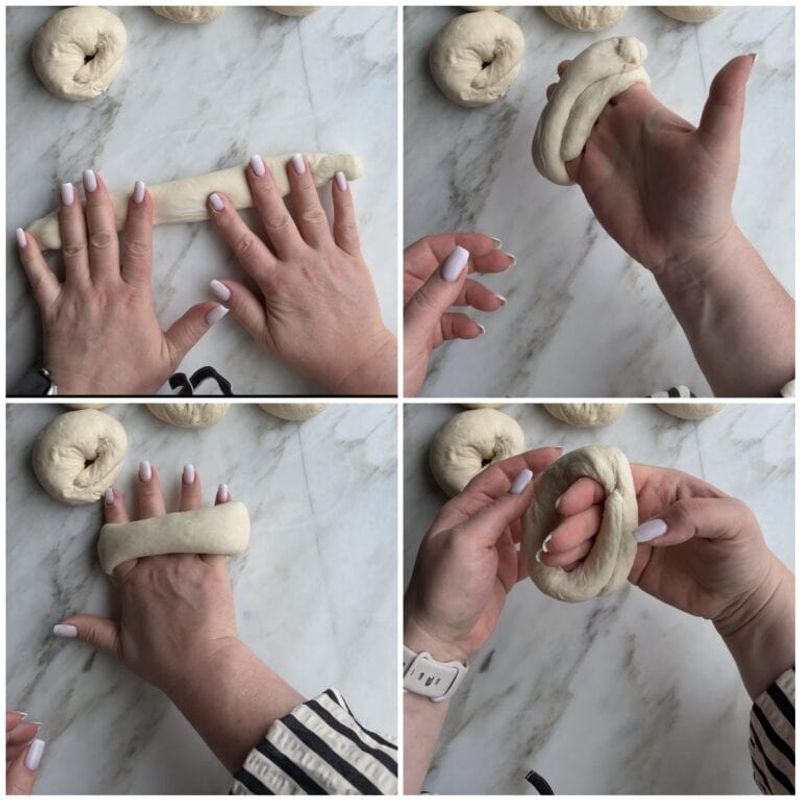
- The Rope: Roll each ball into a rope about 8 to 10 inches long. Wrap it around your hand, overlap the ends under your palm, and roll firmly on the counter to seal.
- The Poke: Press your thumb through the center of a tight ball. Gently stretch the hole by spinning the dough around two fingers.
The rope method makes rounder, more classic bagels. The poke method is quicker and has no seam to pop open.
Both work, so pick whichever feels natural.
Make the hole bigger than seems right, roughly 1 1/2 to 2 inches across. Dough puffs as it rests and bakes, and small holes tend to vanish.
Nobody wants to accidentally bake a sourdough roll.
If the dough springs back while you shape, cover it and wait 5 minutes. Relaxed gluten stretches far more politely.
Place shaped bagels on lightly oiled or floured parchment so they release easily later.
The Boiling Step Changes Everything
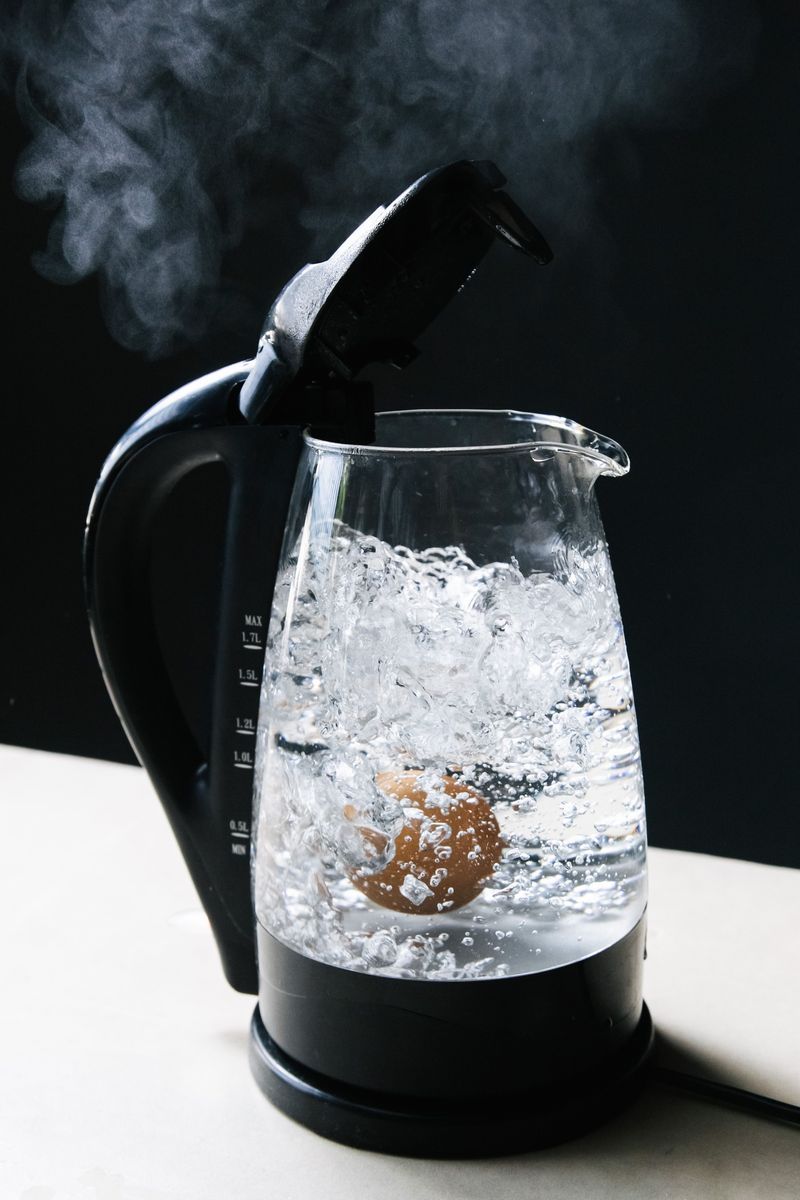
A bagel that skips the pot is really just bread wearing a costume. Boiling is what earns it the name.
Hot water quickly cooks the outer layer of dough. That sets the surface, which limits how much the bagel can puff in the oven.
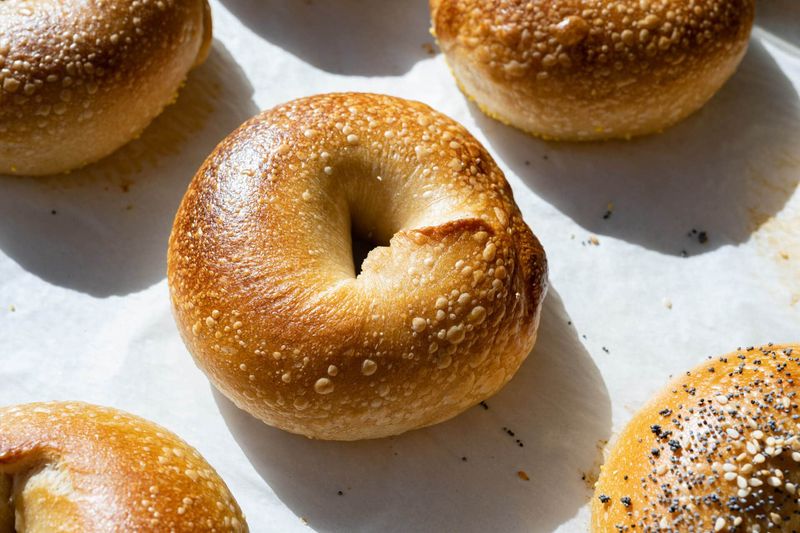
The result is a denser interior and a shiny, chewy crust that bakers love.
Before boiling, check the shaped bagels after their 30 to 60 minute rest. They should look slightly puffy, not doubled.
A handy test is to drop one into a bowl of water, and if it floats within a few seconds, it is ready.
Bring a large, wide pot of water to a gentle boil, then stir in 1 to 2 tablespoons of honey or sugar. The sweetness helps with browning.
Turn it down to a lively simmer so the bagels do not get battered around.
Lower 2 to 3 bagels at a time, depending on pot size. Crowding drops the water temperature and makes them stick together.
Boil about 1 minute per side for a thinner crust or up to 2 minutes per side for a chewier one.
Lift each bagel out with a slotted spoon or spider and let excess water drip off. Set it on a parchment-lined baking sheet.
Keep going until the whole batch has had its bath.
Short boils give softer bagels, while longer boils build more chew. You get to choose your own adventure here.
Toppings, Oven Heat, And Golden Doneness
That damp surface right after boiling is basically nature’s glue. Toppings stick best in the first minute or two, so have them ready before the bagels come out of the pot.
Easy Topping Ideas
- Everything bagel seasoning
- Sesame seeds or poppy seeds
- Dried minced onion or garlic
- Coarse sea salt or pretzel salt
- Shredded cheddar or Asiago
Pour toppings into a shallow plate and press the wet bagel face down into them. For cheese, sprinkle it on top instead, since it can burn if piled too thickly.
An egg white wash helps seeds cling if your bagels have dried a little.
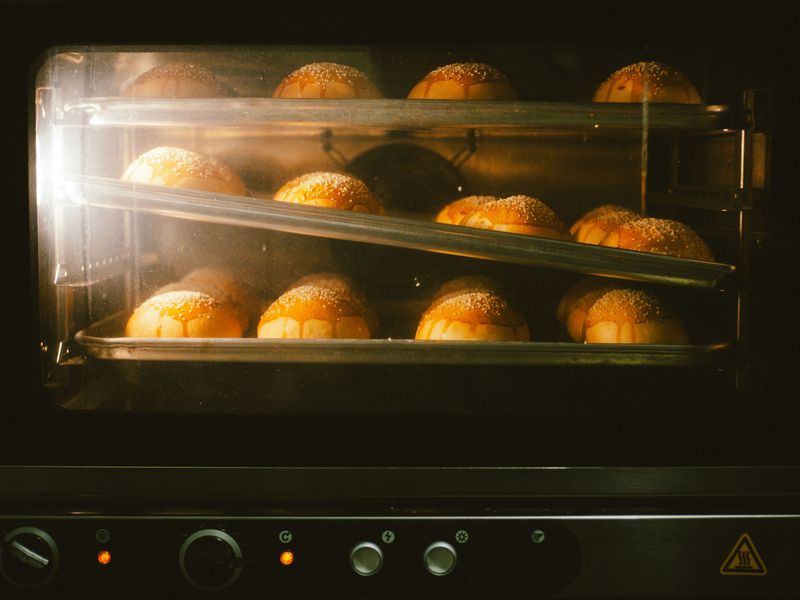
Bake on the middle rack at 425°F for about 20 to 25 minutes. Ovens vary, so start checking around the 18 minute mark.
Some bakers flip bagels halfway for even color, but it is optional.
Look for a deep golden brown crust that feels firm when tapped. The bottoms should sound slightly hollow.
If you own an instant-read thermometer, many bakers look for an internal temperature around 200 to 210°F.
If tops brown too fast, loosely lay foil over them for the last few minutes. Dark seeds can hide color, so check the bottoms and sides too.
Let them cool on a wire rack for at least 20 minutes. The inside keeps setting as steam escapes.
Slicing too early can leave the crumb gummy, which is a sad way to treat your hard work.
Keep, Freeze, And Rescue Your Bagels
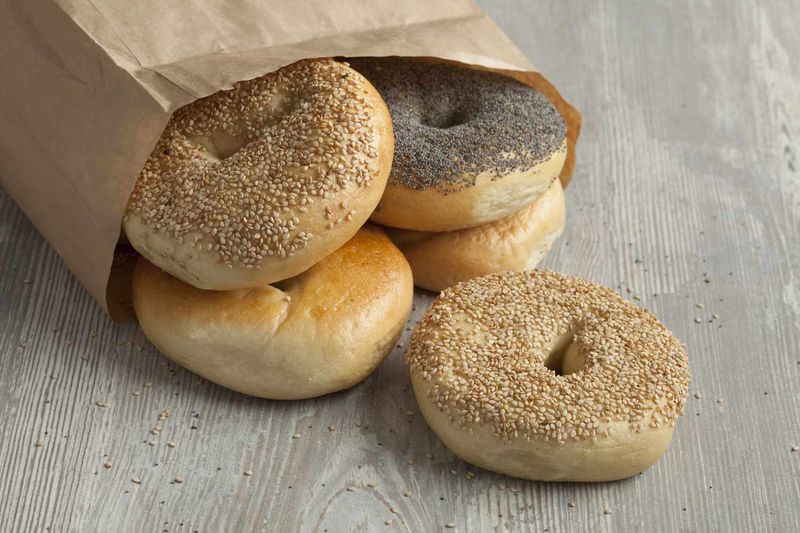
Bagels are at their peak the day they are baked. After that, the crust softens and the crumb slowly firms, so a plan helps.
Storage Basics
- Room Temperature: Keep cooled bagels in a paper bag or bread box for 1 to 2 days.
- Freezer: Slice first, then freeze in an airtight bag for up to about 3 months.
- Reheating: Toast frozen halves straight from the freezer, adding a little extra time.
Skip the fridge for plain bagels, since cold storage tends to stale bread faster. Anything spread with cream cheese or filled with deli meat should be refrigerated, though.
Common Beginner Problems
- Holes closed up: Stretch them wider during shaping. They shrink more than you expect.
- Flat, wrinkly bagels: The dough likely overfermented. Watch for a 50 percent rise, not double, and use the fridge to pause.
- Dense and heavy: The starter may have been weak or the bulk rise too short. Try the float test before boiling.
- Seams popping open: Press and roll the overlap firmly, and avoid flour on the joining spot.
- Sticky dough: Measurements may be off. Weighing ingredients usually fixes it.
- Pale crust: Bake a few minutes longer or add a bit more honey to the boil.
Most bagel hiccups trace back to timing or starter strength. Each batch teaches you how your kitchen behaves.
By round two, you will be reading that dough like a pro.