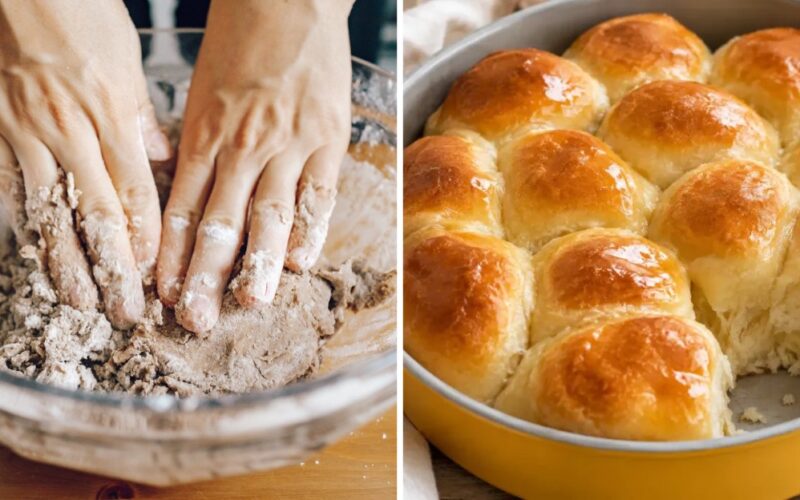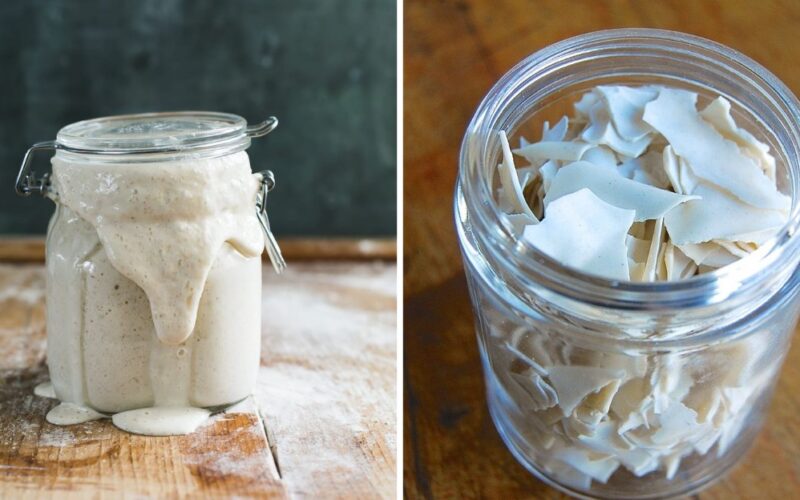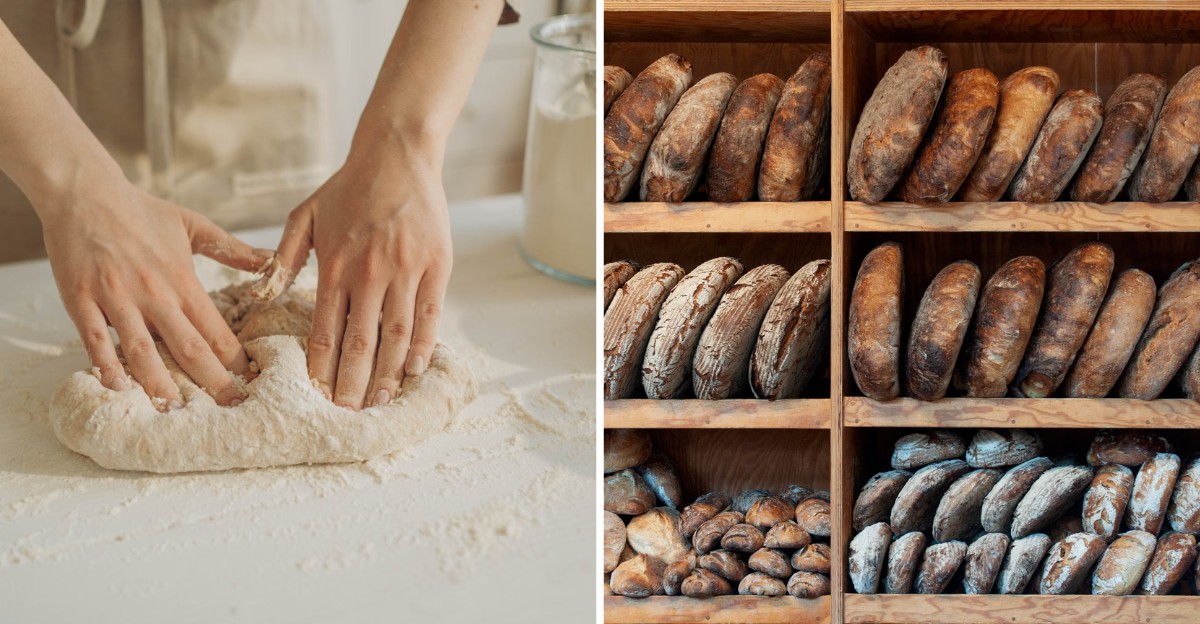
A full cup of sourdough discard goes into these biscuits, yet the starter does almost none of the lifting. Baking powder handles the rise, so you skip the long wait that sourdough usually demands.
That swap changes the whole schedule. Your discard can come straight from the fridge, fed or unfed.
Cold discard is actually helpful here, because it keeps the butter firm while you work.
I love that a jar most bakers feel guilty about becomes the star of breakfast. Instead of pouring it down the drain, you turn it into tangy, buttery layers.
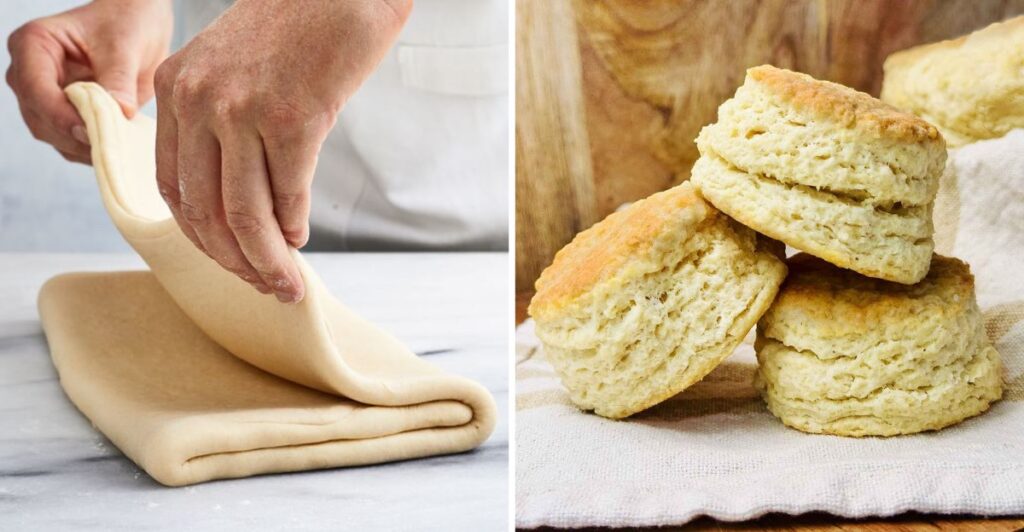
The dough gets folded a few times like a quick pastry, which builds those pull-apart flakes.
The oven does the rest in about 15 to 18 minutes. Grab your coldest butter and a cast iron skillet.
Breakfast is closer than you think.
Why Discard Brings Flavor Instead of Lift
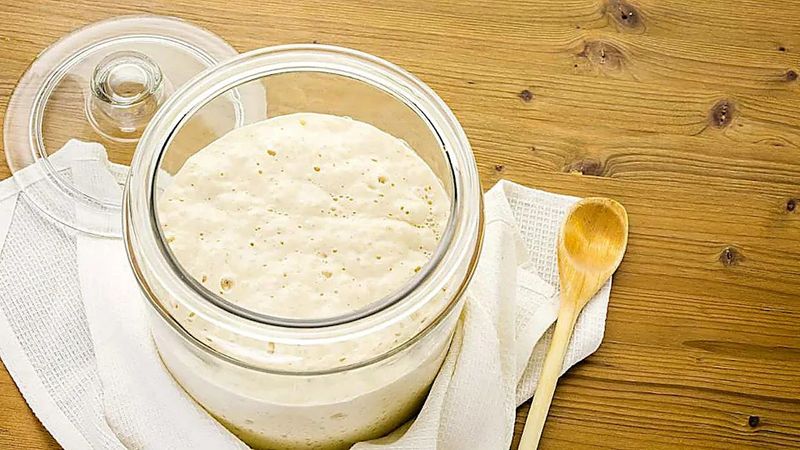
Most sourdough recipes ask you to wait hours for wild yeast to wake up. These biscuits skip that wait entirely.
Four teaspoons of baking powder handle the rise, so the clock starts the moment you preheat.
So what does the discard actually do? It adds a gentle tang and plenty of moisture to the dough.
A cup of 100% hydration discard is half flour and half water, so it works almost like extra milk with personality.
Because the starter is not doing the leavening, its mood does not matter much. Fed or unfed, bubbly or flat, it can go right into the bowl.
You do not need to plan feedings around breakfast.
Fresher discard tastes milder, while discard that has waited a week in the fridge brings sharper sourness. Neither choice is wrong, and you can pick based on how much tang you enjoy.
Think of it as a flavor dial you control.
This approach also solves a classic sourdough headache. Discard piles up fast when you feed a starter regularly.
Turning it into biscuits gives that jar a delicious job instead of a trip to the trash can, and it fits a busy weekday morning.
A Short Ingredient List With Big Jobs
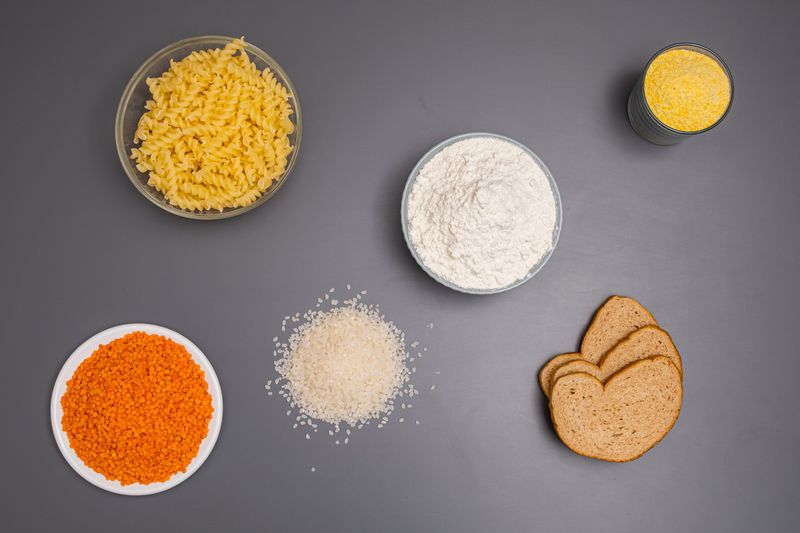
Nine ingredients, and each one pulls its weight. Flour builds structure, while baking powder supplies nearly every bit of lift.
Salt sharpens flavor so the biscuits never taste flat.
Two tablespoons of sugar might seem odd in a savory biscuit. It balances the sourness of the discard and helps the tops brown nicely.
You will not get a sweet biscuit, just a rounder, friendlier flavor.
Butter is the headliner. Three quarters of a cup of cold unsalted butter creates pockets that turn to steam in a hot oven.
That steam pushes layers apart, giving you those tender flakes.
One large egg adds richness and helps hold the tall shape together. Cold milk rounds out the liquid, though some bakers swap in buttermilk for extra tang.
If you do that, expect a slightly softer, tangier crumb.
Flour choice matters more than you might guess. Low-protein all-purpose flour tends to give lighter, more tender biscuits.
Bread flour, with its higher protein, can make them chewy, which is lovely for bagels but not ideal here.
Check your baking powder date before you start. Old powder loses strength quietly, and these biscuits depend on it completely.
The Complete Recipe Card
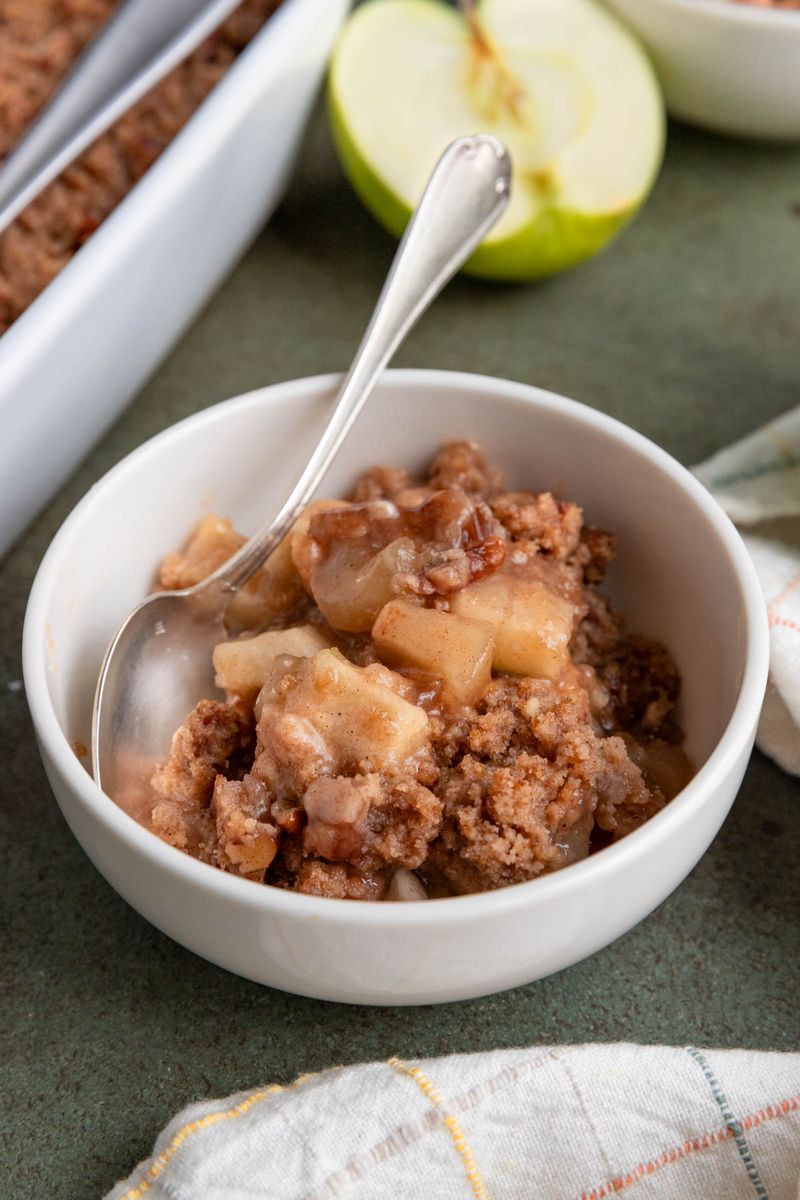
Yield: About 8 to 10 biscuits
Active Time: 10 to 15 minutes
Bake Time: 15 to 18 minutes
Total Time: About 30 minutes
Ingredients
- 2 1/2 cups (315 g) all-purpose flour
- 4 tsp (18 g) baking powder
- 1 tsp (6 g) salt
- 2 tbsp (25 g) granulated sugar
- 3/4 cup (170 g) cold unsalted butter, cubed or grated frozen
- 1 cup (240 g) sourdough discard, 100% hydration
- 1 large egg
- 1/2 cup (120 g) cold milk
- 2 tbsp melted butter, optional
- Preheat. Heat oven to 425°F (218°C) with a cast iron skillet or baking sheet inside.
- Whisk. Combine flour, baking powder, salt, and sugar.
- Cut In Butter. Work butter in until coarse crumbs with pea-sized bits remain.
- Add Wet. Stir in discard, milk, and egg until shaggy and slightly tacky.
- Fold. Pat into a rectangle, fold in thirds, rotate. Repeat 3 to 4 times.
- Cut. Pat 1 inch thick. Press cutter straight down.
- Bake. Place close together. Bake 15 to 18 minutes until tall and golden.
- Finish. Brush with melted butter. Cool a few minutes.
Frozen Butter and a Box Grater Team Up
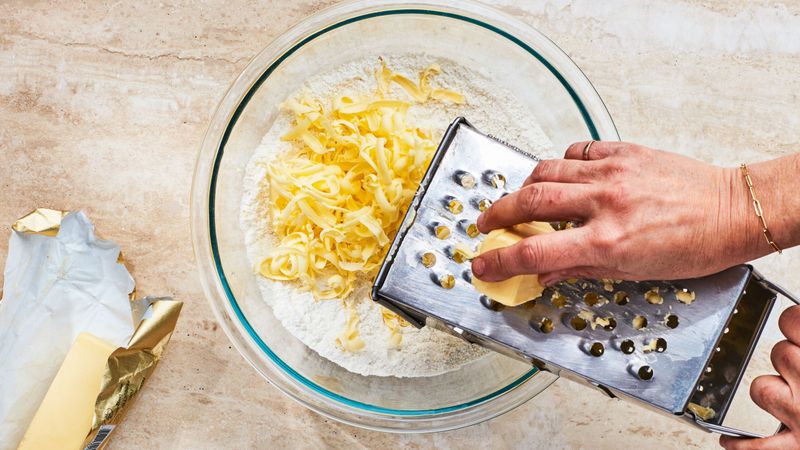
A box grater might be the most underrated biscuit tool in your kitchen. Run a frozen stick of butter across the large holes, and you get thin shreds that scatter evenly through the flour.
No pastry cutter wrestling required.
Why go to the trouble? Cold butter stays solid until it hits the oven.
Once there, its water turns to steam and lifts the dough into separate layers. Warm butter simply melts into the flour and leaves you with a denser, cakier result.
Toss the shreds with the dry ingredients as you grate. That light coating keeps them from clumping back into one greasy lump.
Use a fork rather than your fingers, since hands are surprisingly warm.
Prefer cubes? That works too.
Cut the butter into half-inch pieces and press them in until you see coarse crumbs with some pea-sized chunks. Those visible bits are a good sign, not a mistake.
Your discard can help here as well. Pulling it straight from the refrigerator keeps the whole dough cooler.
On a hot summer day, you could even chill the bowl for ten minutes before you begin.
Stop Stirring Sooner Than Feels Right
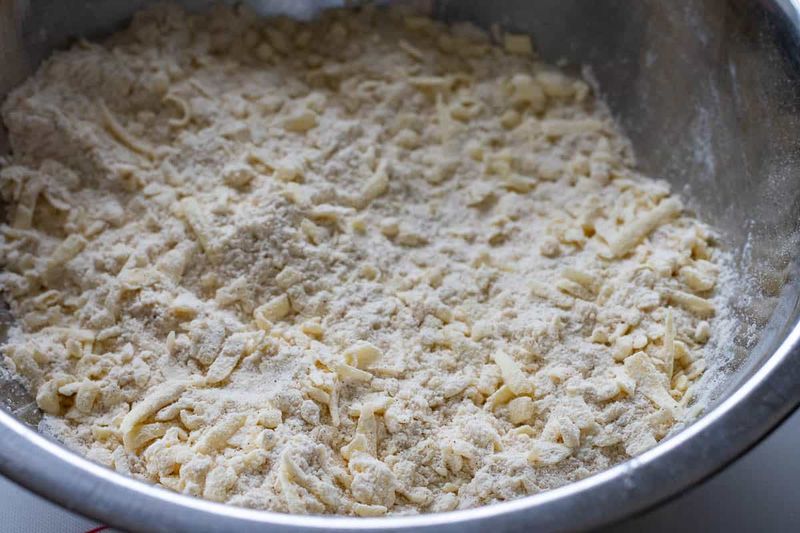
Shaggy is the goal. When you pour in the discard, milk, and egg, the bowl will look messy for a while.
Resist the urge to smooth it out.
Every extra stir builds gluten, the stretchy network that gives bread its chew. In a loaf, that is great news.
In a biscuit, too much gluten means a tough, bready bite instead of a tender one.
Stir with a spatula just until the dry flour mostly disappears. A few dusty patches are fine, because the folding step will finish the job.
The dough should feel slightly tacky, not wet and soupy.
Discard thickness varies from jar to jar. A stiffer starter might leave the dough a little dry, while a runny one makes it sticky.
Adjust with a splash of milk or a light sprinkle of flour, adding only small amounts at a time.
Speed helps as well. The longer the dough sits warm on the counter, the softer the butter gets.
Move from mixing to folding without pausing to check your phone, and those cold butter pieces will stay ready to puff.
Fold the Dough Like a Letter
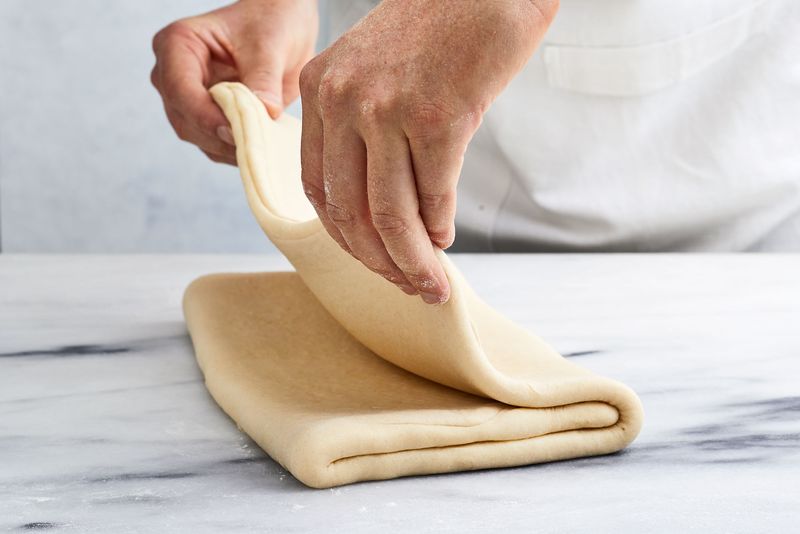
Here is where a humble biscuit borrows a trick from croissant makers. You pat the dough into a rectangle, then fold it into thirds like a business letter.
Rotate it a quarter turn and do it again.
Each fold stacks butter and dough into thin sheets. Three or four rounds give you enough layers for flaky, pull-apart biscuits without overworking anything.
Going much beyond that can start to toughen the dough.
Keep the surface lightly floured, not buried in flour. Too much extra flour gets folded inside and can make the biscuits dry.
A bench scraper helps lift sticky spots without stretching the dough.
You will notice the dough changing as you go. It starts ragged and patchy, then becomes smoother and more cohesive by the last fold.
Streaks of butter peeking through are a welcome sight.
Work with a light touch and use your palms to pat rather than knead. If the butter starts feeling greasy or soft, slide the dough onto a plate and chill it for about ten minutes.
That short pause protects your layers without wrecking the 30-minute plan.
Press Straight Down and Never Twist

Twisting a biscuit cutter feels natural, almost like turning a key. Unfortunately, that twist pinches the edges closed.
Sealed edges cannot rise freely, so the biscuit may bake lopsided or short.
Instead, press the cutter straight down in one firm motion and lift it straight up. Dipping the cutter in flour between cuts keeps it from sticking.
A sharp metal cutter works better than a drinking glass, which tends to squash edges.
Pat the dough about one inch thick before cutting. Thinner dough gives you more biscuits but less height.
If tall, fluffy biscuits are your goal, that thickness matters.
Leftover scraps deserve respect too. Stack them on top of each other rather than balling them up, then pat gently and cut again.
Stacking keeps some of those hard-earned layers intact.
Not a fan of round shapes? Cut the dough into squares with a sharp knife.
You will have zero scraps, and the straight cuts still allow the edges to rise nicely. Square biscuits are a common shortcut among bakers who want speed and less fuss.
Crowd the Skillet for Taller Biscuits
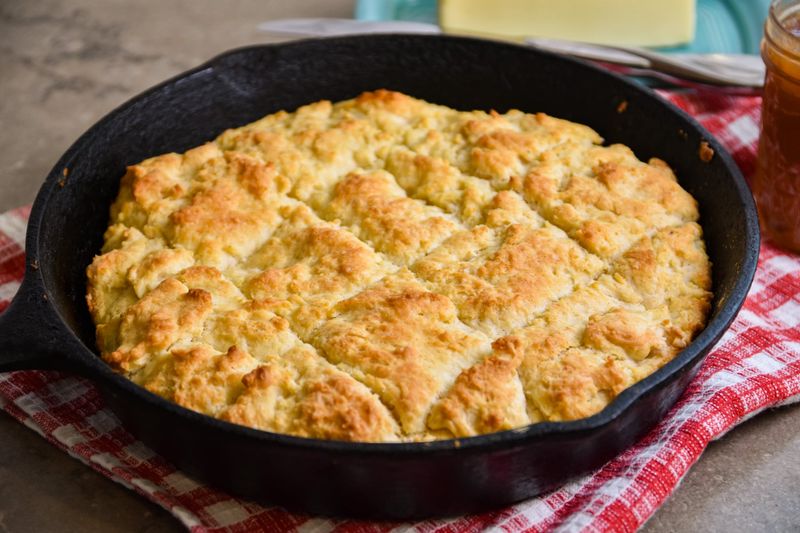
Biscuits are social creatures. Nestle them close together in the preheated skillet, sides touching, and they push each other upward as they bake.
The result is taller biscuits with soft, tender sides.
Spacing them apart on a sheet pan gives a different texture. Each biscuit gets crisp edges all the way around but spreads a bit more.
Neither style is wrong, so choose based on whether you love soft sides or crunchy ones.
That preheated pan makes a real difference. Heating the skillet in a 425°F oven gives the bottoms an immediate jolt of heat.
The butter steams fast, and the biscuits jump up before the dough sets.
Use oven mitts and care when adding dough to a hot cast iron pan. It stays dangerously hot for a long time.
A parchment-lined baking sheet also works if you do not own cast iron.
Bake for 15 to 18 minutes. Look for tall sides and deep golden tops before pulling them out.
Brushing with melted butter right away adds shine and a richer flavor, then let them rest a few minutes so the insides set.
Freeze Now, Bake Later
Leftover biscuits keep at room temperature in an airtight container for up to two days. Skip the refrigerator, since cold storage tends to dry them out and dull the texture.
A simple container on the counter does the job.
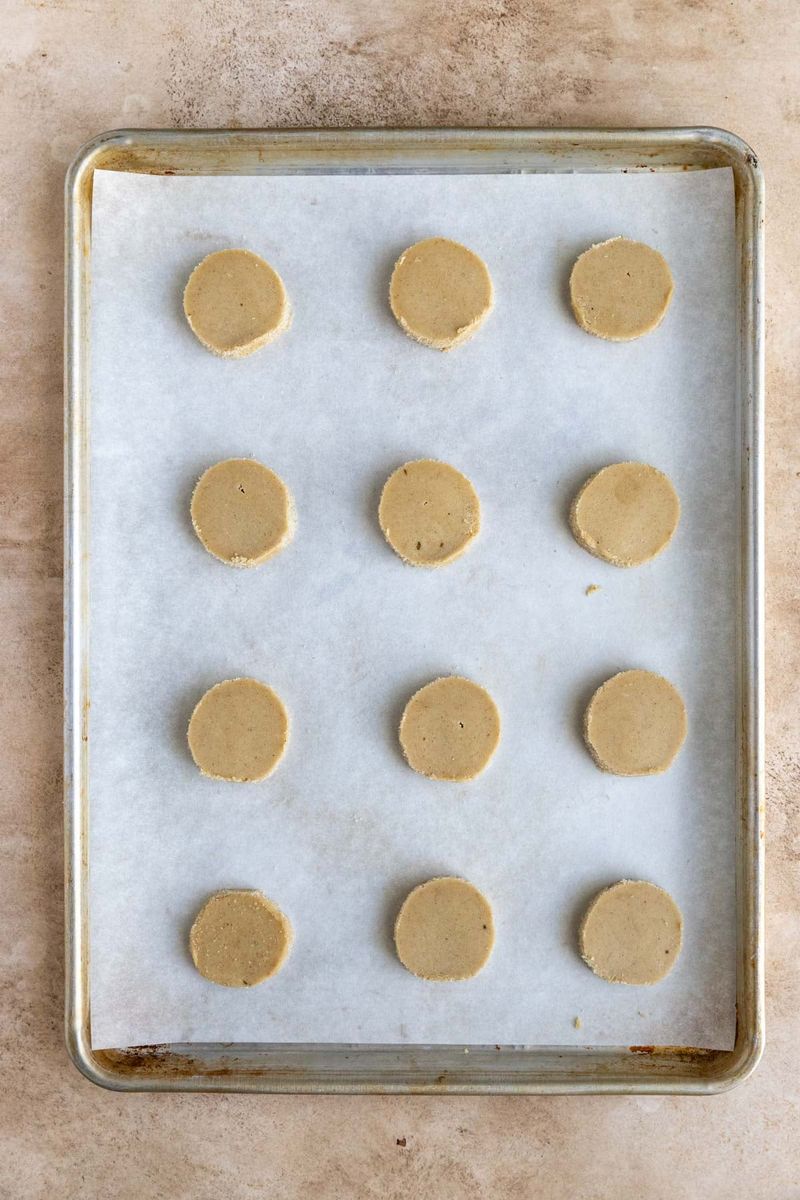
For longer storage, the freezer is your friend. Let baked biscuits cool completely, then freeze them on a parchment-lined sheet until solid.
Transfer them to a freezer bag, where they keep well for two to three months.
Want fresh biscuits on demand? Freeze the unbaked cut rounds instead.
Once solid, bag them and bake straight from frozen, adding roughly 5 to 10 minutes to the bake time.
That unbaked option is handy for busy mornings or surprise guests. You get the hot-from-the-oven experience without mixing or folding.
Label the bag with the date so you remember when you made them.
Reheating baked biscuits works best in a 300 to 350°F oven for about 5 to 8 minutes. The outside crisps back up while the middle warms through.
Microwaves are quick, but they can turn biscuits rubbery if you leave them in too long.
Fixing Flat, Tough, or Extra Sour Biscuits
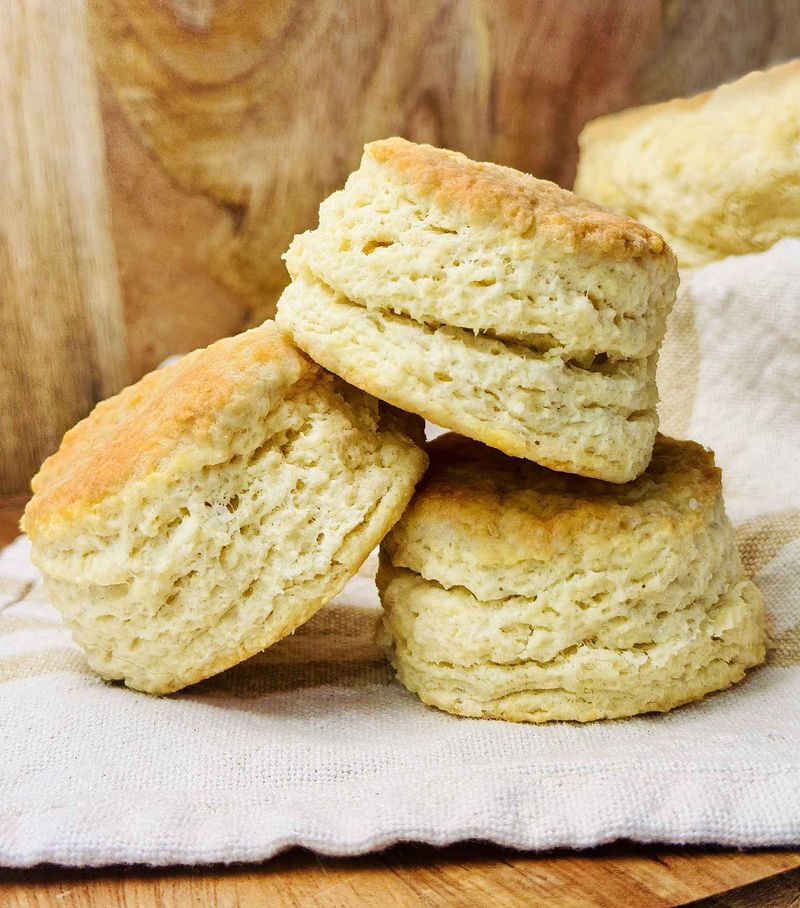
Flat biscuits usually point to one of three suspects. Old baking powder, warm butter, or a twisted cutter can each steal height.
Fresh leavening, cold butter, and a straight-down press solve most cases.
Tough or dry biscuits often come from overmixing. Too much stirring builds gluten, and extra flour during folding can dry things out further.
Overbaking plays a role too, so start checking at the 15 minute mark.
Missing flakes? Warm butter is the likely culprit.
If the butter melted into the flour before baking, it cannot create steam pockets. Grating it frozen and keeping the folds brief usually helps.
Sometimes the tang comes on stronger than expected. Older discard grows more acidic as it sits in the fridge.
Use fresher discard next time, or add a touch more sugar to soften the sour edge.
Toppings can also balance flavor. Honey butter, jam, or sausage gravy all pair nicely with a tangy crumb.
Shredded cheddar and chives folded into the dough make a savory twist, though extra mix-ins may slightly change how the dough handles. Small tweaks like these let you make the recipe your own.