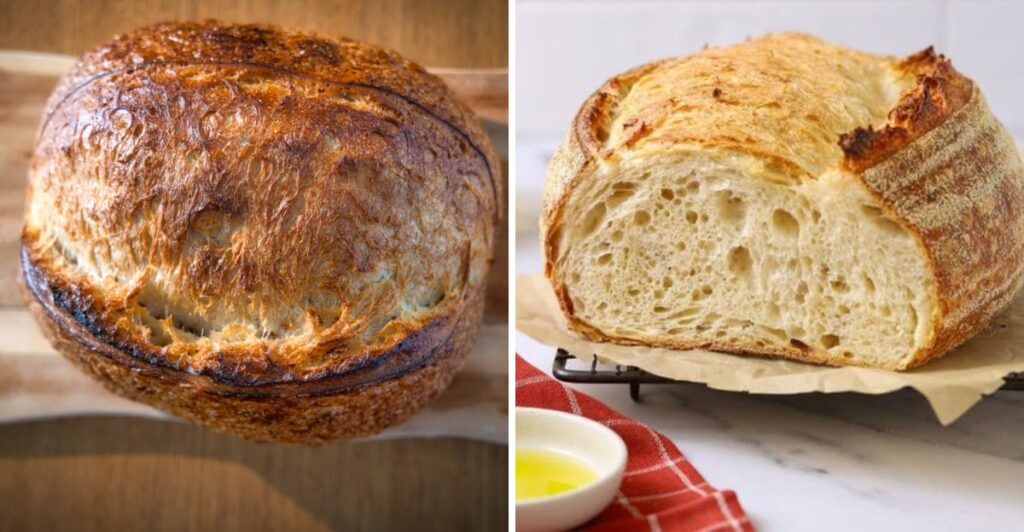
A rock-hard sourdough crust is usually not a sign of failure. More often, it means the loaf baked longer than it needed to, or its crust kept drying out after the oven.
That surprises a lot of bakers. Many people assume a tough crust signals underbaked bread, so they leave the next loaf in even longer.
The crust gets thicker, drier, and harder to chew, and the cycle repeats.
I love how much the crust reveals once you know what to look for. Its thickness depends on steam, oven time, flour on the surface, the dough recipe, and even how the loaf cools.
Several of these factors can produce the same armor-like result, so one loaf rarely tells the whole story.
Fortunately, you can test small changes one at a time. Each adjustment below targets a specific cause, so you can tell which one is behind your crust.
Lock In Steam With a Covered Dutch Oven Bake
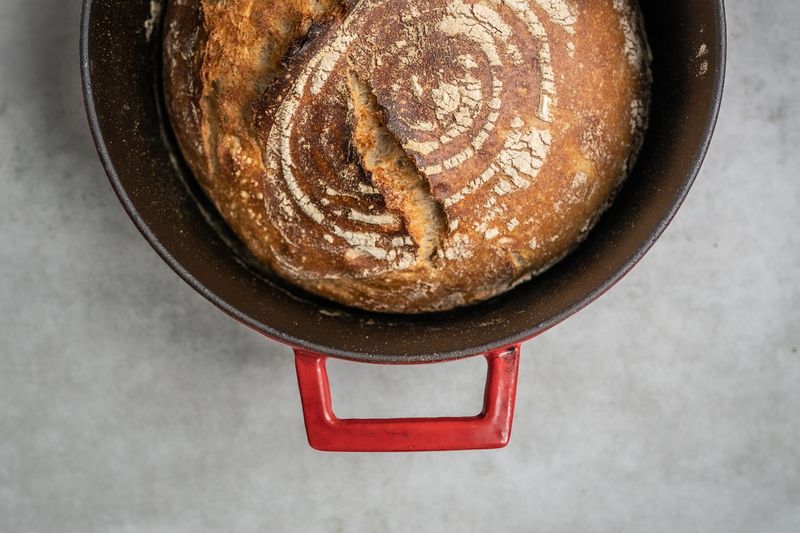
Steam is the crust’s pause button. While moisture fills the oven, the outer skin of the dough stays stretchy, so the loaf can rise before a hard shell sets.
Without enough steam, that surface dries and firms up early. You often get a thicker, duller crust and less oven spring as a bonus disappointment.
A preheated Dutch oven traps the steam your dough releases on its own. Keep the lid on for roughly the first 20 minutes, which is a common range in tested recipes, then uncover so the crust can brown.
Your recipe’s timing still matters, so treat that number as a starting point rather than a rule.
Some bakers toss an ice cube or two beside the dough before closing the lid. The method is popular, though results vary with pot size and oven, so try it once and compare.
Baking on a stone or steel instead? A tray of boiling water on a lower rack can add steam, but use oven mitts and keep your face back when the hot vapor rushes out.
Steam burns hurt far more than a chewy crust ever will.
Pull the Sourdough Boule Before the Crust Turns to Armor
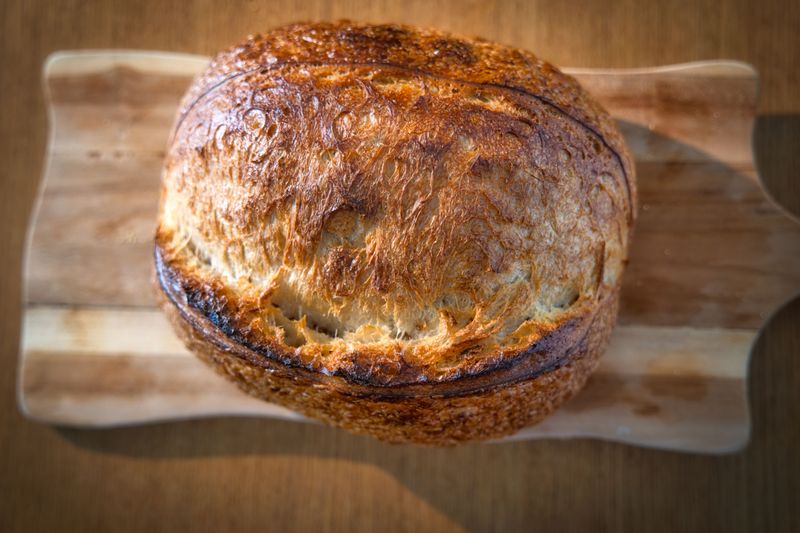
Overbaking is one of the most common reasons a crust turns tough. Every extra minute uncovered drives more water out of that outer layer.
Darker crusts taste richer, and many bakers love them. If you want softer, though, a medium golden brown is a smarter target than deep mahogany.
An instant-read thermometer takes the guesswork out of doneness. Many lean sourdough loaves are fully baked somewhere around 205 to 210°F (96 to 99°C) in the center.
Once your loaf reaches that range and looks evenly browned, you can usually stop the bake.
Try trimming the uncovered phase by about five minutes on your next loaf. Then check the internal temperature before deciding whether it needs more time.
Ovens run hot or cold, so an oven thermometer helps you know what your dial actually means. A gummy center is a different problem, so don’t shorten the bake below the point where the loaf is cooked through.
You’re aiming for a fully baked interior with less time spent drying the shell.
Wrap the Cooling Loaf in a Tea Towel for a Softer Shell
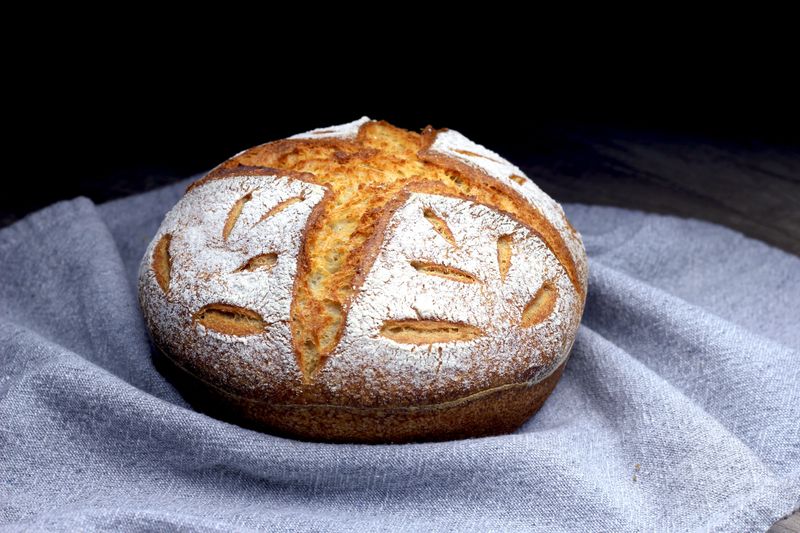
Here’s a sneaky truth: your crust keeps changing after the oven turns off. As the loaf cools uncovered, moisture escapes and the shell can firm up further.
Bakers call the fix sweating the loaf. Once the bread comes out, wrap it loosely in a clean cotton tea towel and let it cool on a rack.
The towel catches some of that escaping moisture. The crust softens as a result, which is great for sandwich slicing and tender jaws.
Keep the wrap loose so steam doesn’t collect into a soggy layer. A rack underneath still lets air reach the bottom crust.
Wait until the loaf has cooled completely before storing it in a plastic or reusable bread bag. Bagging bread while warm traps condensation, which can make the surface damp and encourage mold sooner.
A sealed bag will soften the crust even more over a day. If it goes further than you like, a few minutes in a hot oven can bring back some crispness.
Brush Excess Rice Flour Off the Banneton Dough Before Scoring
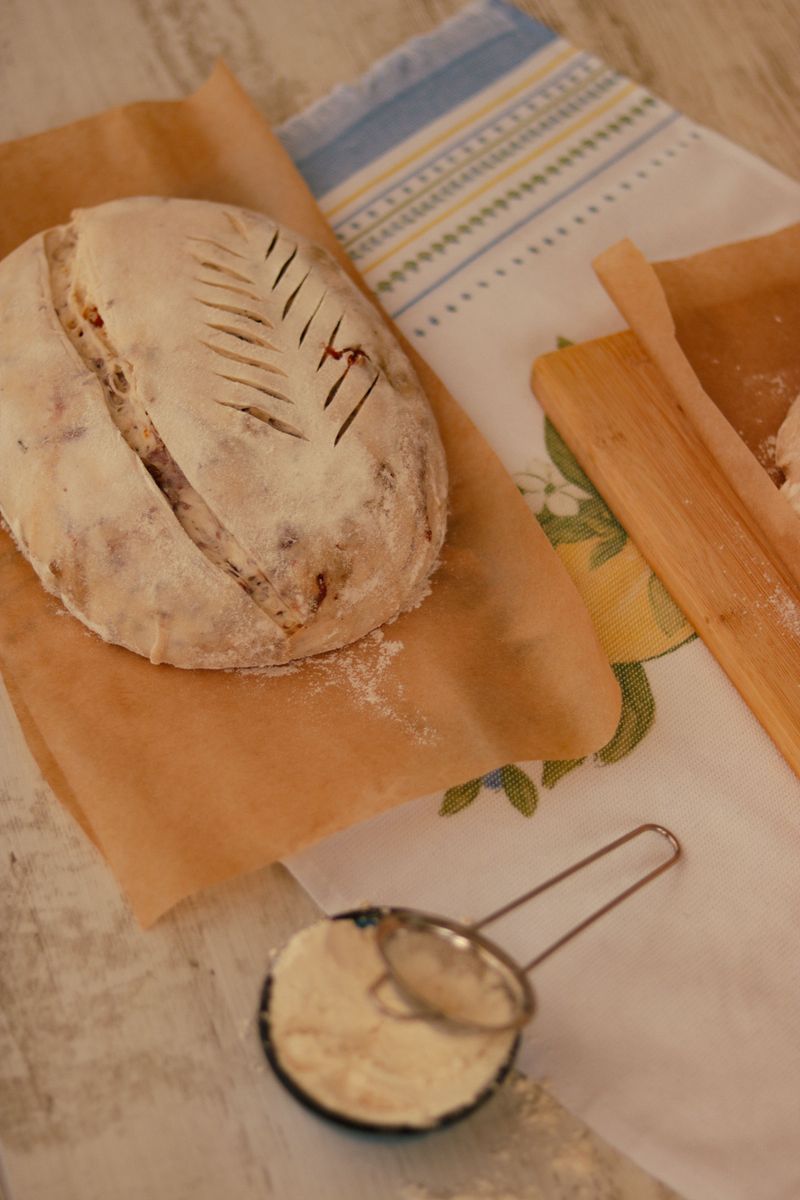
Ever notice a powdery, chalky layer on your finished crust? That’s often leftover banneton flour, especially rice flour, which doesn’t brown or soften the way wheat dough does.
A light dusting helps the dough release cleanly from the basket. A thick coat, however, bakes into a dry skin that can feel hard and dusty.
Once you turn the dough onto parchment, take a soft pastry brush and sweep away loose flour. Work gently so you don’t deflate the surface or tear the skin.
Try using less flour in the banneton next time too. A thin, even layer usually does the job if your liner is well seasoned.
Some bakers worry their dough will stick without heavy flouring. Sticking often has other causes, like a damp liner or very slack dough, so piling on more flour won’t always fix it.
This change won’t solve an overbaked crust on its own. It does remove one extra layer of dryness, and it makes your scoring lines look cleaner as a small bonus.
Raise the Hydration Slowly in Your Sourdough Dough
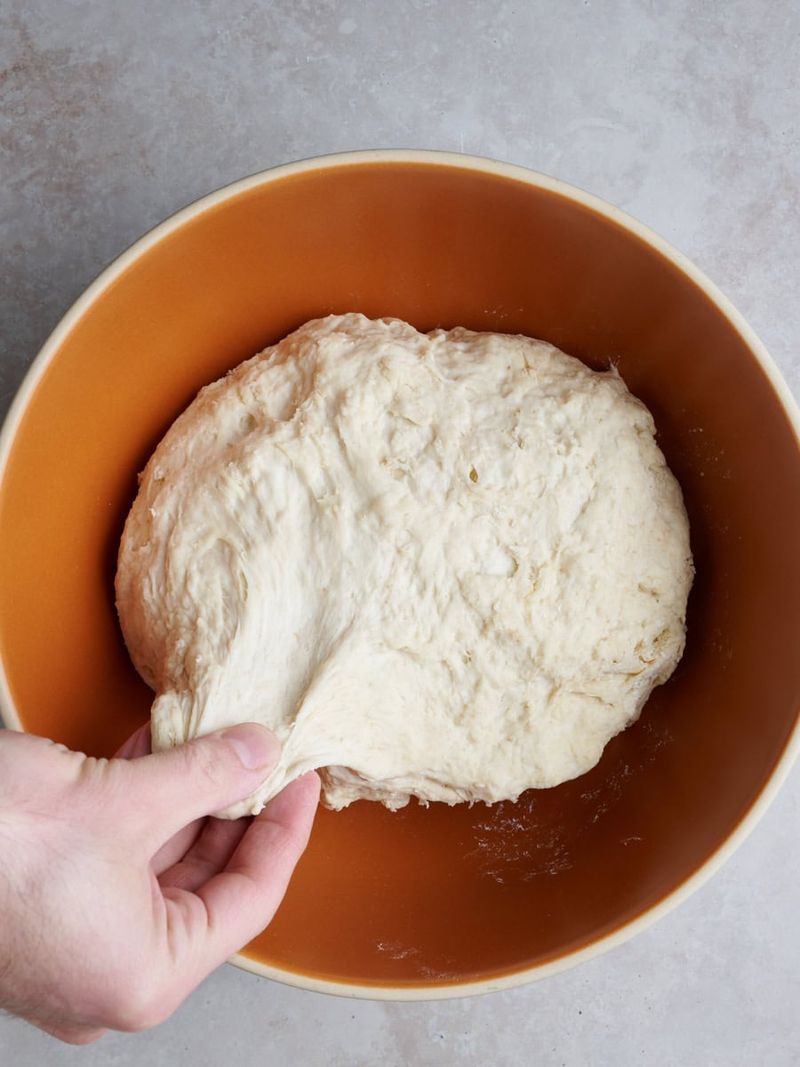
Water does more than make dough sticky. A wetter dough produces more steam inside the loaf, which often helps it expand and form a thinner crust.
Many home recipes land around 70 to 75 percent hydration. If yours is noticeably lower, the crust may come out denser and tougher.
Increase water gradually, about 2 to 3 percent of the flour weight per bake. For 500 grams of flour, that’s roughly 10 to 15 grams more water.
Flour type changes everything here. Whole wheat absorbs more water, while some all-purpose flours feel soupy at the same number.
Watch the dough rather than the percentage alone. It should feel extensible and hold shape after folds, not spread like pancake batter.
Stickiness alone doesn’t mean you’ve gone too far. Weak gluten or overfermentation can also cause slack dough, so check your folds and timing before blaming the water.
Wetter dough takes practice to shape, so damp hands and a bench scraper help. Skip adding loads of extra flour during shaping, since that undoes the point.
Add Olive Oil or Butter for a Soft Sandwich Sourdough Crust
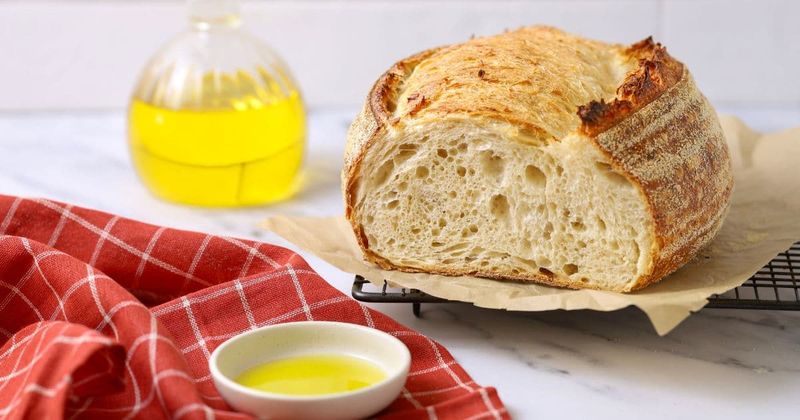
Classic sourdough uses just flour, water, salt, and starter. That lean formula is exactly why its crust bakes up crisp and sturdy.
Fat changes the game. Olive oil or melted butter coats gluten strands and helps the bread hold moisture, which tends to produce a more tender crust and crumb.
Recipes for softer sourdough commonly use roughly 20 to 60 grams of fat per 500 grams of flour. Start near the low end and see how you like the result.
Milk in place of some water is another option. Its sugars and proteins brown faster, so you may need a slightly lower oven temperature to avoid a dark crust.
Enriched dough can ferment a bit more slowly, depending on the ingredients. Judge the rise by the dough’s volume and feel rather than the clock.
Keep expectations realistic for this style. You’ll get something closer to sandwich bread than a crackly artisan boule, which is great for toast and terrible for tapping like a drum.
Swap Some Bread Flour for All-Purpose in Your Next Loaf
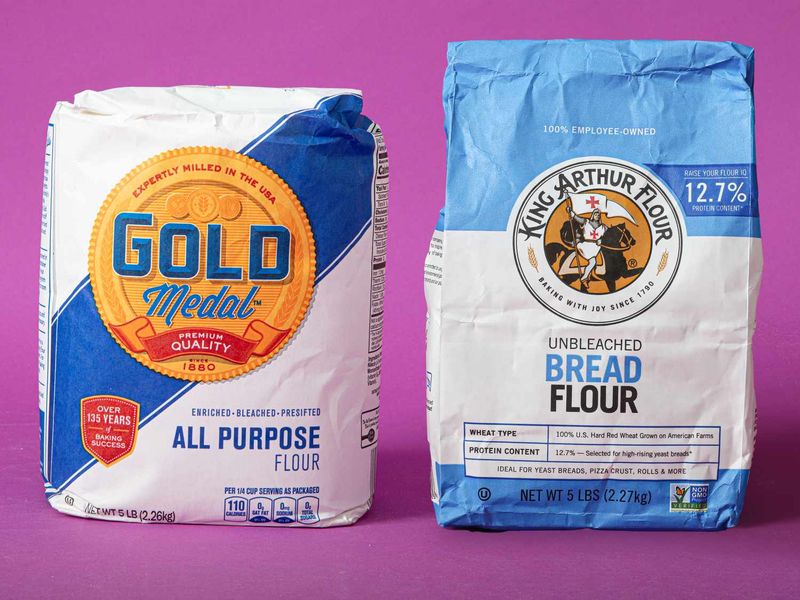
Protein content quietly shapes your crust. Bread flour, often around 12 to 14 percent protein, builds strong gluten that can lead to a chewier, firmer bite.
All-purpose flour usually sits lower, roughly 10 to 12 percent. Swapping in some all-purpose can give you a more tender loaf, though brands vary quite a bit.
Start by replacing about a quarter to half of the bread flour. Changing everything at once makes it harder to tell what helped.
Lower-protein flour typically absorbs less water. You may need to hold back a little water, then add it slowly if the dough feels stiff.
Expect a slightly less open crumb and a bit less height. That’s a fair trade if softness matters more to you than dramatic ears.
Check your flour bag for the protein number before you begin. With that info, plus one change per bake, you can track exactly which tweak softened your crust and keep it in your routine.